
Setting up Your Project on Netlify
Now we are going to host our React app on Netlify. For reference, here’s our React app in a GitHub repo.
https://github.com/AnomalyInnovations/serverless-stack-demo-client
Recall that our React app is a single page app. Where the routes in the app are handled by our client side JavaScript code. We have a single index.html at the root of our app that handles all the routes. So we need to tell our hosting provider (in this case Netlify), to redirect any other requests back to this index.html file.
Add a Redirects File
 Create a file called
 _redirects in the public/ directory of your React app with the following.
/* /index.html 200
This is basically saying that any requests should be sent to the index.html of our React app.
Note that this file doesn’t have an extension. It is just called _redirects.
And we are now ready to host our app on Netlify!
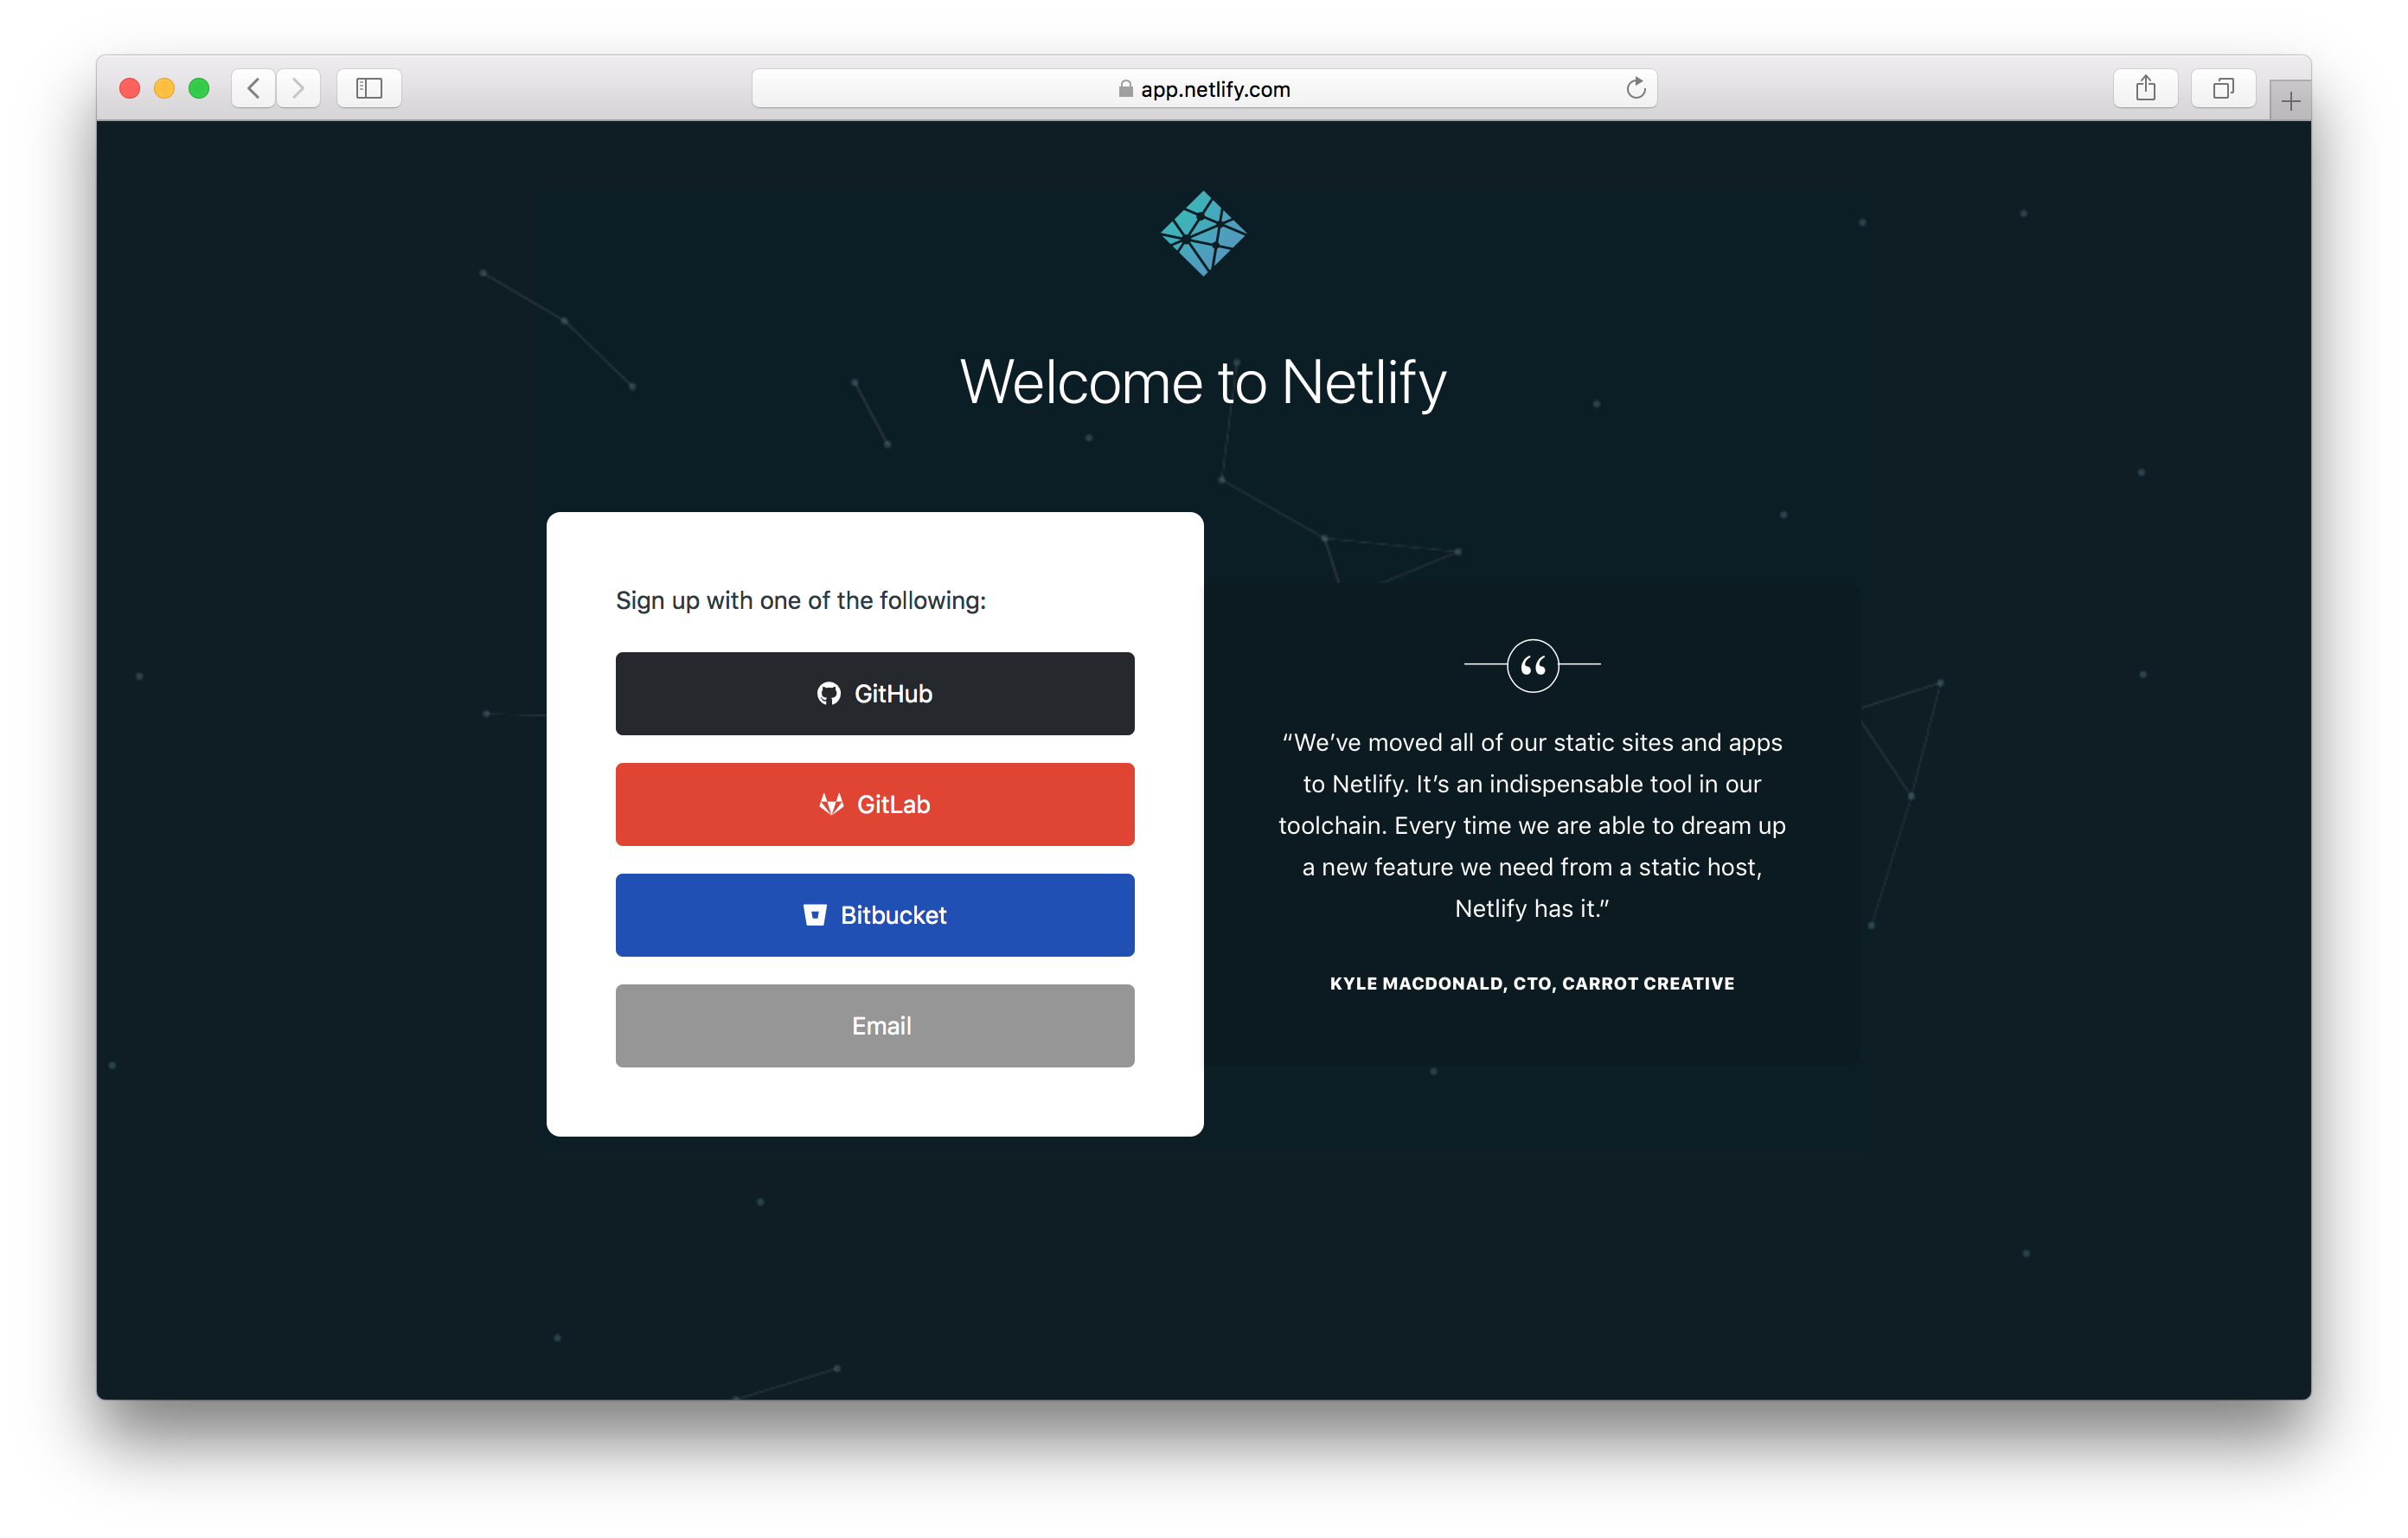
Create a Netlify Account
Start by creating a free account.
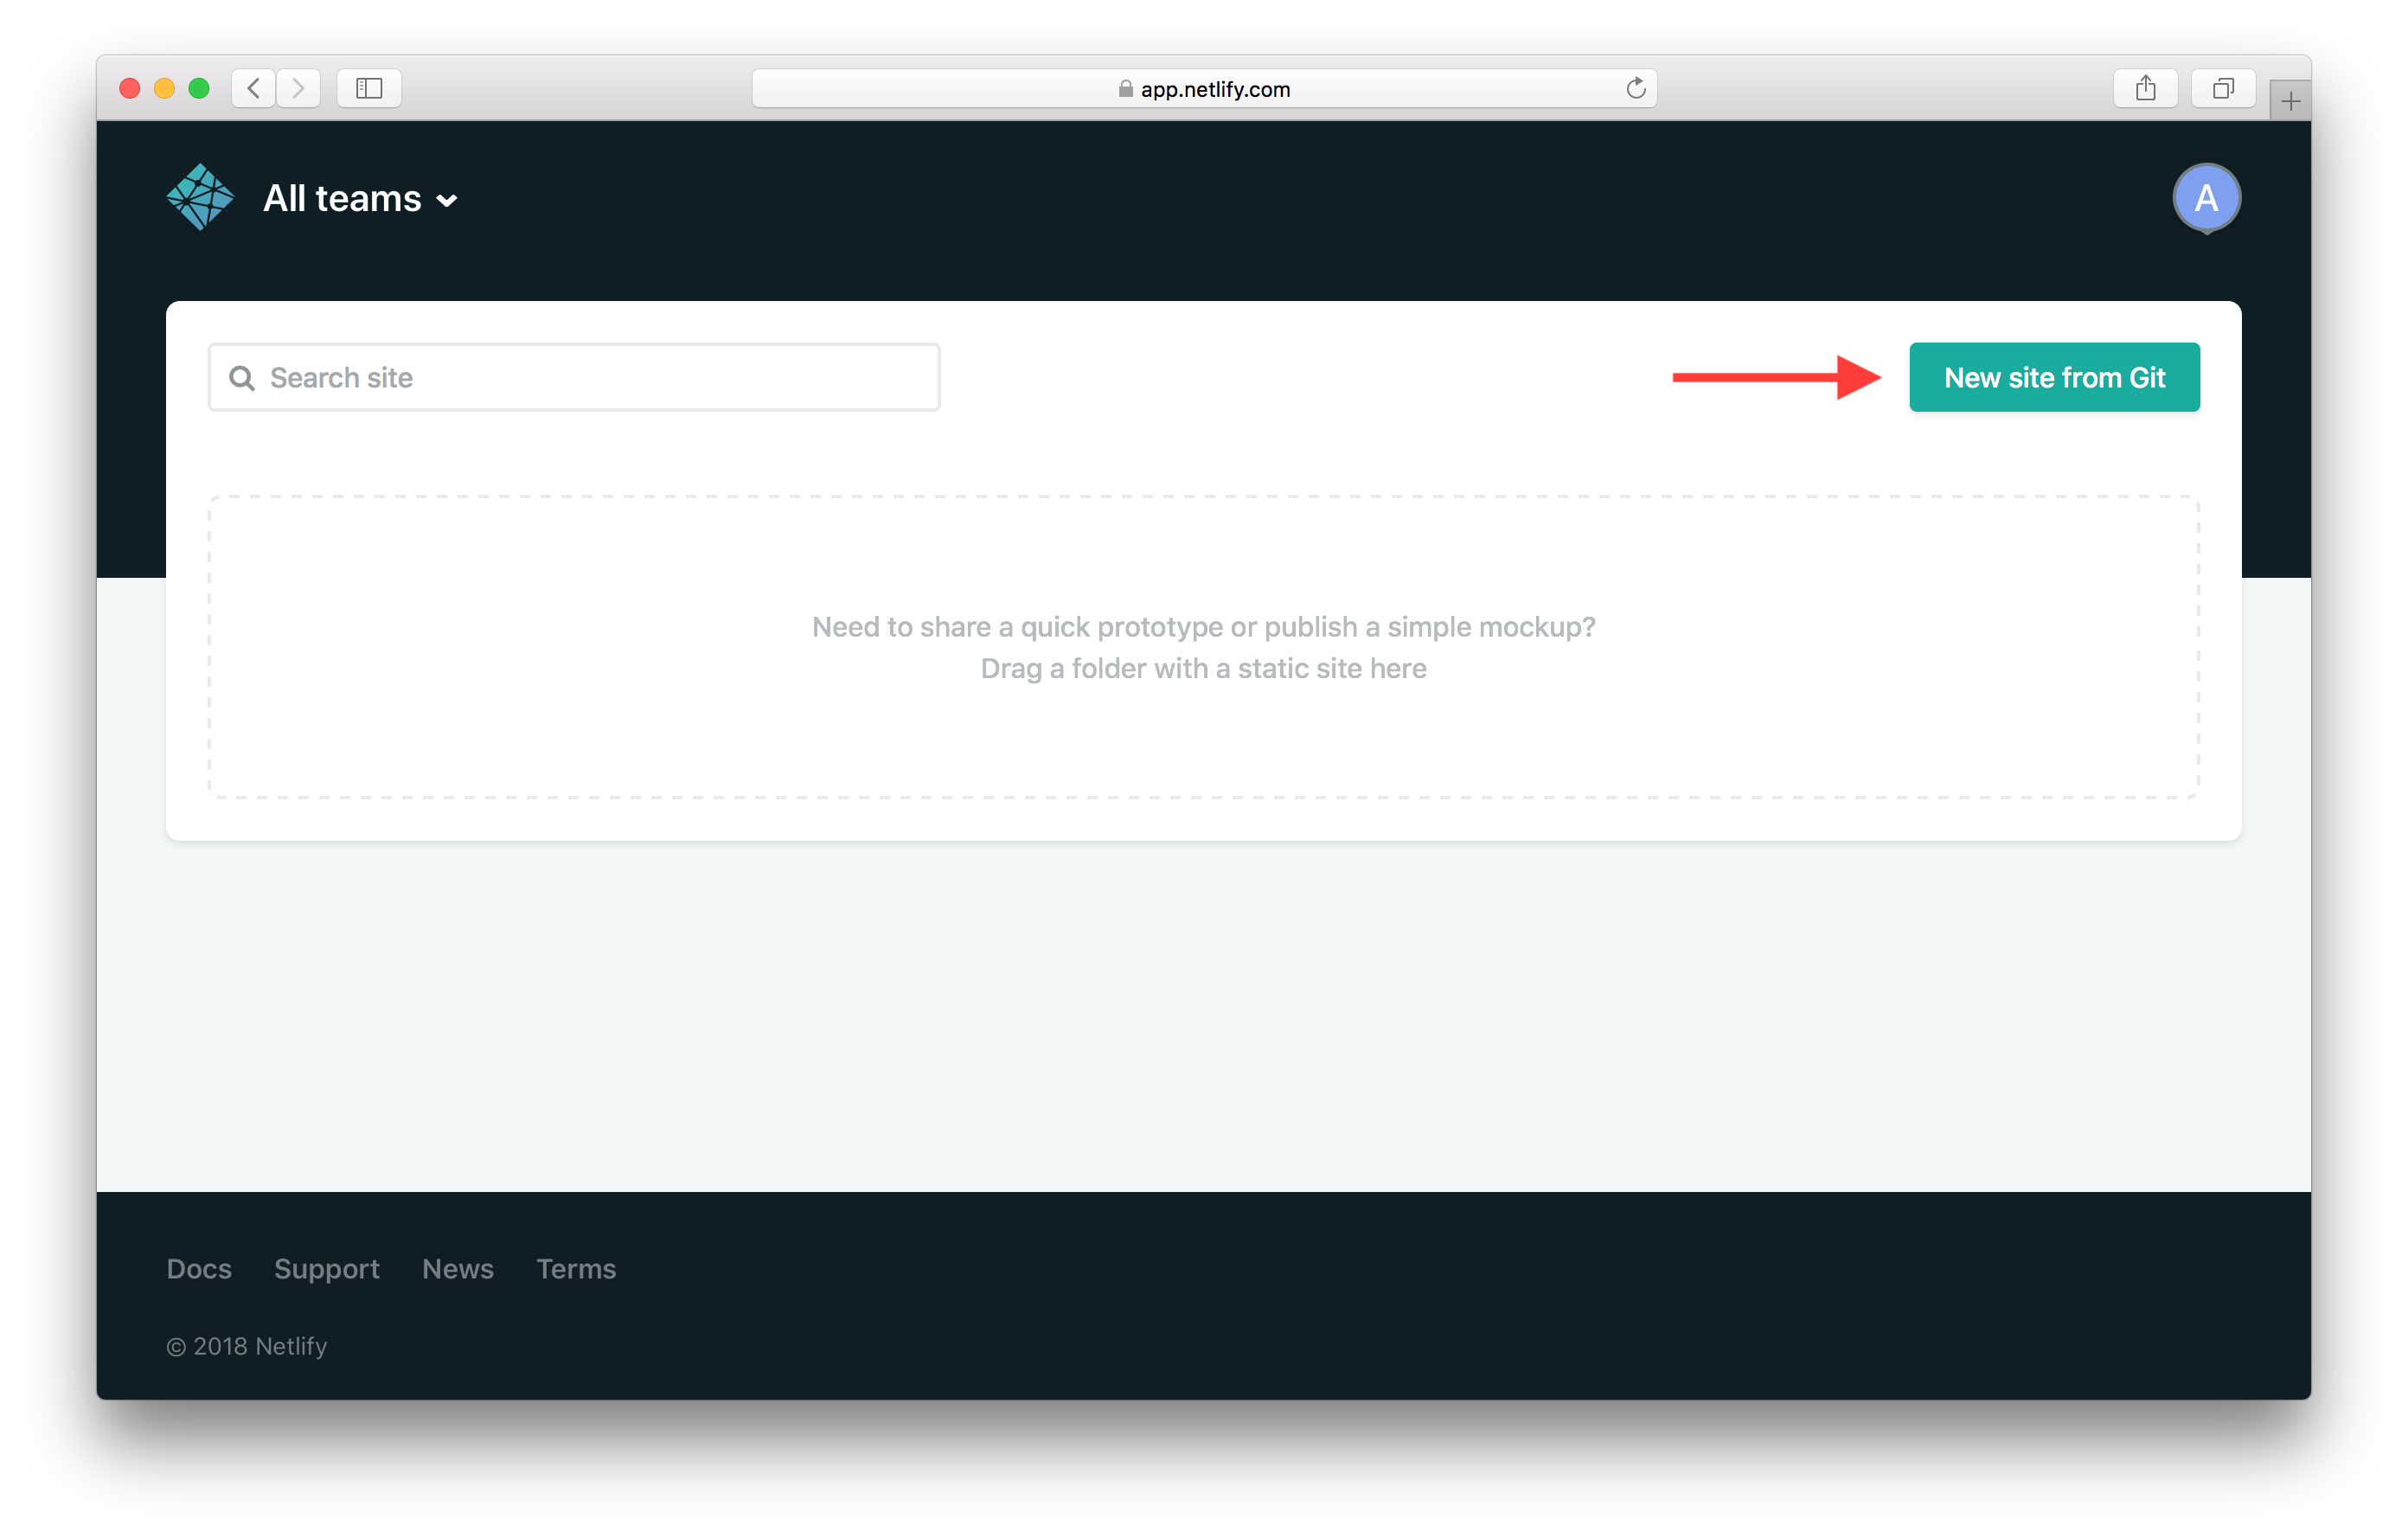
Next, create a new site by hitting the New site from Git button.
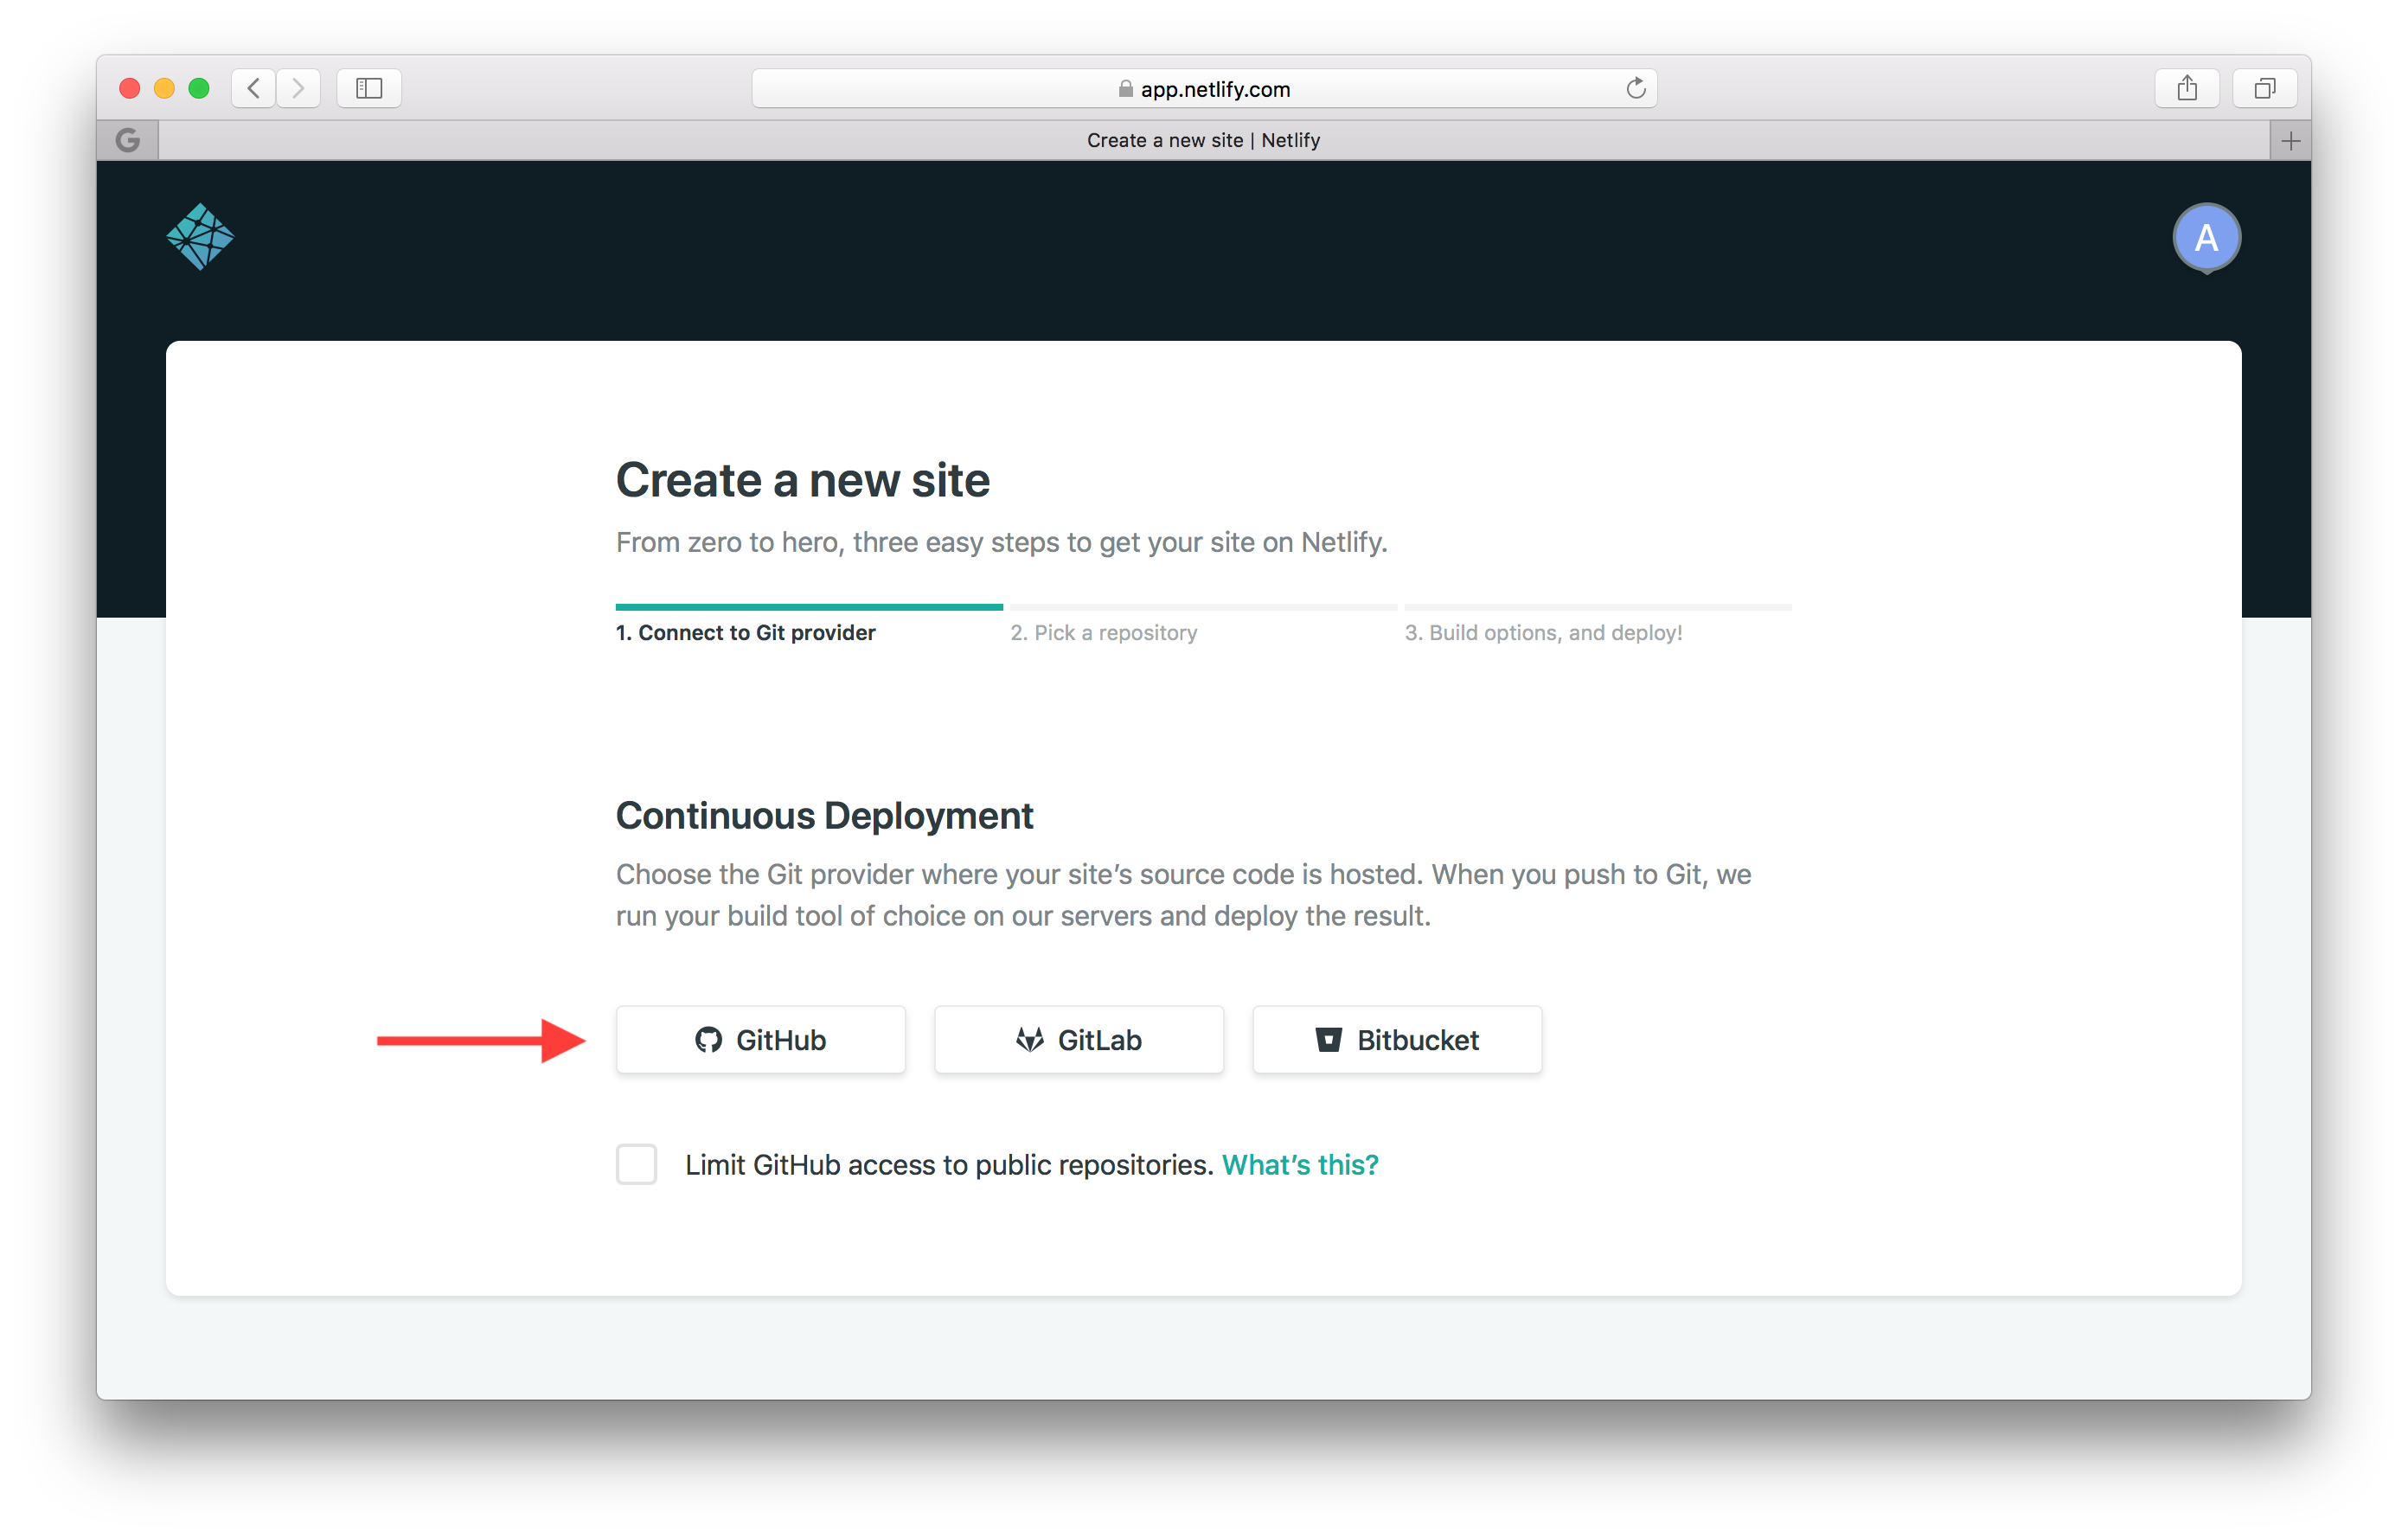
Pick GitHub as your provider.
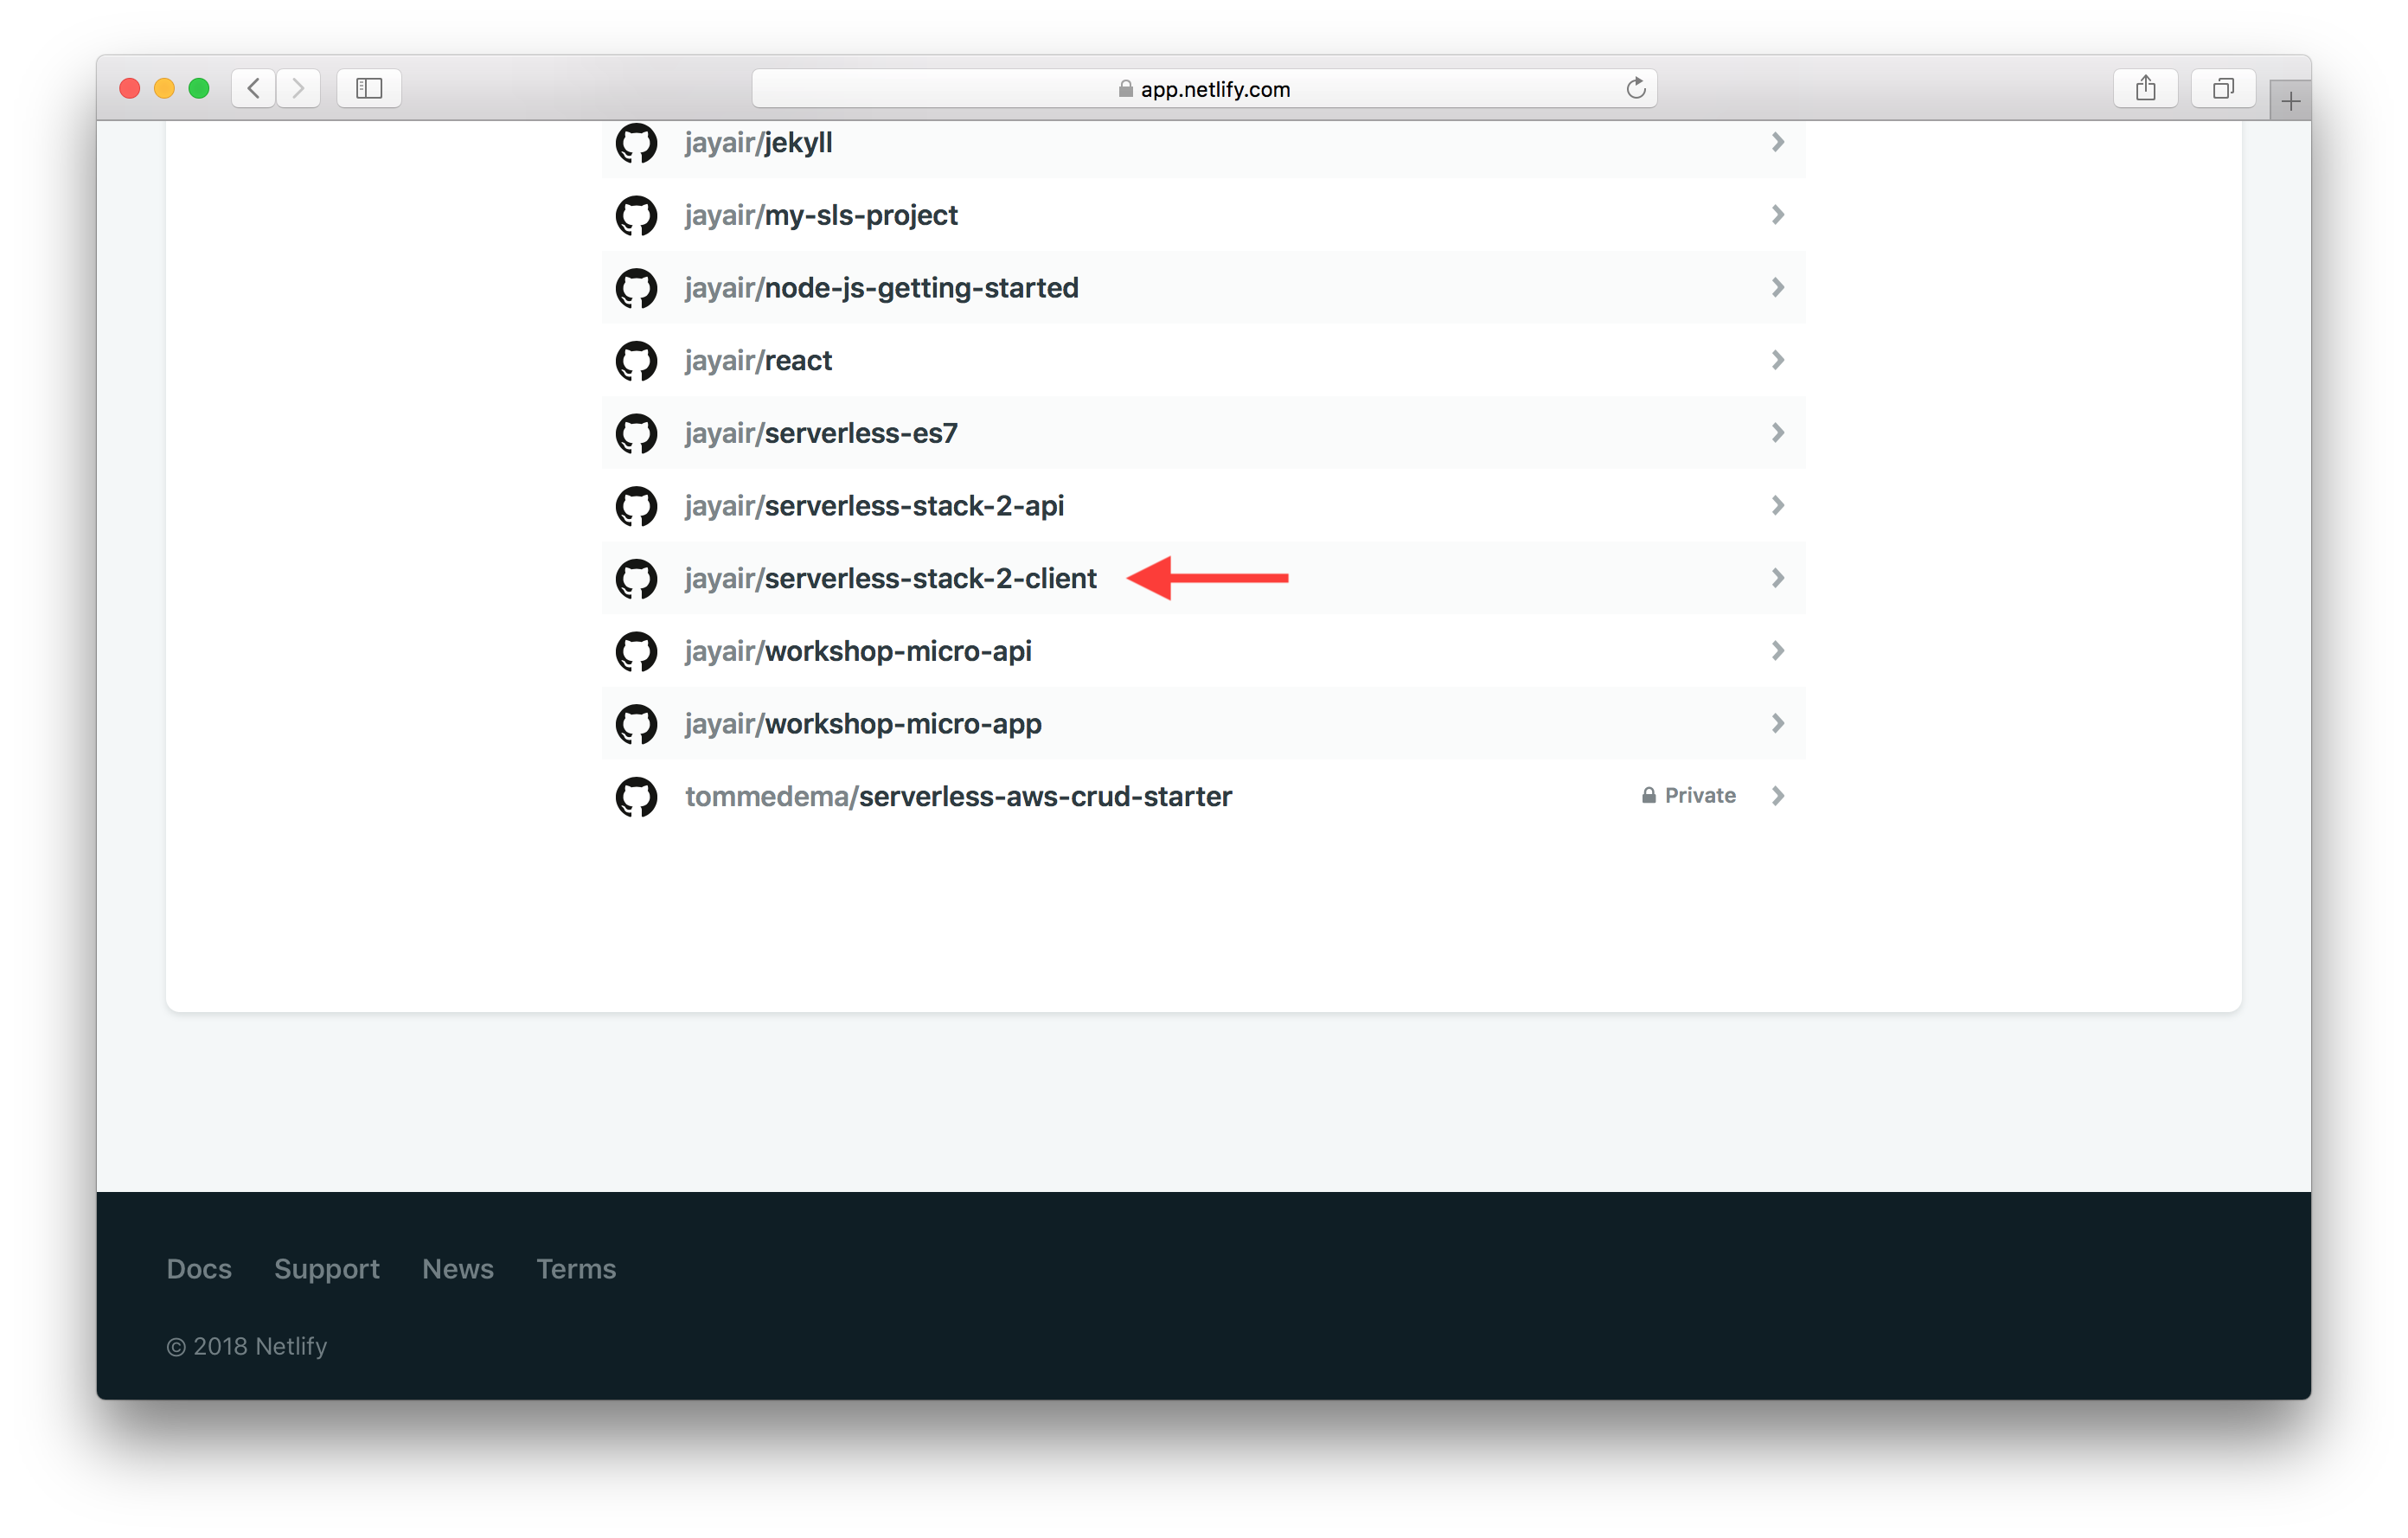
Then pick your project from the list.
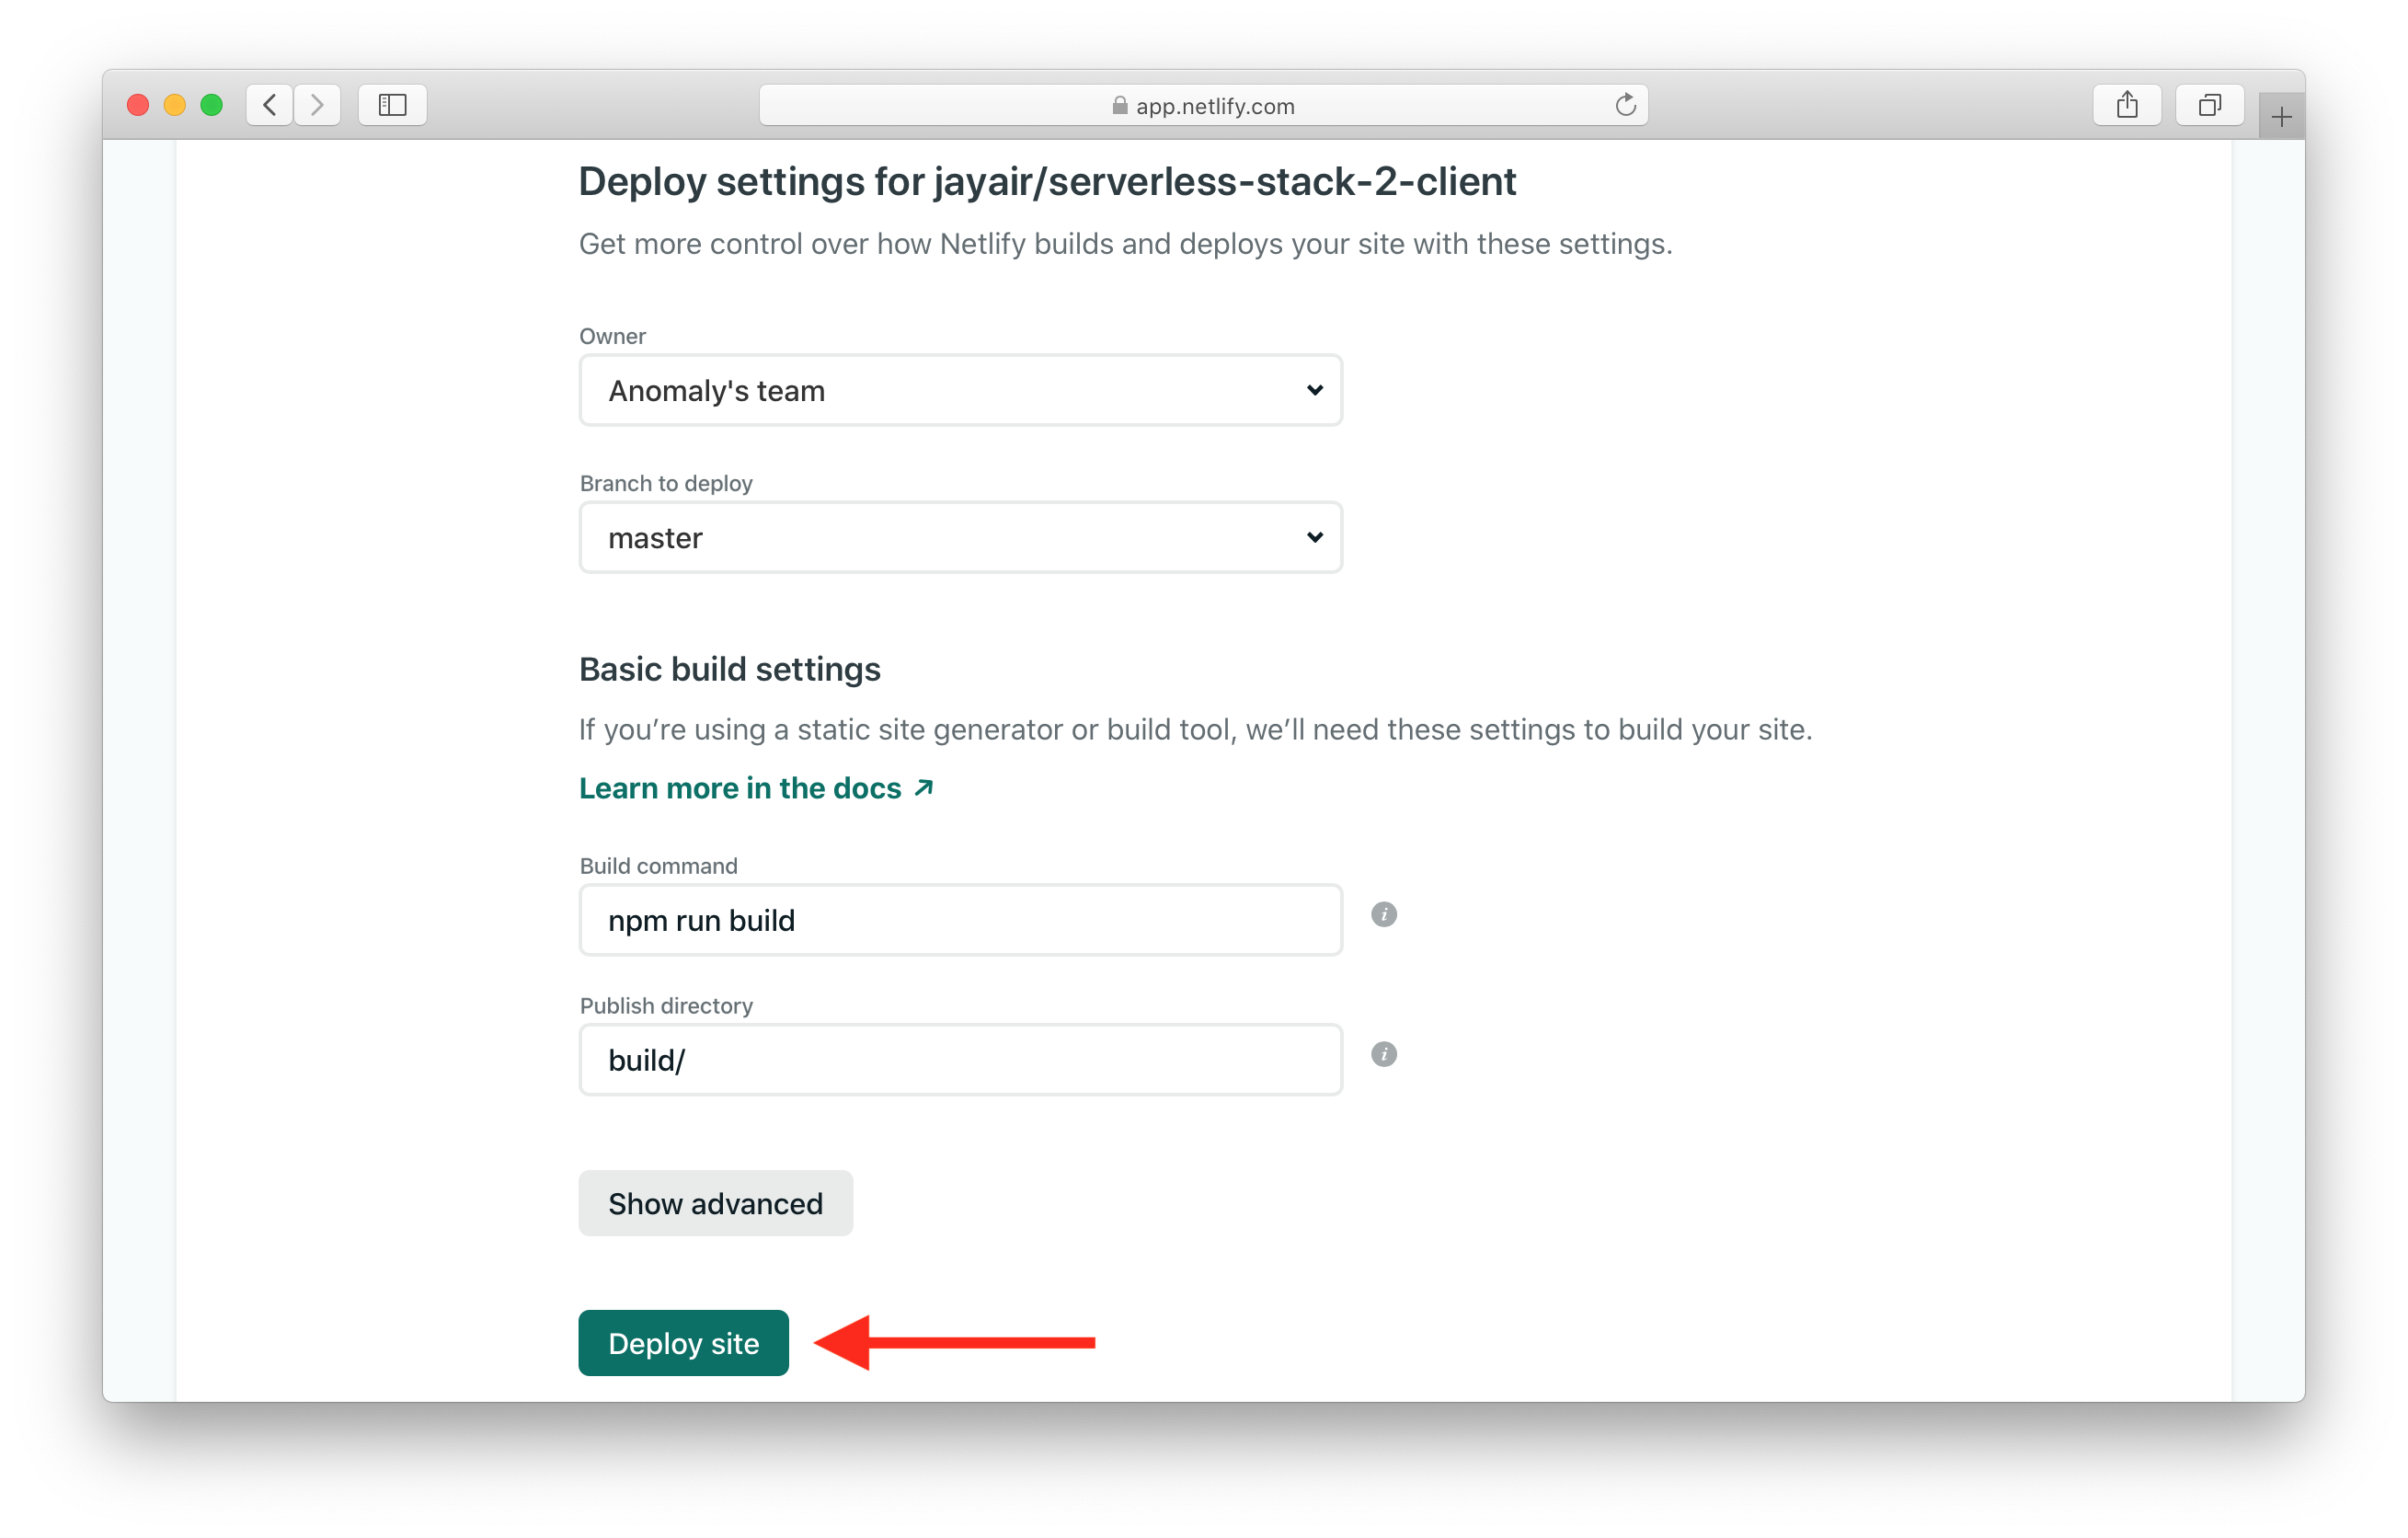
The default settings are exactly what we want for our React app. Hit Deploy site.
This should be deploying our app. Once it is done, click on the deployment.

And you should see your app in action!
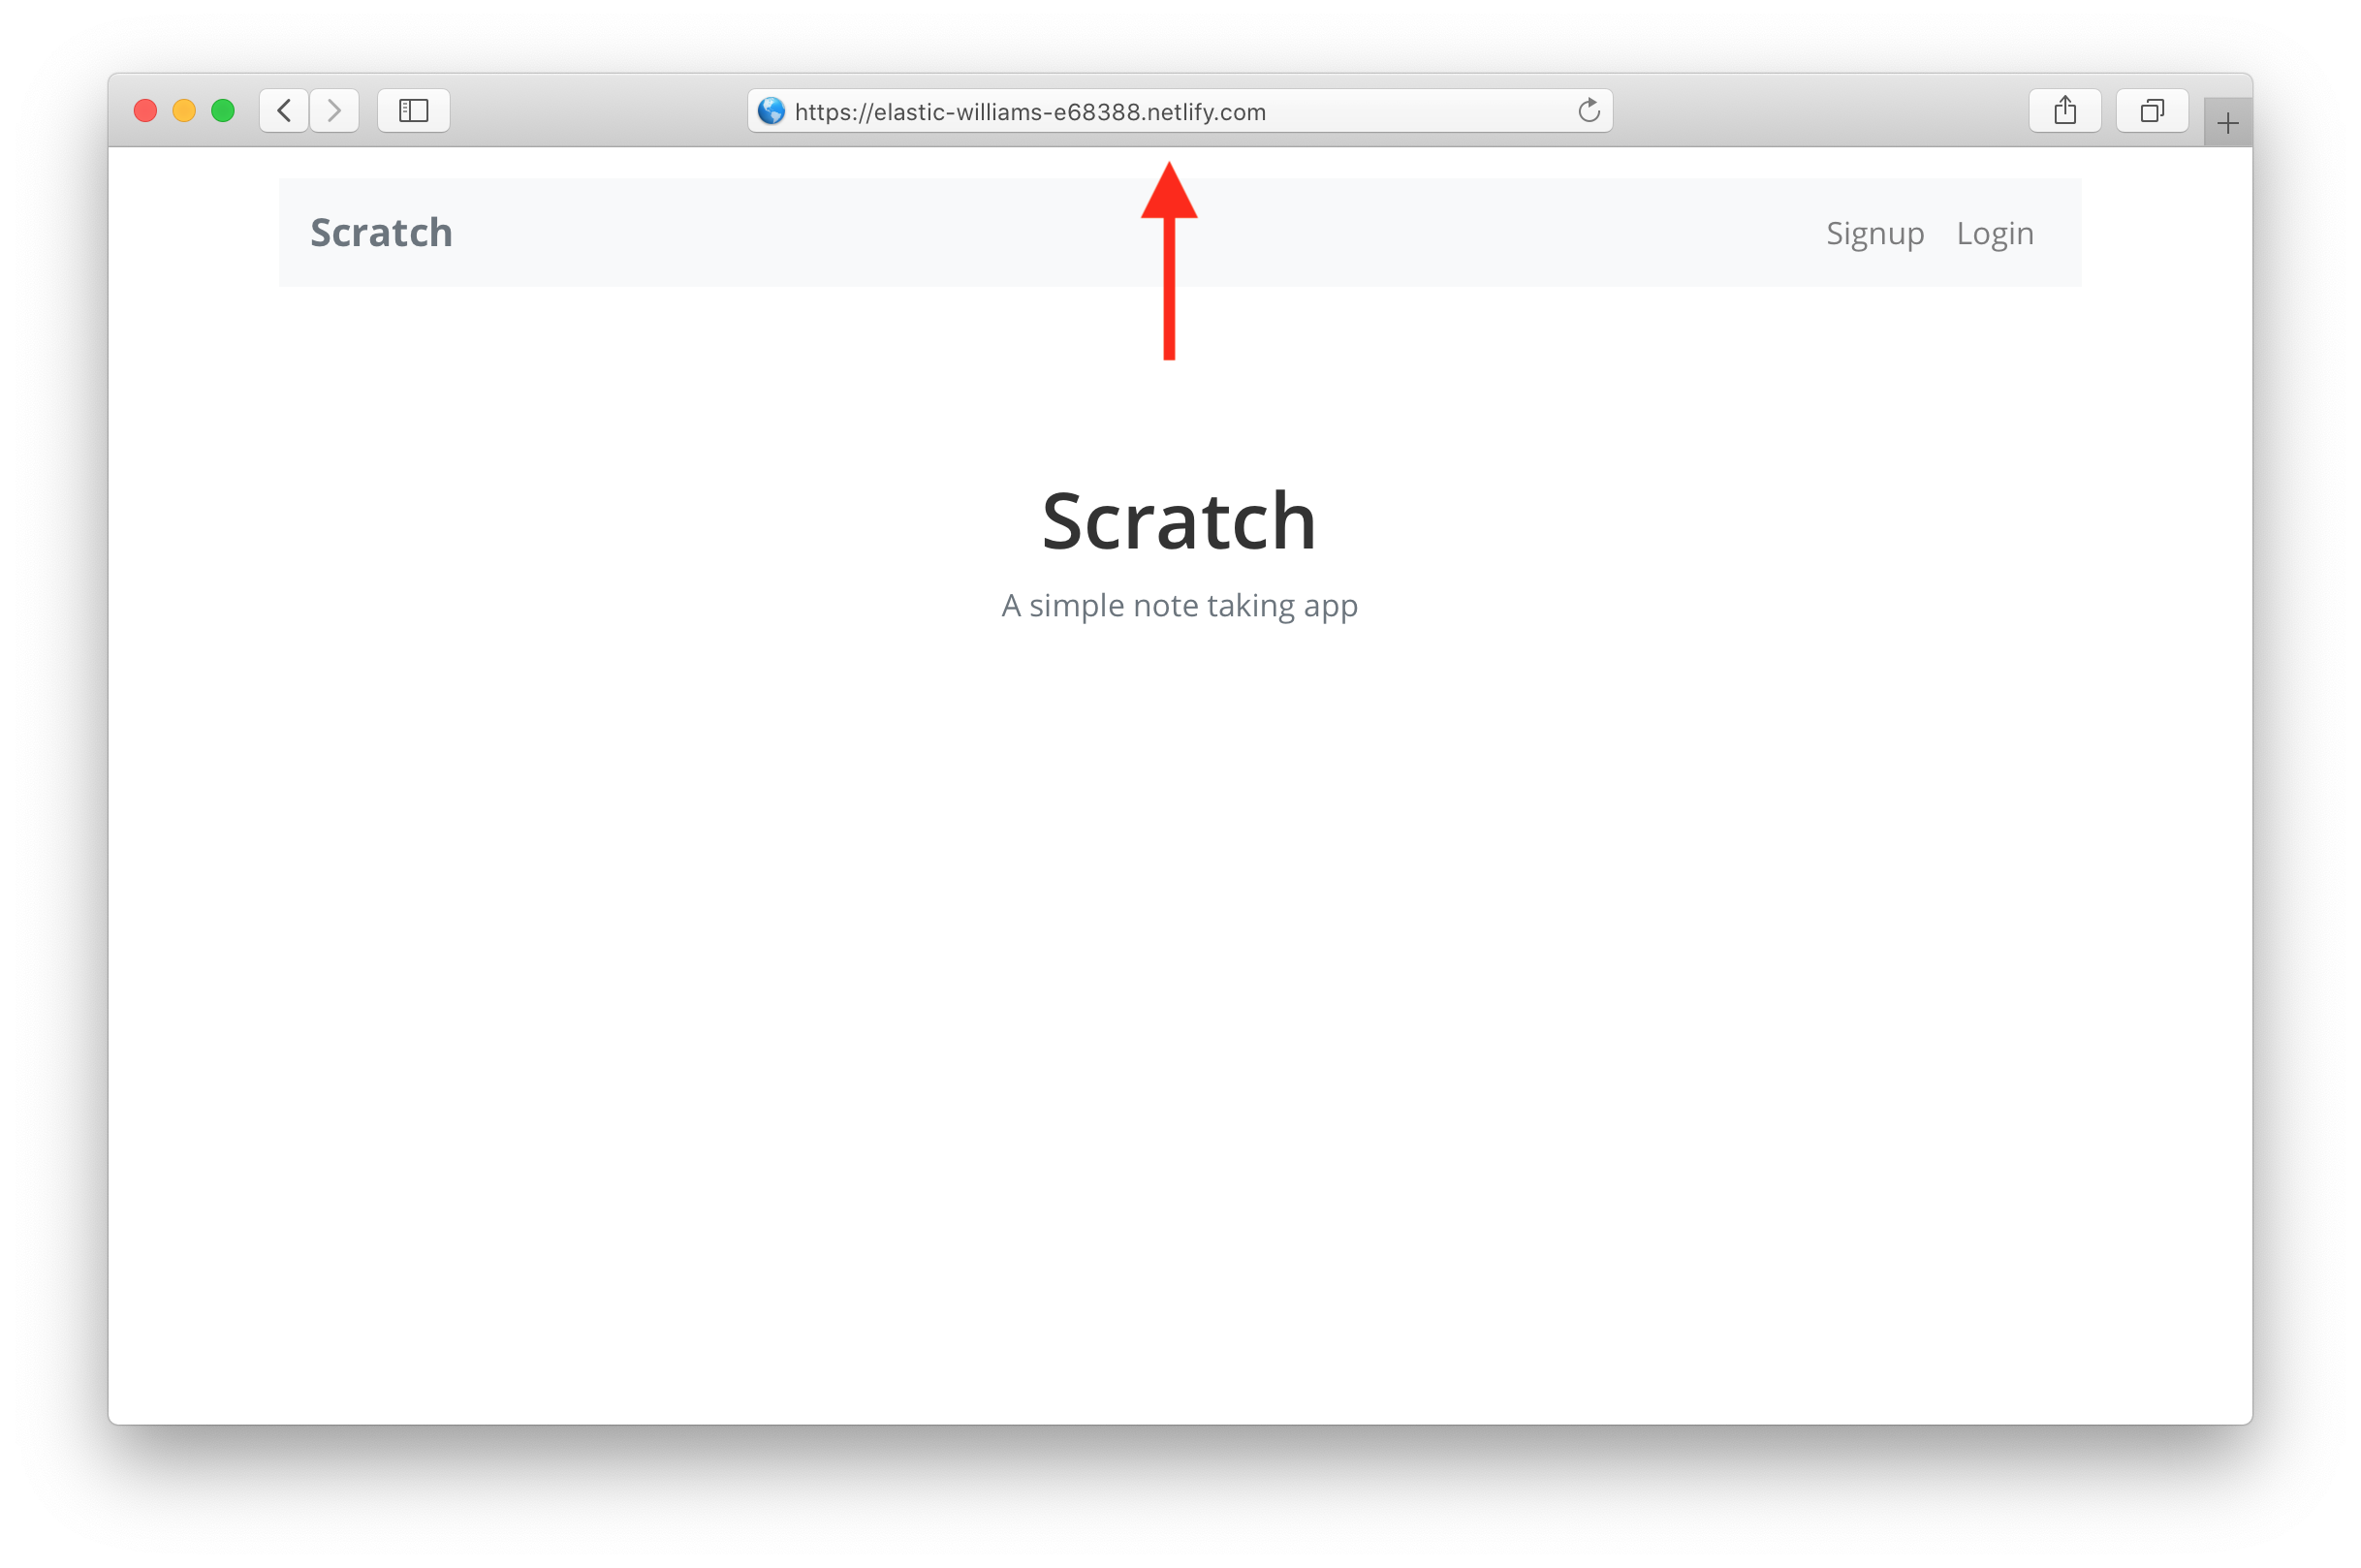
Just like that, our app is live! You can share it with your friends and the rest of the world!
By default, a site hosted on Netlify uses their domains. But we want to host our notes app on our own domain. Let’s do that next!
For help and discussion
Comments on this chapter