
Save Changes to a Note
이제 노트가 양식에 로드되었으므로 변경 사항을 노트에 저장해 보겠습니다.

src/containers/Notes.js에 있는 handleSubmit 메소드를 다음으로 대체하십시오.
saveNote(note) {
  return API.put("notes", `/notes/${this.props.match.params.id}`, {
    body: note
  });
}

handleSubmit = async event => {
  let attachment;

  event.preventDefault();

  if (this.file && this.file.size > config.MAX_ATTACHMENT_SIZE) {
    alert(`Please pick a file smaller than ${config.MAX_ATTACHMENT_SIZE/1000000} MB.`);
    return;
  }

  this.setState({ isLoading: true });

  try {
    if (this.file) {
      attachment = await s3Upload(this.file);
    }

    await this.saveNote({
      content: this.state.content,
      attachment: attachment || this.state.note.attachment
    });
    this.props.history.push("/");
  } catch (e) {
    alert(e);
    this.setState({ isLoading: false });
  }
}
그리고 헤더에 s3Upload helper 메소드를 추가합니다.:
import { s3Upload } from "../libs/awsLib";
위의 코드는 NewNote 컨테이너에서 수행했던 것과 매우 유사한 몇 가지 작업을 수행합니다.
-
업로드할 파일이 있다면 업로드하기 위해
s3Upload를 호출하고 S3에서 얻은 키를 저장합니다. -
notes 객체를 가지고
PUT요청을/notes/:id에 저장하여 노트를 저장합니다. 여기에서this.props.match.params.id의id를 얻습니다. 우리는 AWS Amplify의API.put()메소드를 사용합니다. -
성공하면 사용자를 홈페이지로 리디렉션합니다.
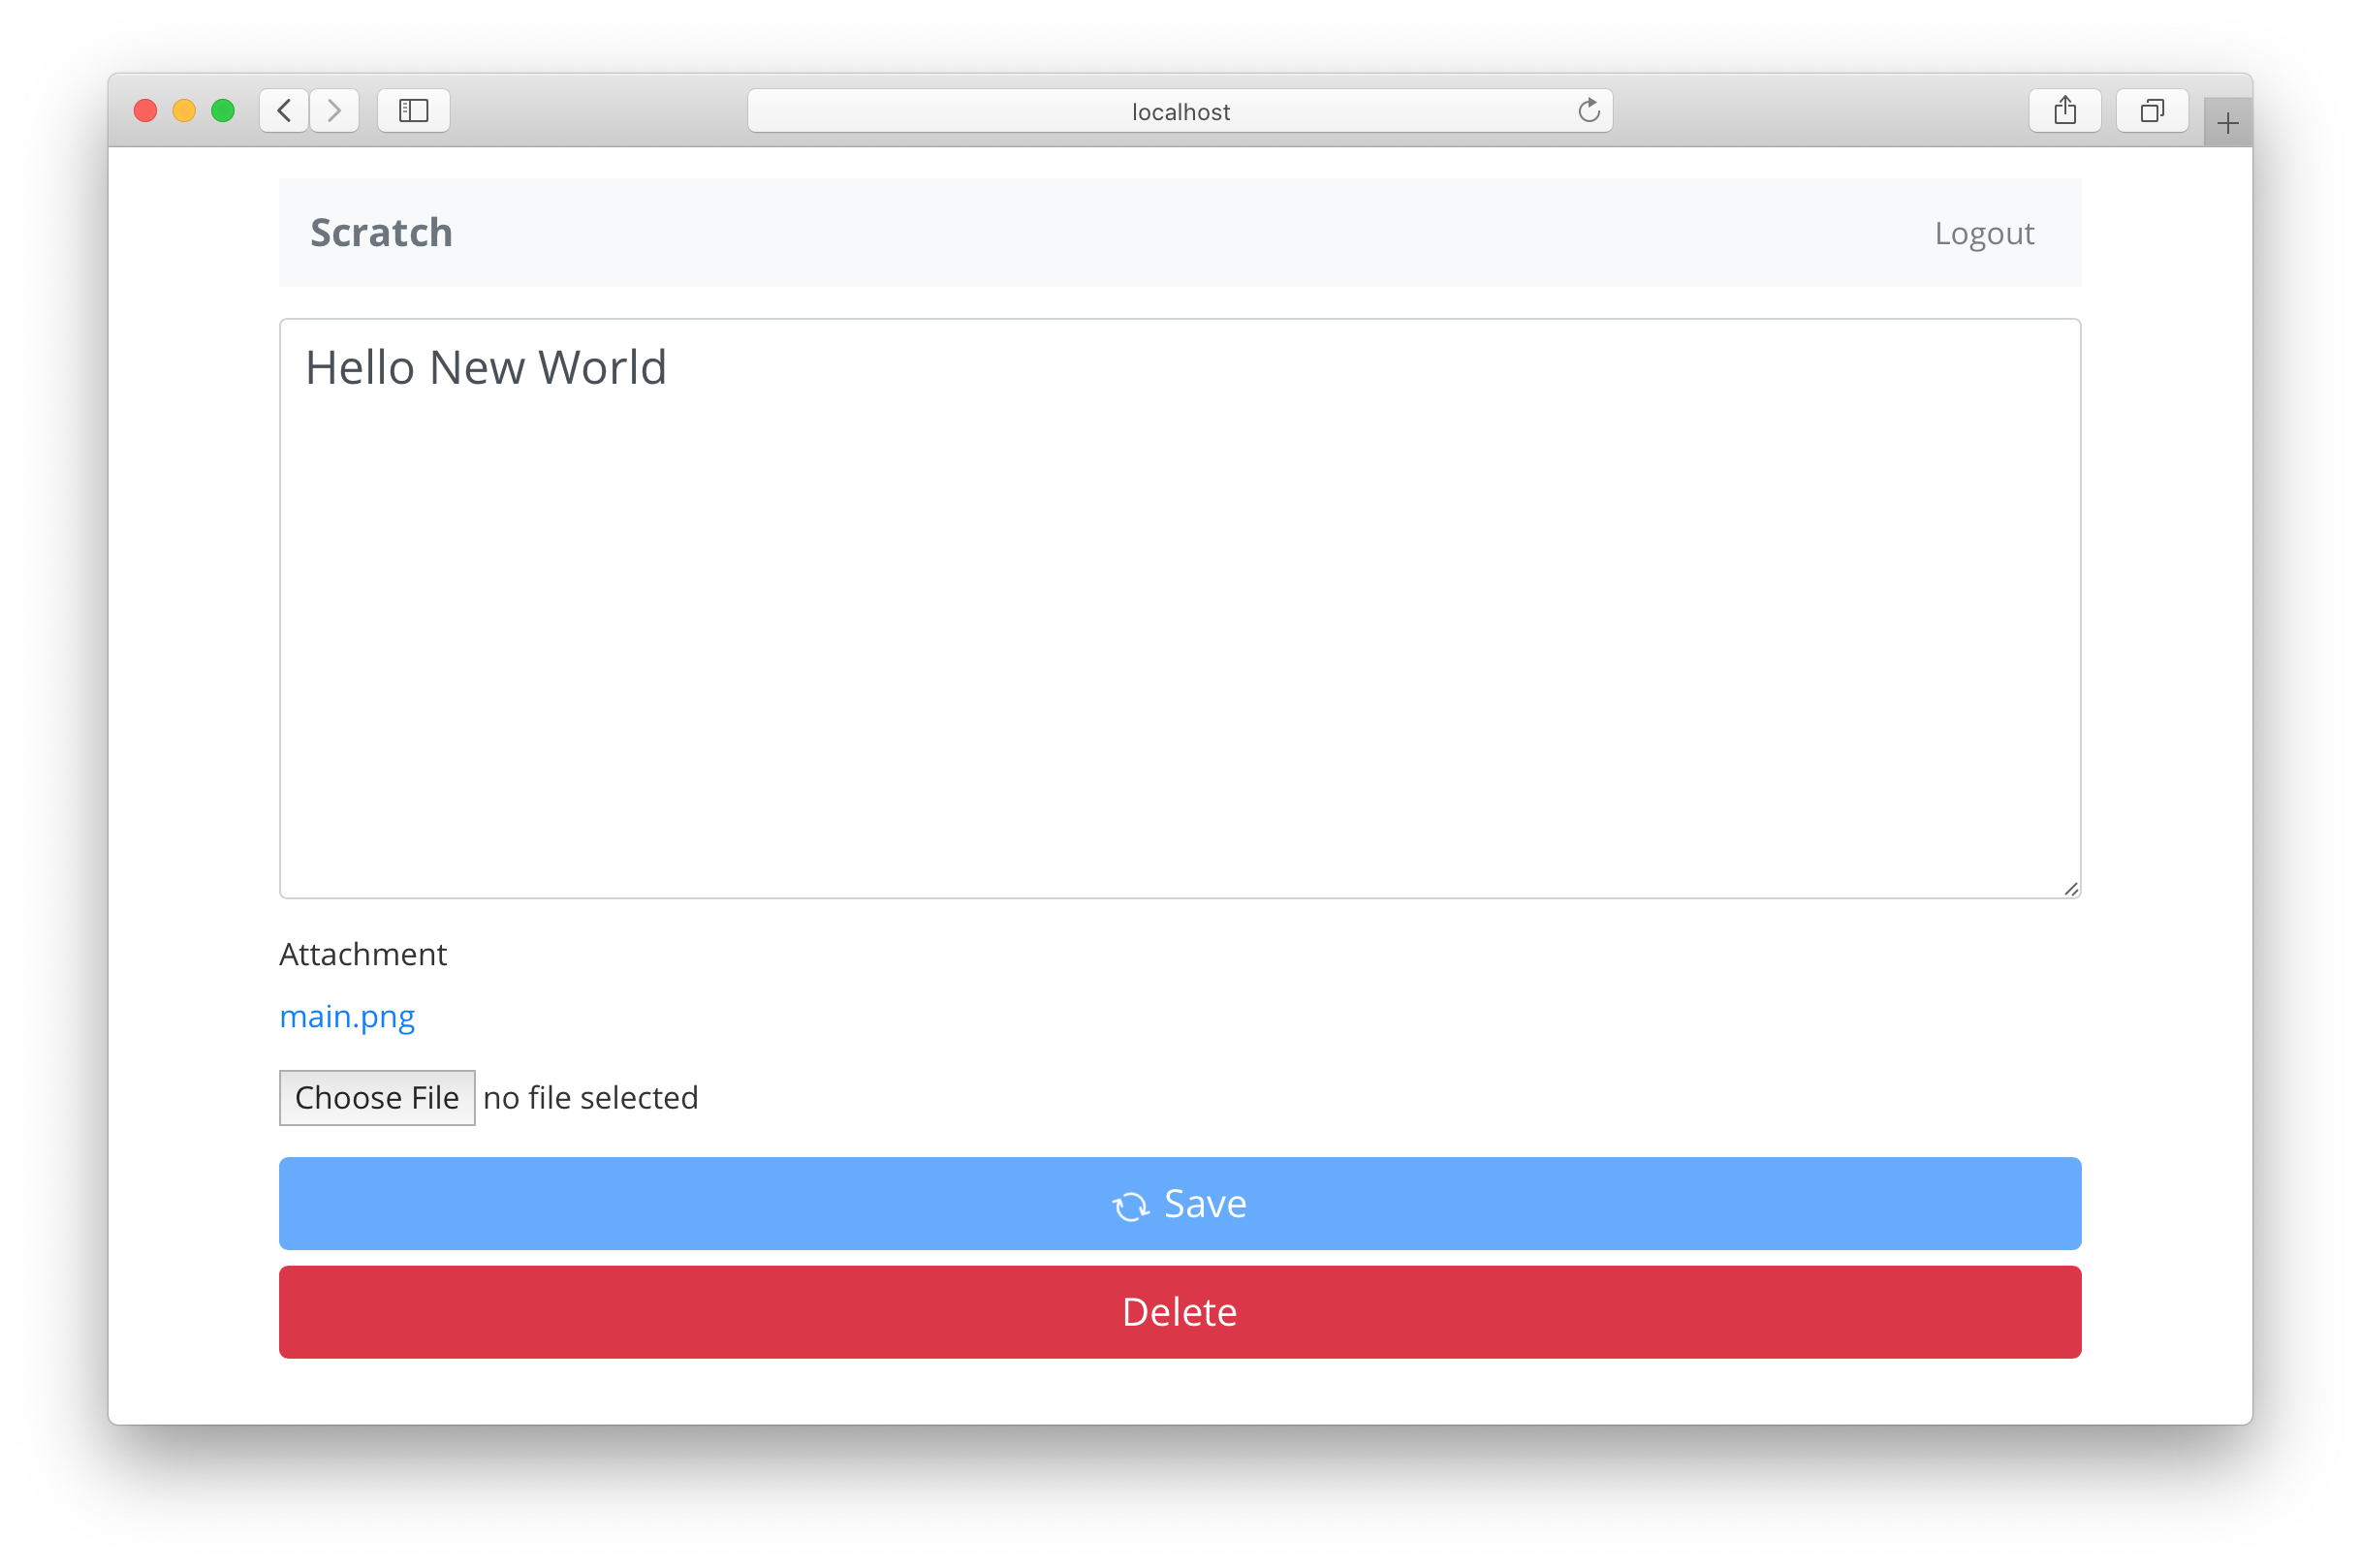
브라우저로 전환하여 변경 사항을 저장해보십시오.
새 첨부 파일을 업로드할 때 이전 첨부 파일을 삭제하지 않는다는 것을 아마 눈치 채셨을겁니다. 과정을 단순하게하기 위해 그런거지만, 여러분이 직접 이 부분에 대한 수정을 하실 수 있도록 남겨두겠습니다. 이를 처리하는 방법은 매우 간단해야합니다. S3에서 파일을 삭제하는 방법은 AWS Amplify API Docs에서 확인하십시오.
다음으로 사용자가 메모를 삭제하도록 하겠습니다.
For help and discussion
Comments on this chapter