
Connect the Billing Form
이제 우리가 해야할 일은 결제 양식을 결제 API에 연결하는 것입니다.
Stripe.js를 HTML에 포함시켜 보겠습니다.

public/index.html 파일의 <head> 아래에 다음을 추가합니다.
<script src="https://js.stripe.com/v3/"></script>
src/containers/Settings.js에 render 메소드를 다음으로 대체합니다.
handleFormSubmit = async (storage, { token, error }) => {
if (error) {
alert(error);
return;
}
this.setState({ isLoading: true });
try {
await this.billUser({
storage,
source: token.id
});
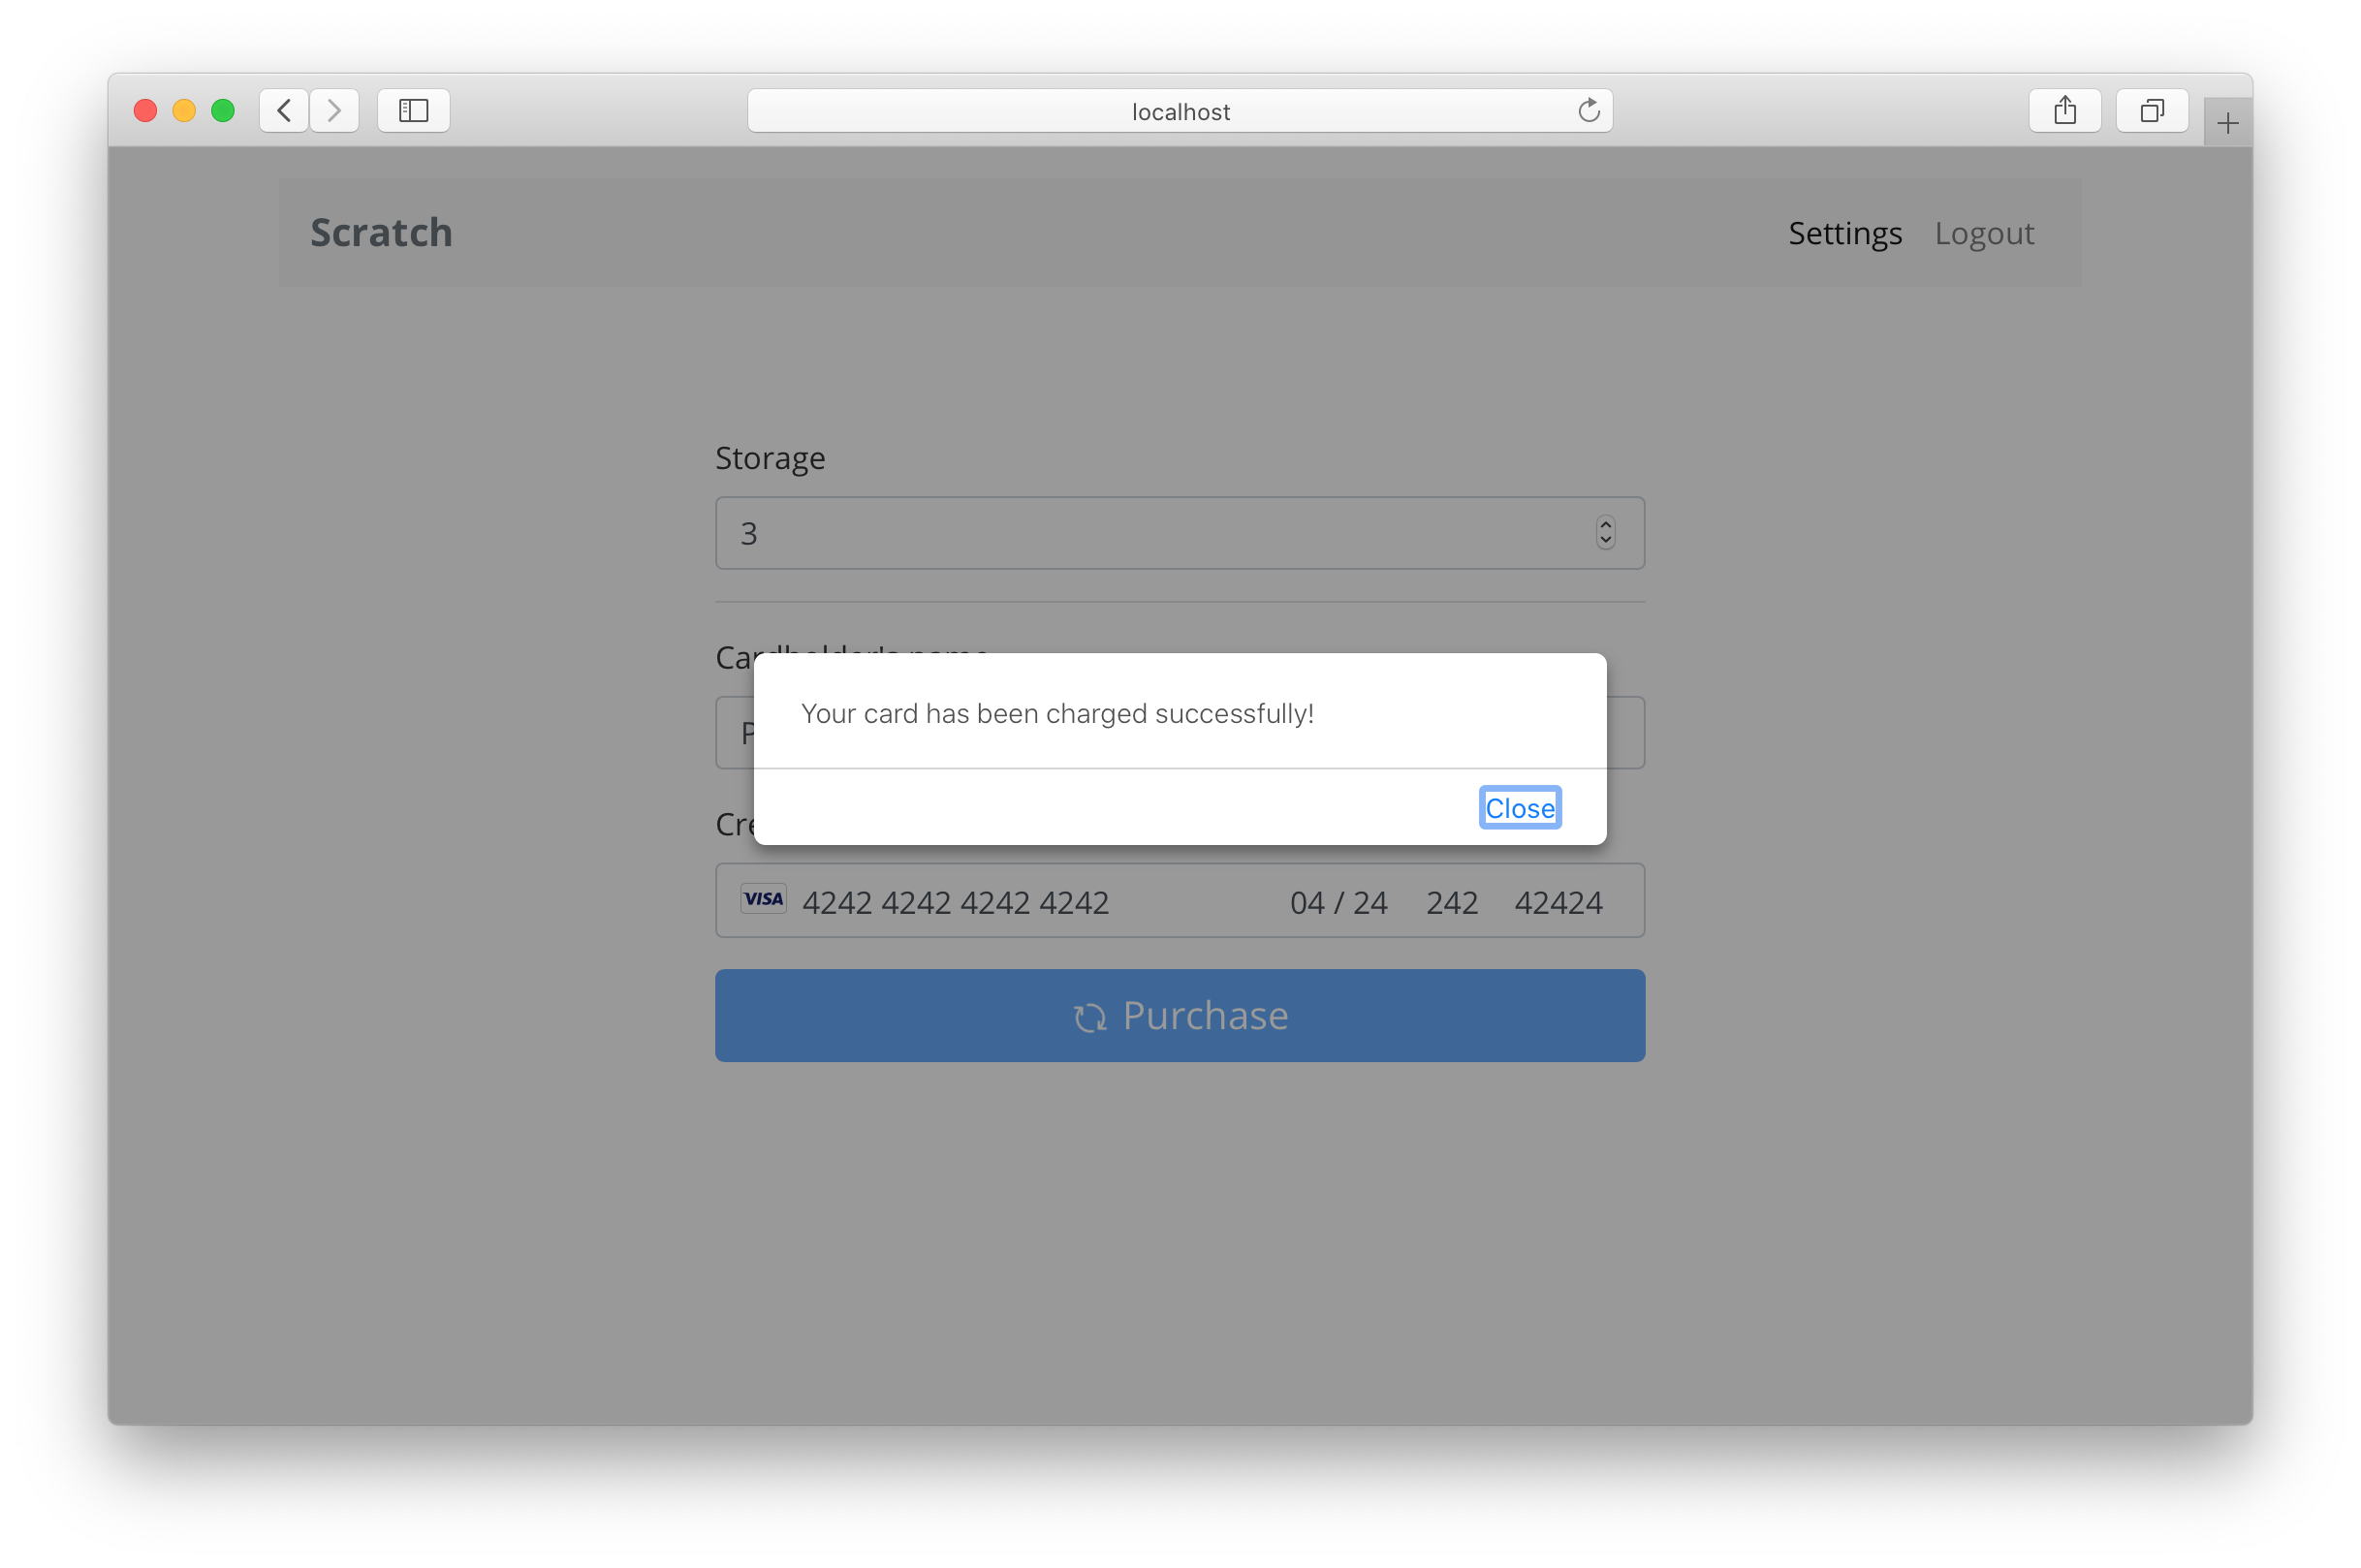
alert("Your card has been charged successfully!");
this.props.history.push("/");
} catch (e) {
alert(e);
this.setState({ isLoading: false });
}
}
render() {
return (
<div className="Settings">
<StripeProvider apiKey={config.STRIPE_KEY}>
<Elements>
<BillingForm
loading={this.state.isLoading}
onSubmit={this.handleFormSubmit}
/>
</Elements>
</StripeProvider>
</div>
);
}
그리고 헤더에 다음 내용을 추가합니다.
import { Elements, StripeProvider } from "react-stripe-elements";
import BillingForm from "../components/BillingForm";
import config from "../config";
import "./Settings.css";
우리는 앞서 작성한 BillingForm 컴포넌트를 추가하고 마지막 장에서 언급한 loading 과 onSubmit 속성을 전달합니다. handleFormSubmit 메소드에서 우리는 마지막 챕터의 Stripe 메소드가 오류를 반환했는지 확인하고 있습니다. 그리고 상황이 괜찮아 보인다면 사용자에게 알린 후 결제 API를 호출하고 홈 페이지로 리디렉션합니다.
여기에서 중요한 세부 사항은 우리가 사용하고있는 StripeProvider 와 Elements 컴포넌트에 관한 것입니다. StripeProvider 컴포넌트는 Stripe SDK가 config.STRIPE_KEY를 사용하여 Stripe 메소드를 호출하기 원합니다. 또한 결제 양식의 최상위 레벨에서 wrapping해야합니다. 비슷하게, Elements 컴포넌트는 CardElement Stripe 컴포넌트를 사용할 어떤 컴포넌트든 wrapping할 필요가 있습니다.
마지막으로 Setting 페이지의 스타일을 전체적으로 처리해 보겠습니다.
src/containers/Settings.css에 다음을 추가합니다.
@media all and (min-width: 480px) {
  .Settings {
    padding: 60px 0;
  }

  .Settings form {
    margin: 0 auto;
    max-width: 480px;
  }
}
이렇게하면 큰 화면에서 양식이 올바르게 표시됩니다.
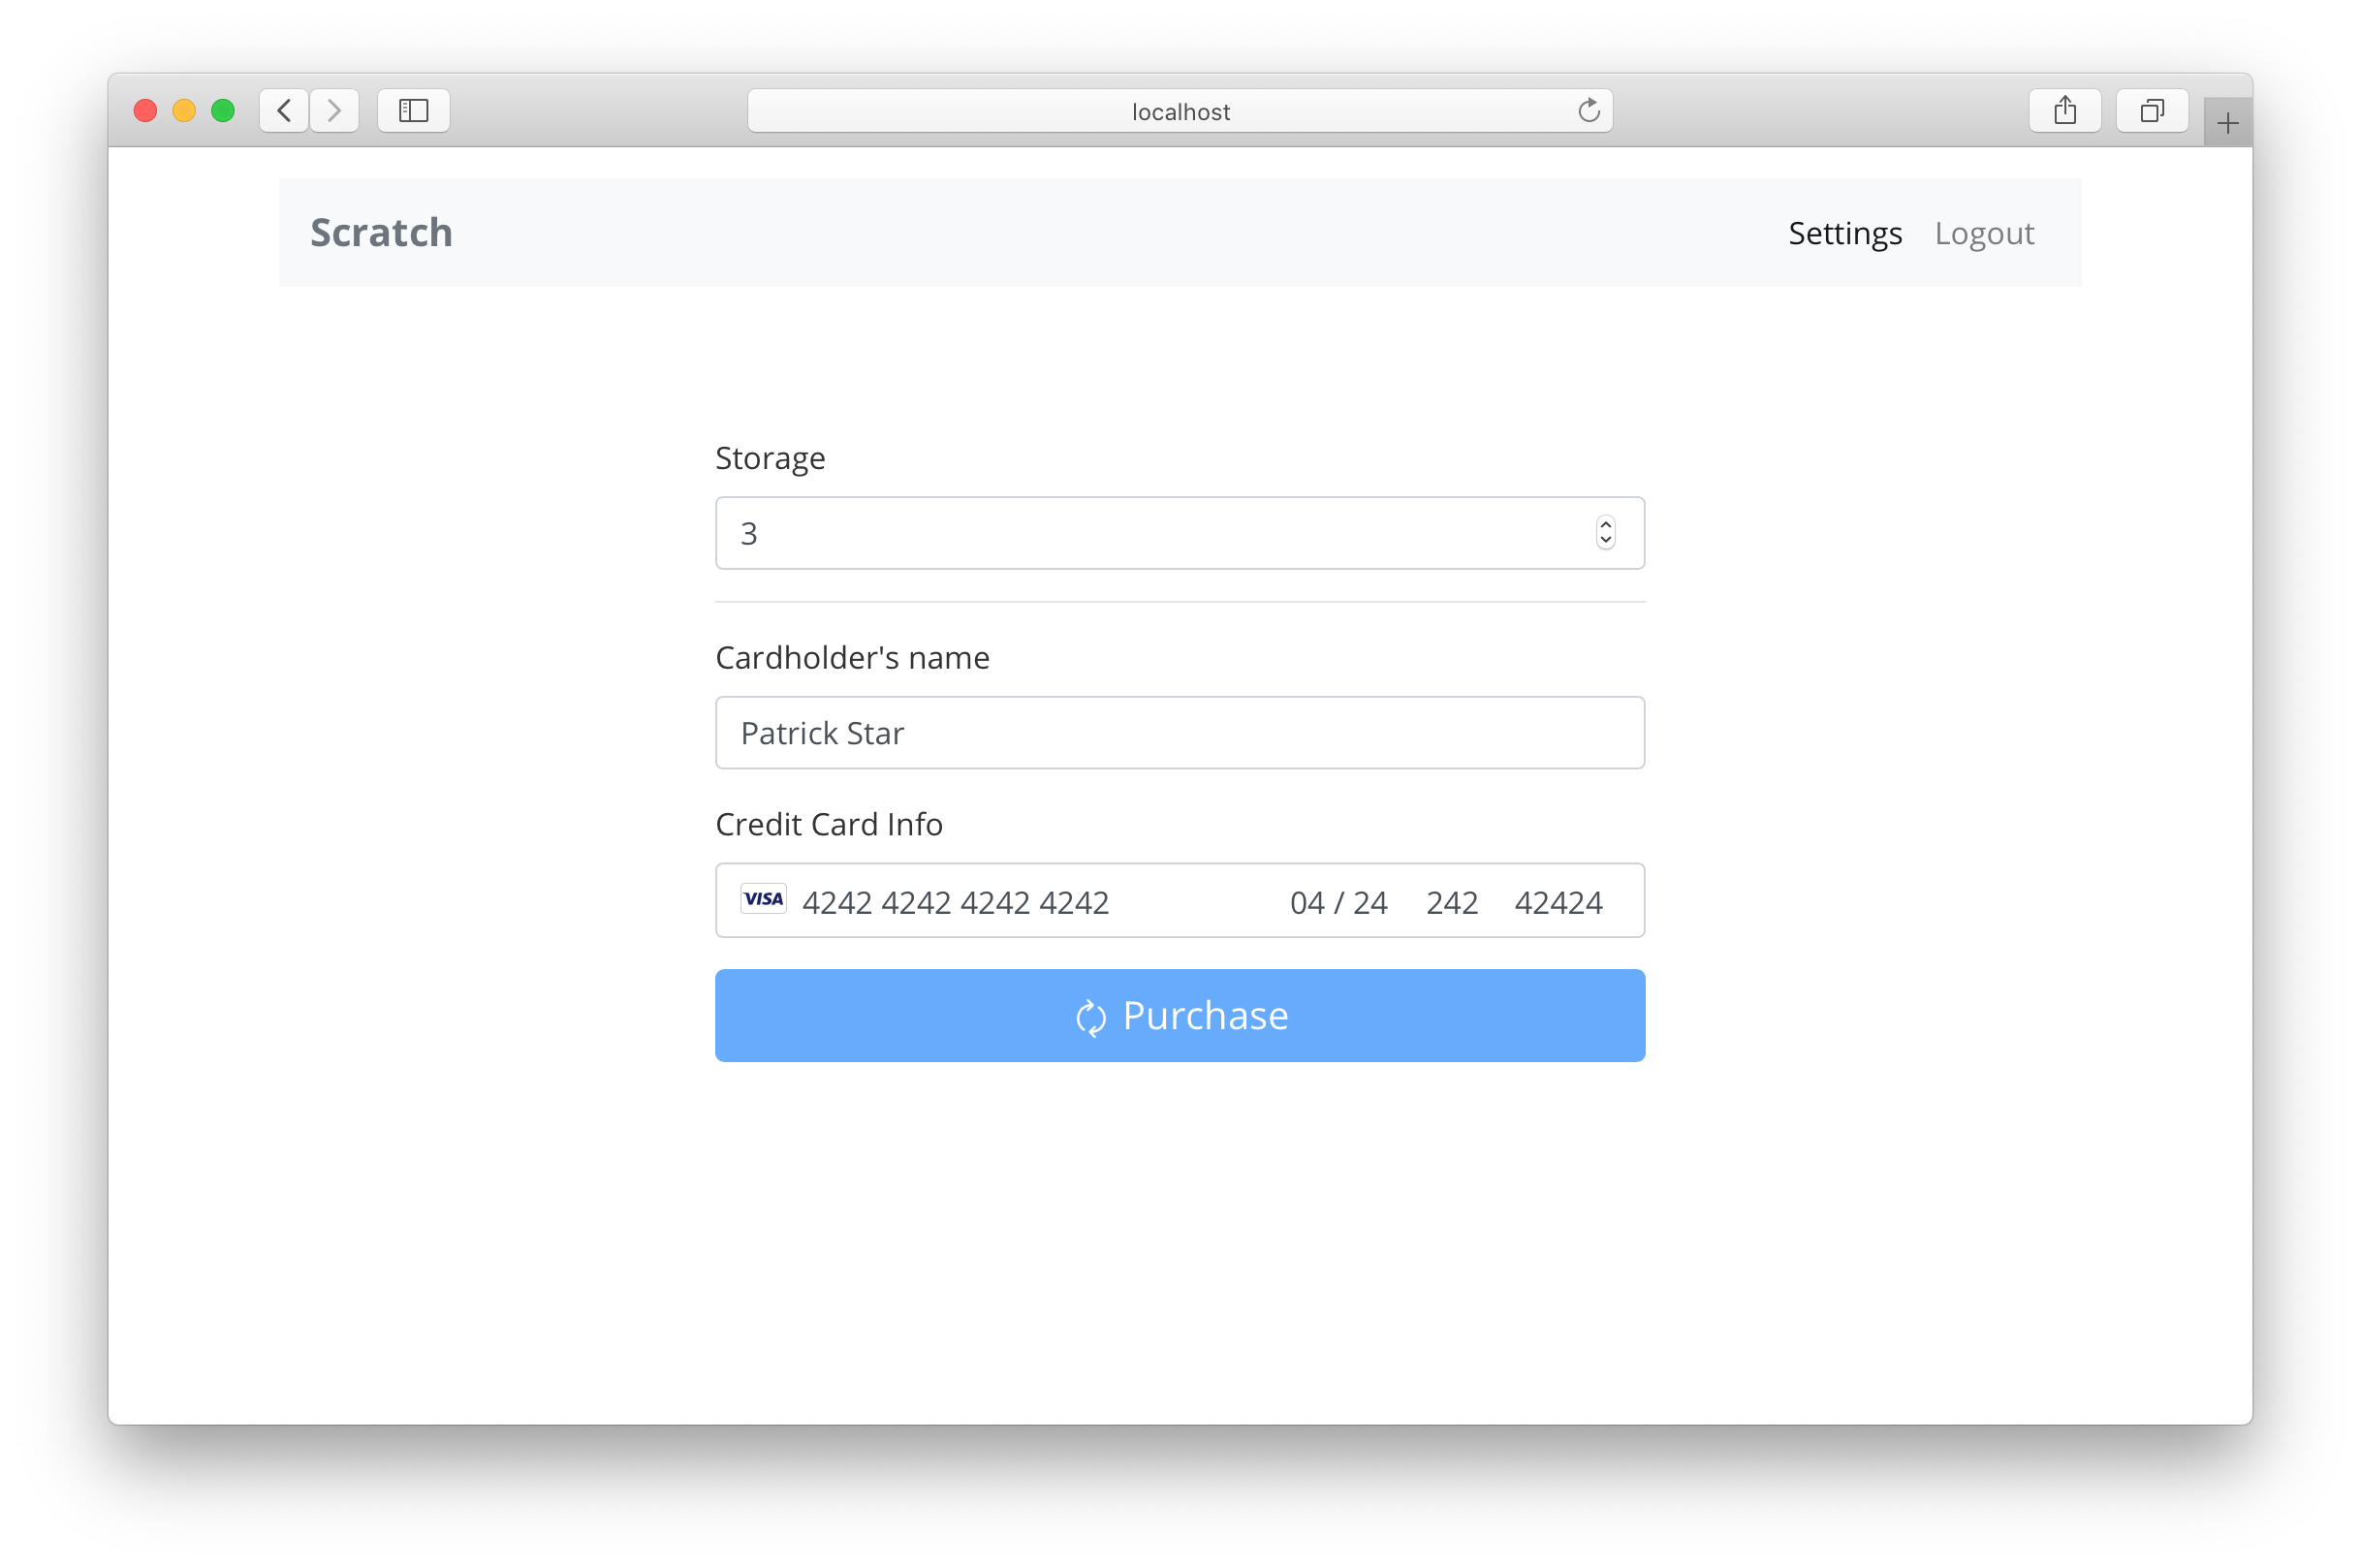
그리고 Stripe 형식을 테스트할 준비가되었습니다. 브라우저로 가서 저장할 노트 수를 선택하고 카드 세부 정보에 대해 다음을 사용하십시오.
- Stripe 테스트 카드 번호는
4242 4242 4242 4242입니다. - 유효한 만료일, 보안 코드 및 우편 번호를 사용할 수 있습니다.
- 그리고 아무 이름이라도 입력하십시오.
Stripe 테스트 카드에 대한 자세한 내용은 Stripe API Docs를 참조하십시오.
모두 정확히 설정완료되면 성공 메시지가 나타나야하며 홈페이지로 리디렉션됩니다.
변경 사항 적용
Git에 빠르게 커밋합니다.
$ git add .
$ git commit -m "Connecting the billing form"
다음에는 Netlify라는 서비스를 사용하여 React 앱의 자동 배포를 설정합니다. 이것은 Serverless 백엔드 API에서했던 것과 상당히 유사합니다.
For help and discussion
Comments on this chapter