
How to use MongoDB in your serverless app
In this example we will look at how to use MongoDB in our serverless app using Serverless Stack (SST). We’ll be creating a simple API that returns a list of movies.
Requirements
- Node.js >= 10.15.1
- We’ll be using Node.js (or ES) in this example but you can also use TypeScript
- An AWS account with the AWS CLI configured locally
Create an SST app
 Let’s start by creating an SST app.
$ npx create-serverless-stack@latest rest-api-mongodb
$ cd rest-api-mongodb
By default our app will be deployed to an environment (or stage) called dev and the us-east-1 AWS region. This can be changed in the sst.json in your project root.
{
  "name": "rest-api-mongodb",
  "stage": "dev",
  "region": "us-east-1"
}
Project layout
An SST app is made up of two parts.
-
lib/— App InfrastructureThe code that describes the infrastructure of your serverless app is placed in the
lib/directory of your project. SST uses AWS CDK, to create the infrastructure. -
src/— App CodeThe code that’s run when your API is invoked is placed in the
src/directory of your project.
Adding the API
First let’s create the API endpoint and connect it to a Lambda function. We’ll be using this to query our MongoDB database.
Replace the lib/MyStack.js with the following.
import * as sst from "@serverless-stack/resources";

export default class MyStack extends sst.Stack {
  constructor(scope, id, props) {
    super(scope, id, props);

    // Create a HTTP API
    const api = new sst.Api(this, "Api", {
      routes: {
        "GET /": {
          function: {
            bundle: false,
            srcPath: "src/",
            handler: "lambda.handler",
            environment: {
              MONGODB_URI: process.env.MONGODB_URI,
            },
          },
        },
      },
    });

    // Show the endpoint in the output
    this.addOutputs({
      ApiEndpoint: api.url,
    });
  }
}
We are doing a couple of things here.
- We are creating an endpoint at
GET /and connecting it to a Lambda function. - We are passing in the MongoDB connection string as an environment variable (
MONGODB_URI). We’ll be loading this from a.envfile that we’ll be soon. - The function is not being bundled. This means that we are not using esbuild to package it. This is because there are some MongoDB npm packages (that we’ll be using later) that are not compatible with esbuild. So we’ll be zipping up the entire
srcPathdirectory and deploying it. - Finally, we are printing out the API endpoint in our outputs.
Setting up MongoDB
Let’s create our MongoDB database. Start by heading over to MongoDB.com to create a free account.
Then create a new Cluster. We are using the free Shared Cluster option for this example. Make sure to select AWS as the cloud provider and pick a region where you are deploying your SST app. In this example, we are using us-east-1.
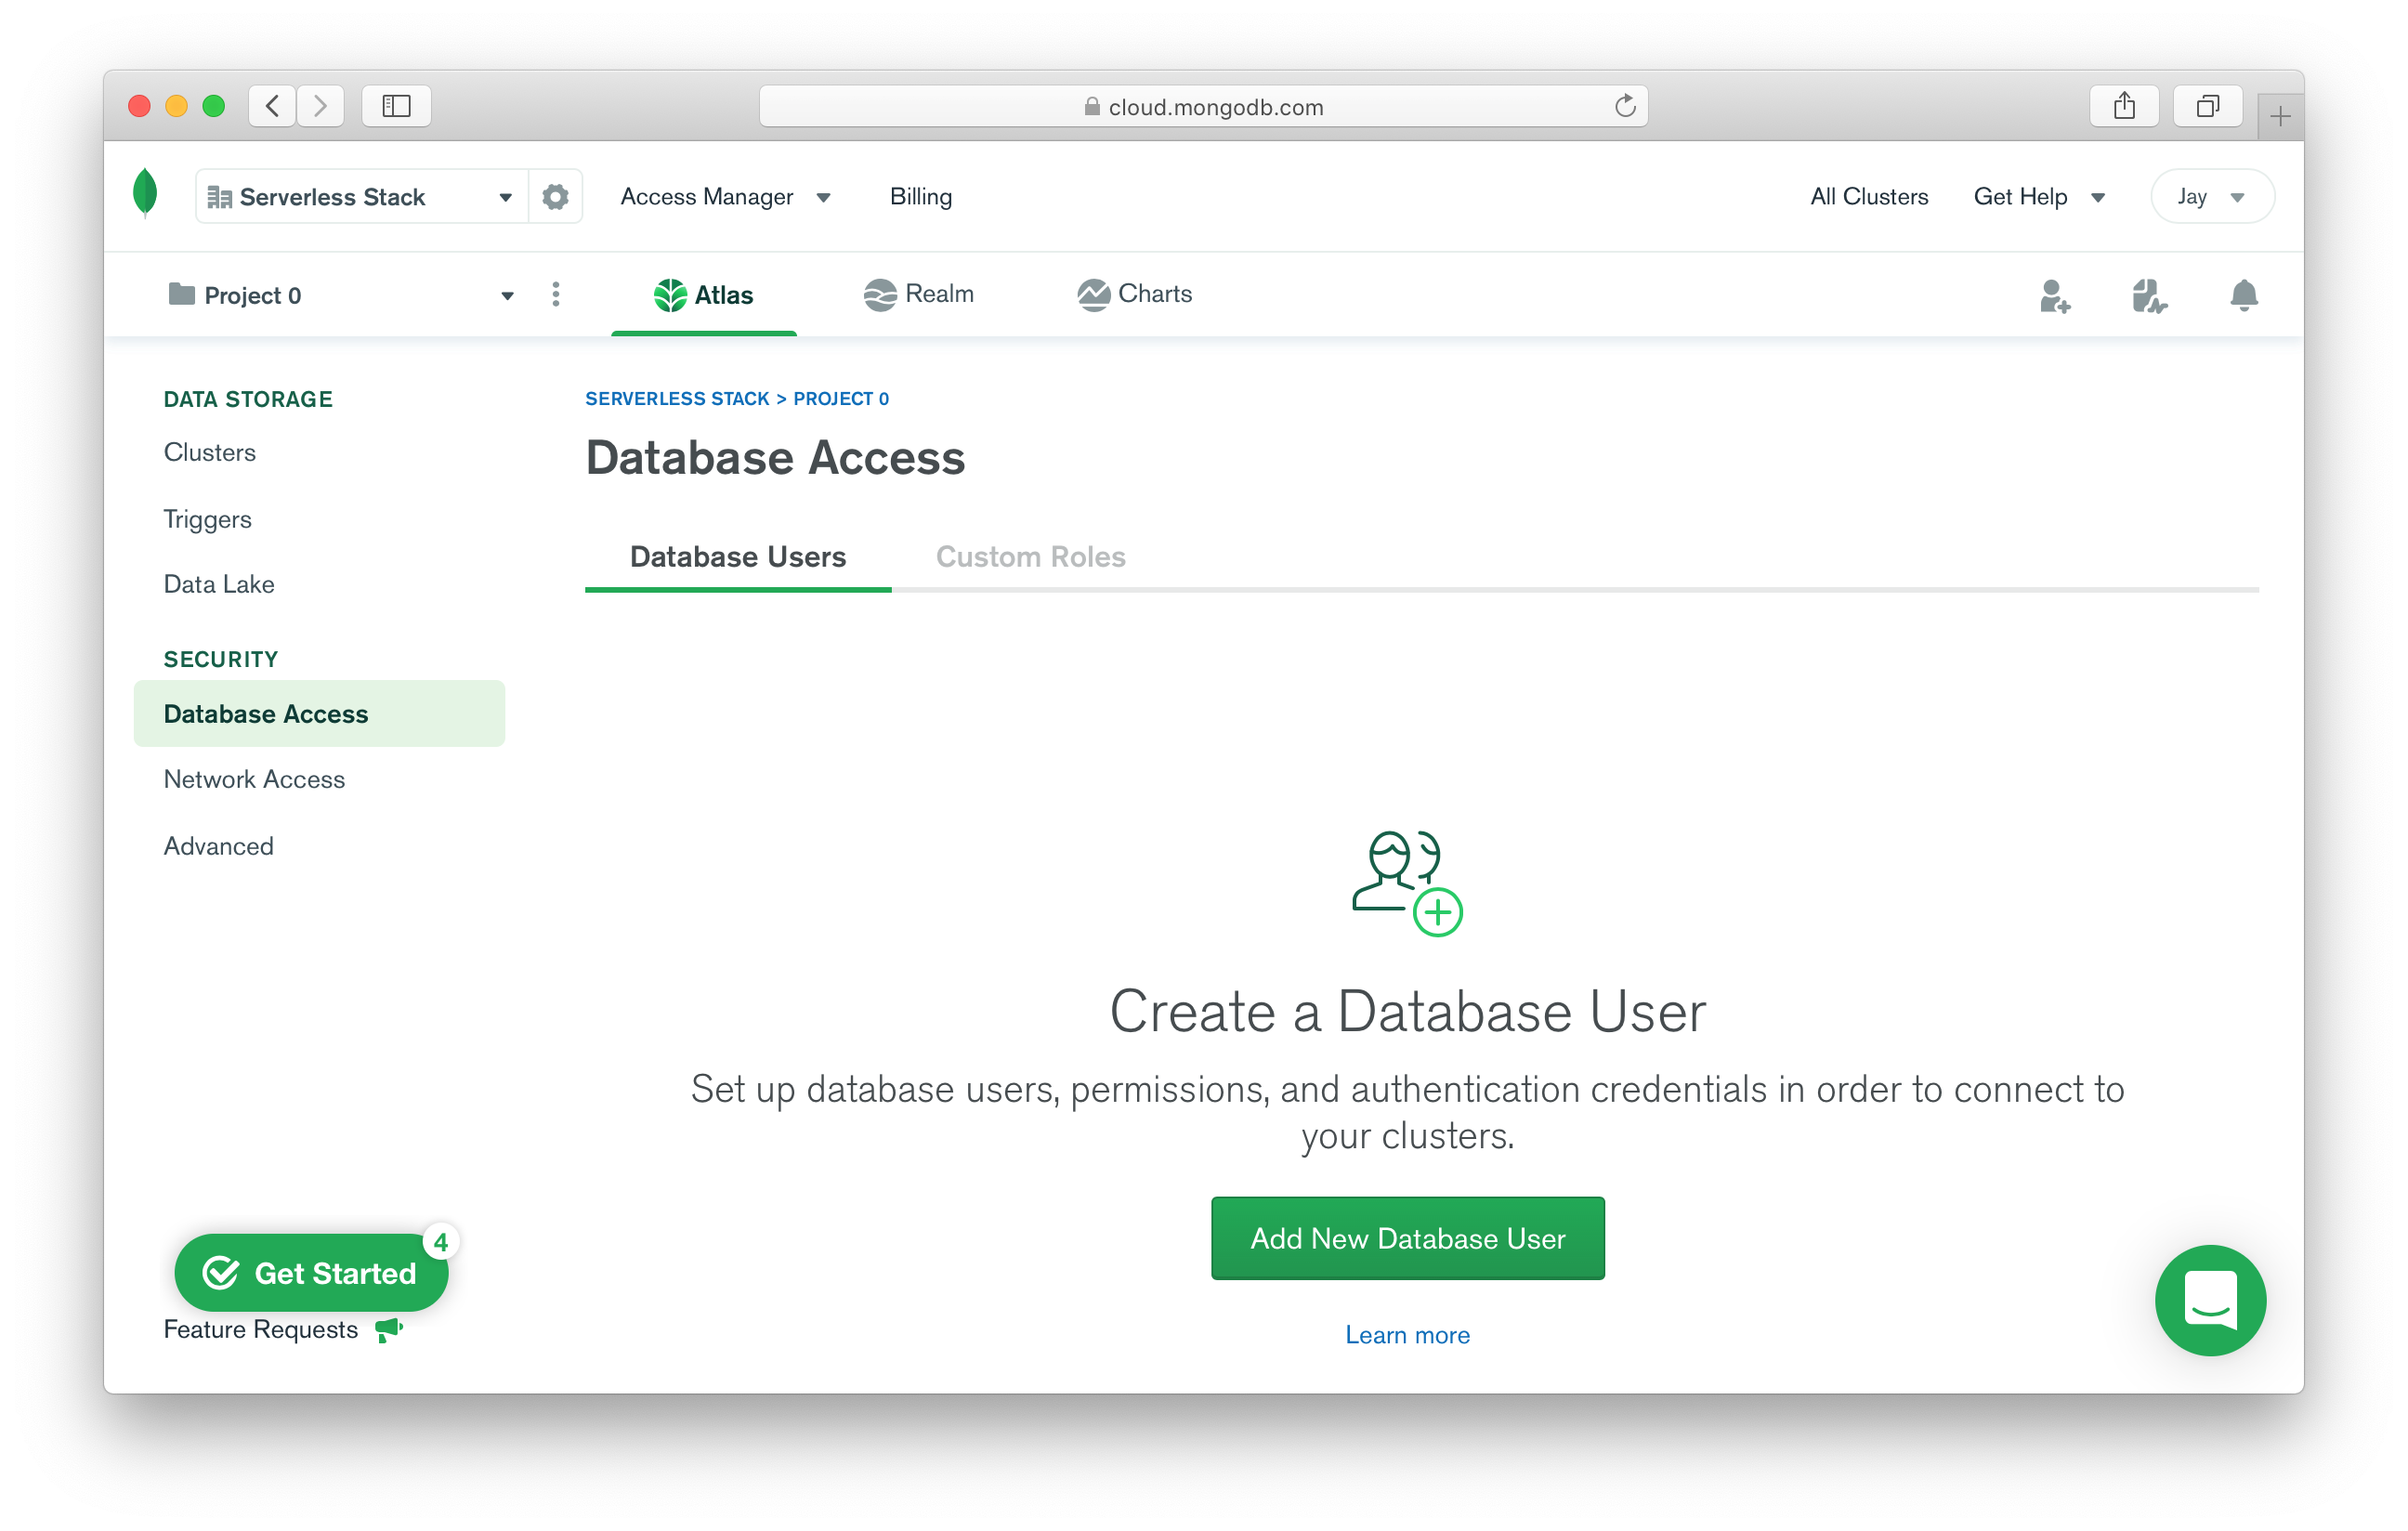
Once our cluster is created, click Add New Database User.
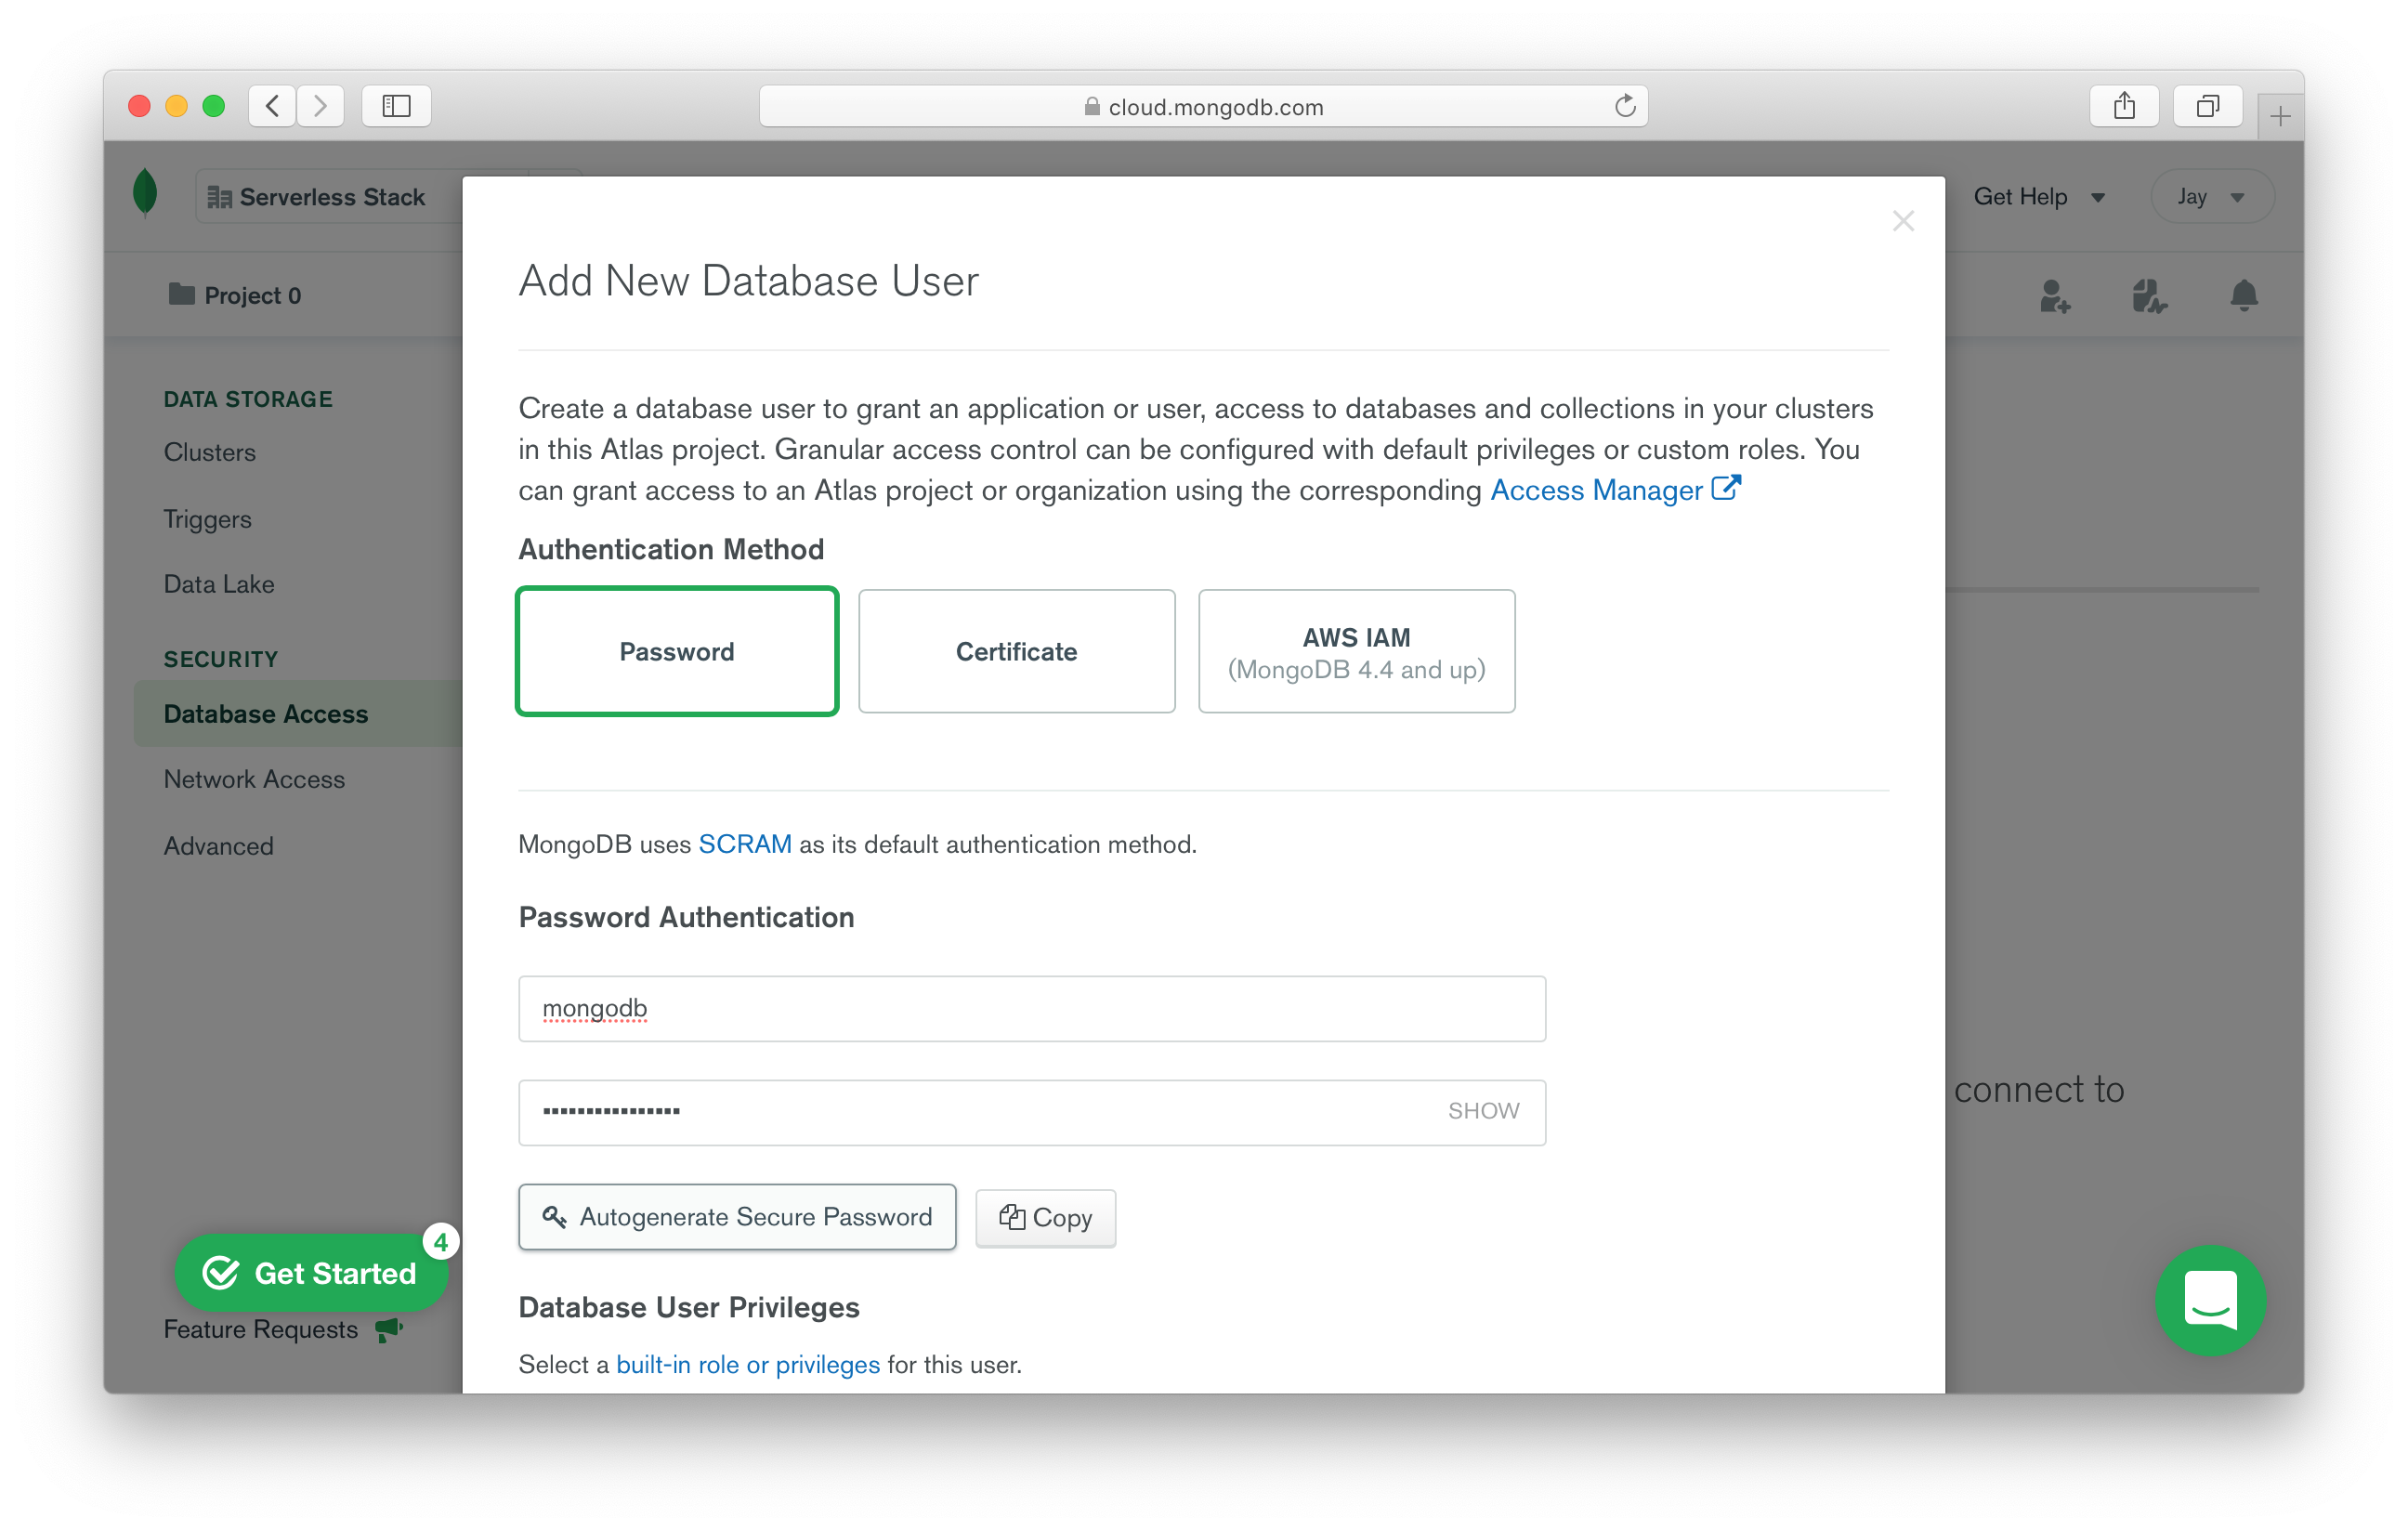
For now we are using Password as our Authentication Method. In this case we are using mongodb as our username and using the Autogenerate Secure Password option. Make sure to save the password because we are going to need it later.
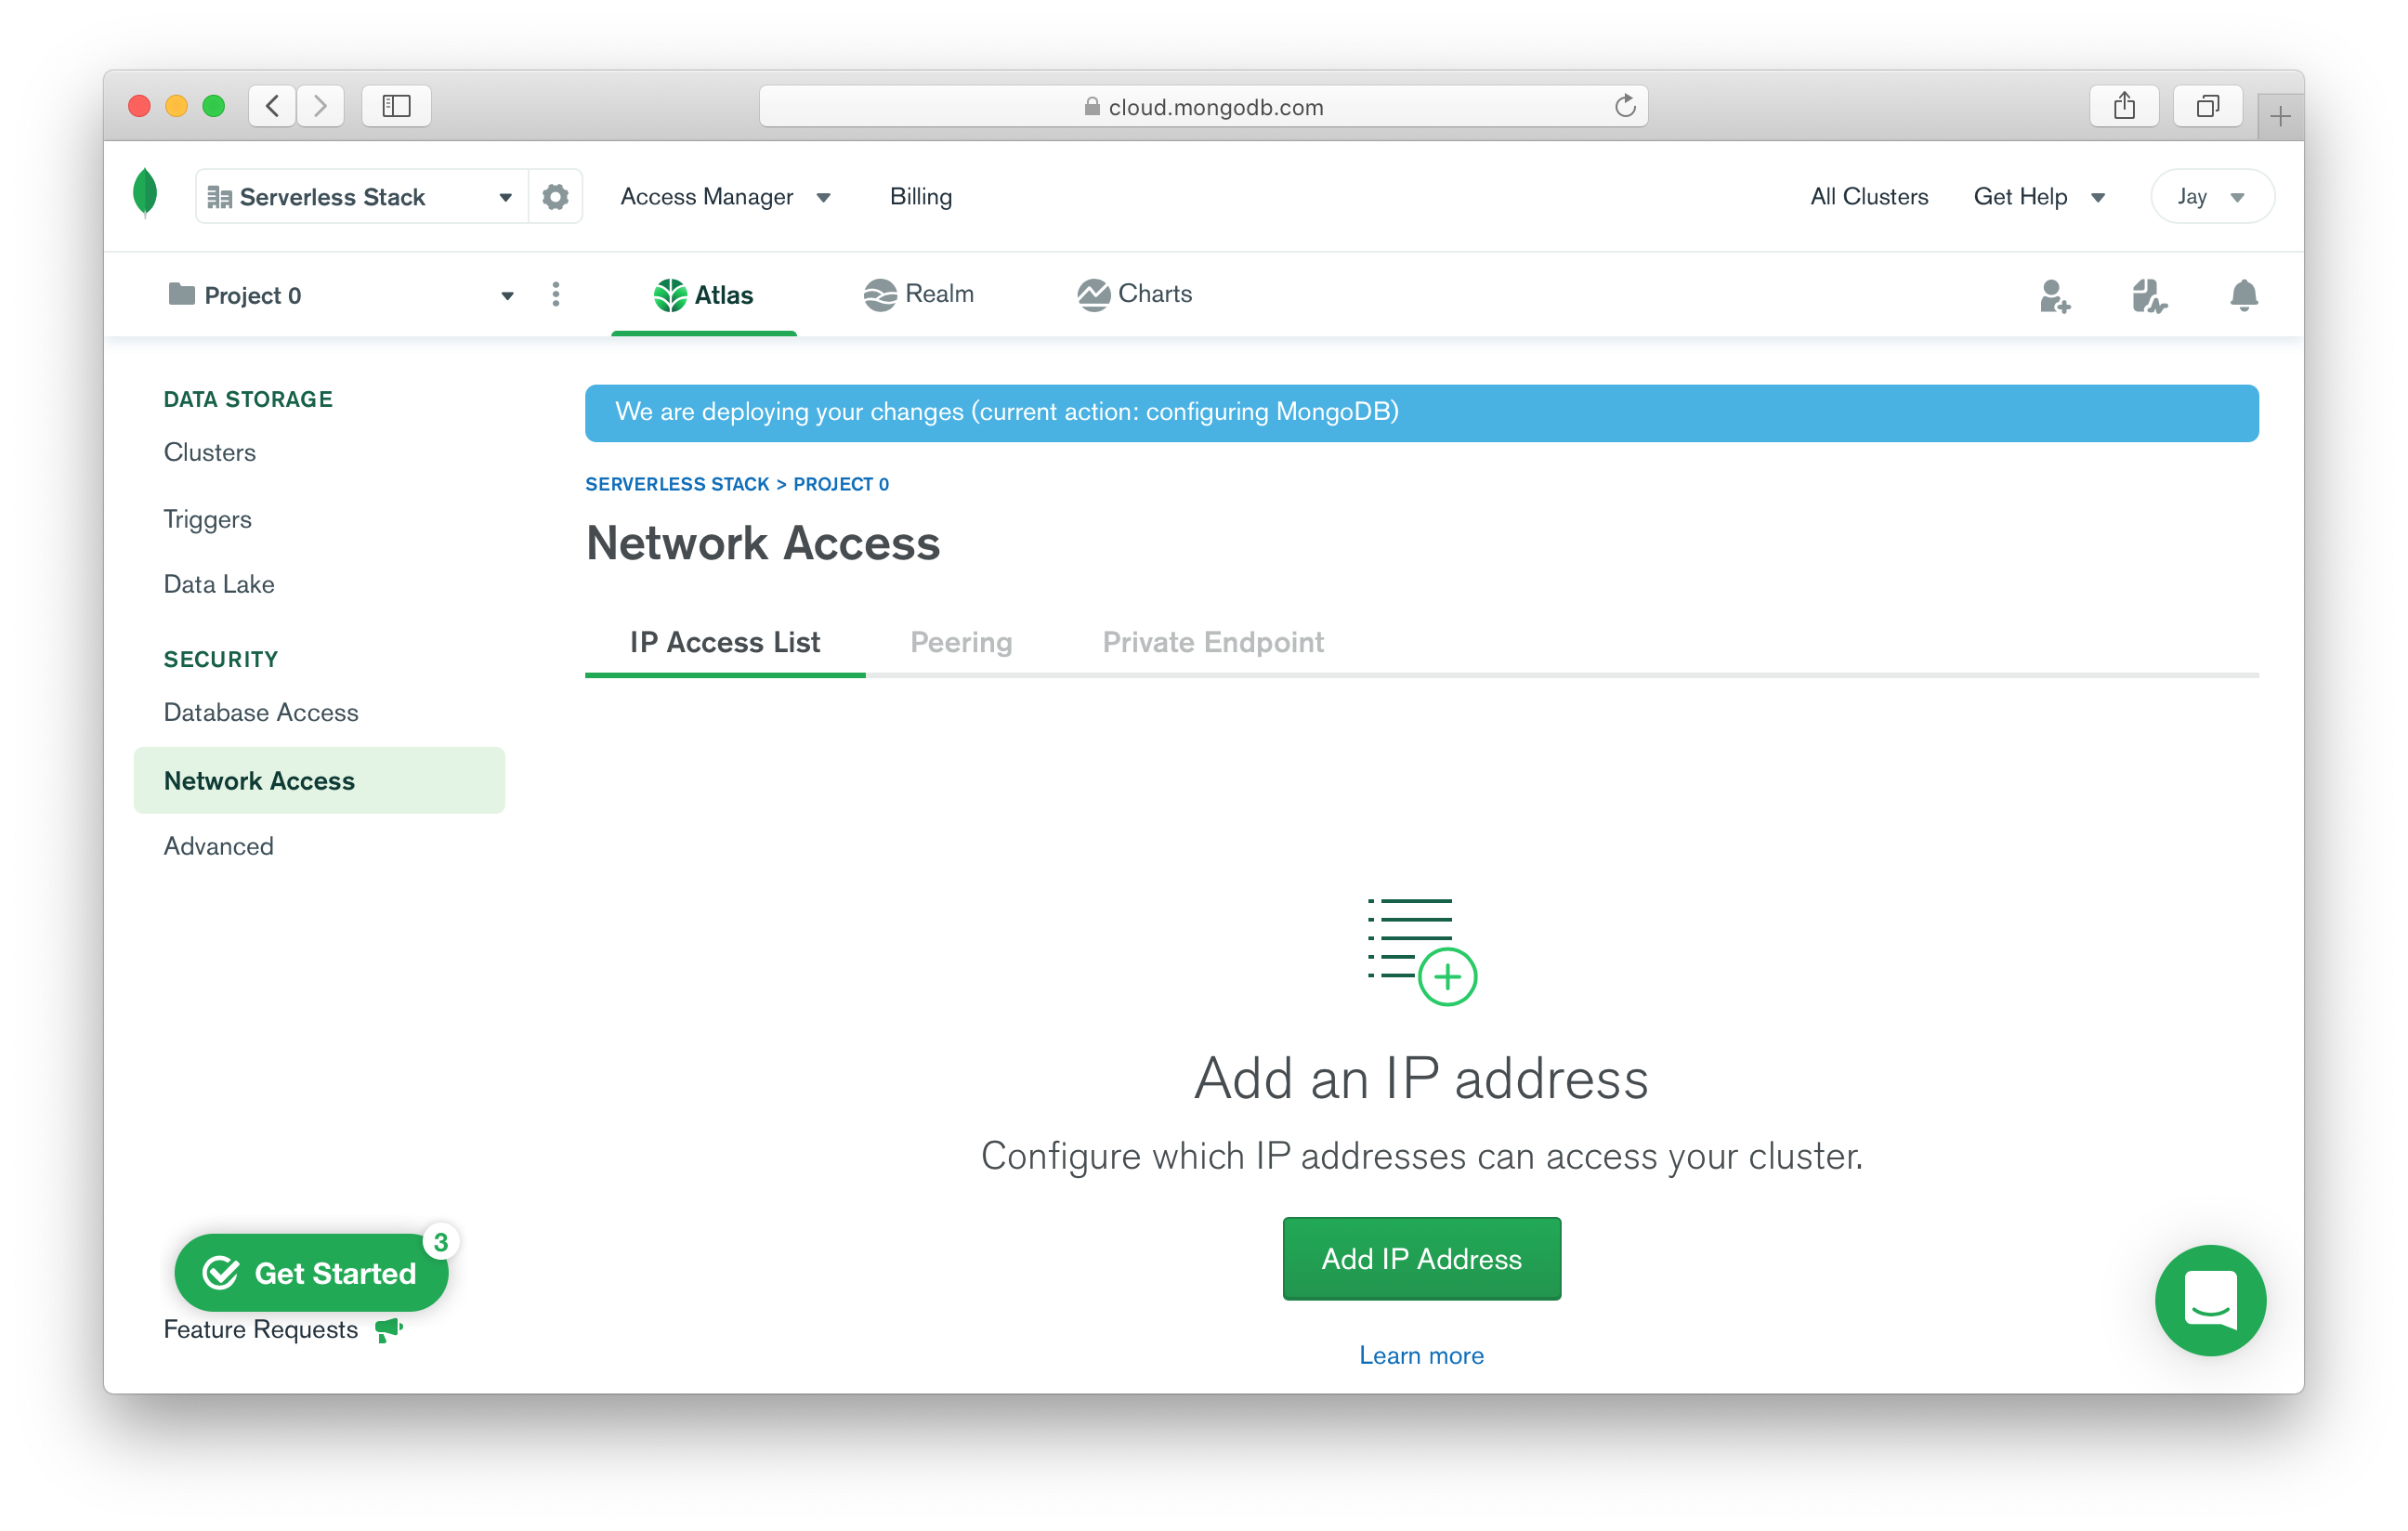
Now while those changes are being deployed, let’s configure the Network Access. Click Add IP Address.
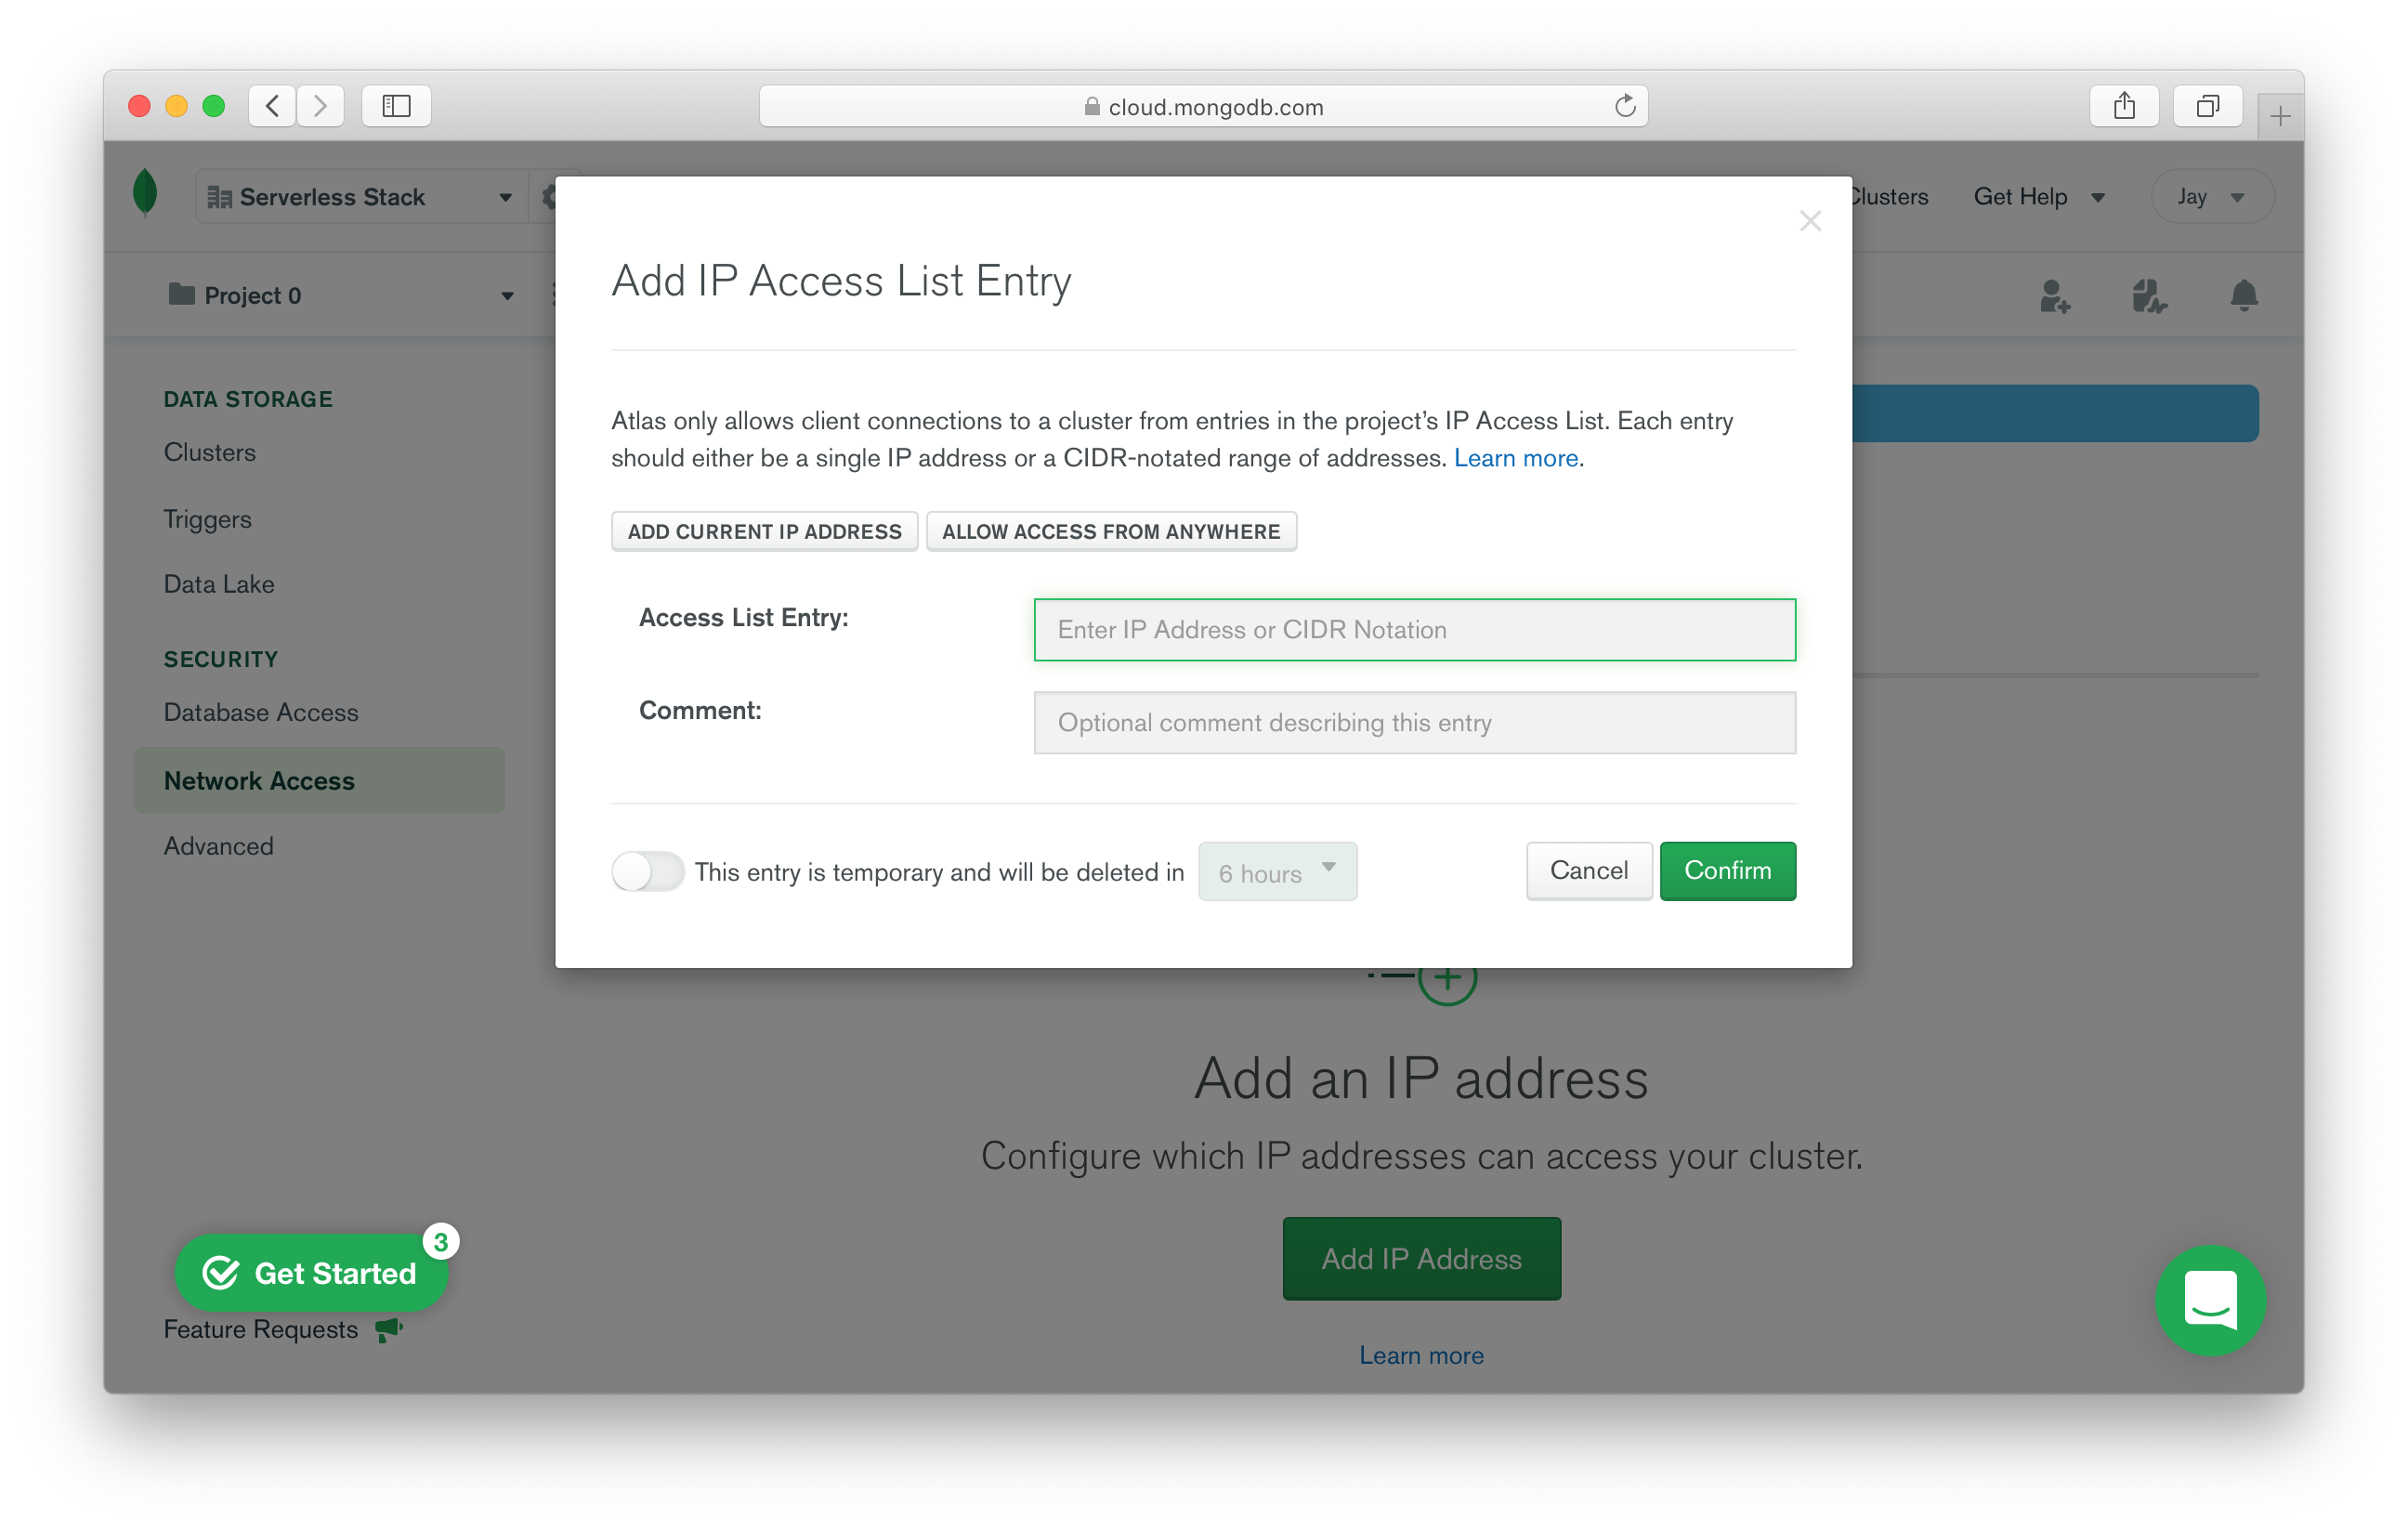
For now we’ll use the Allow Access From Anywhere option.
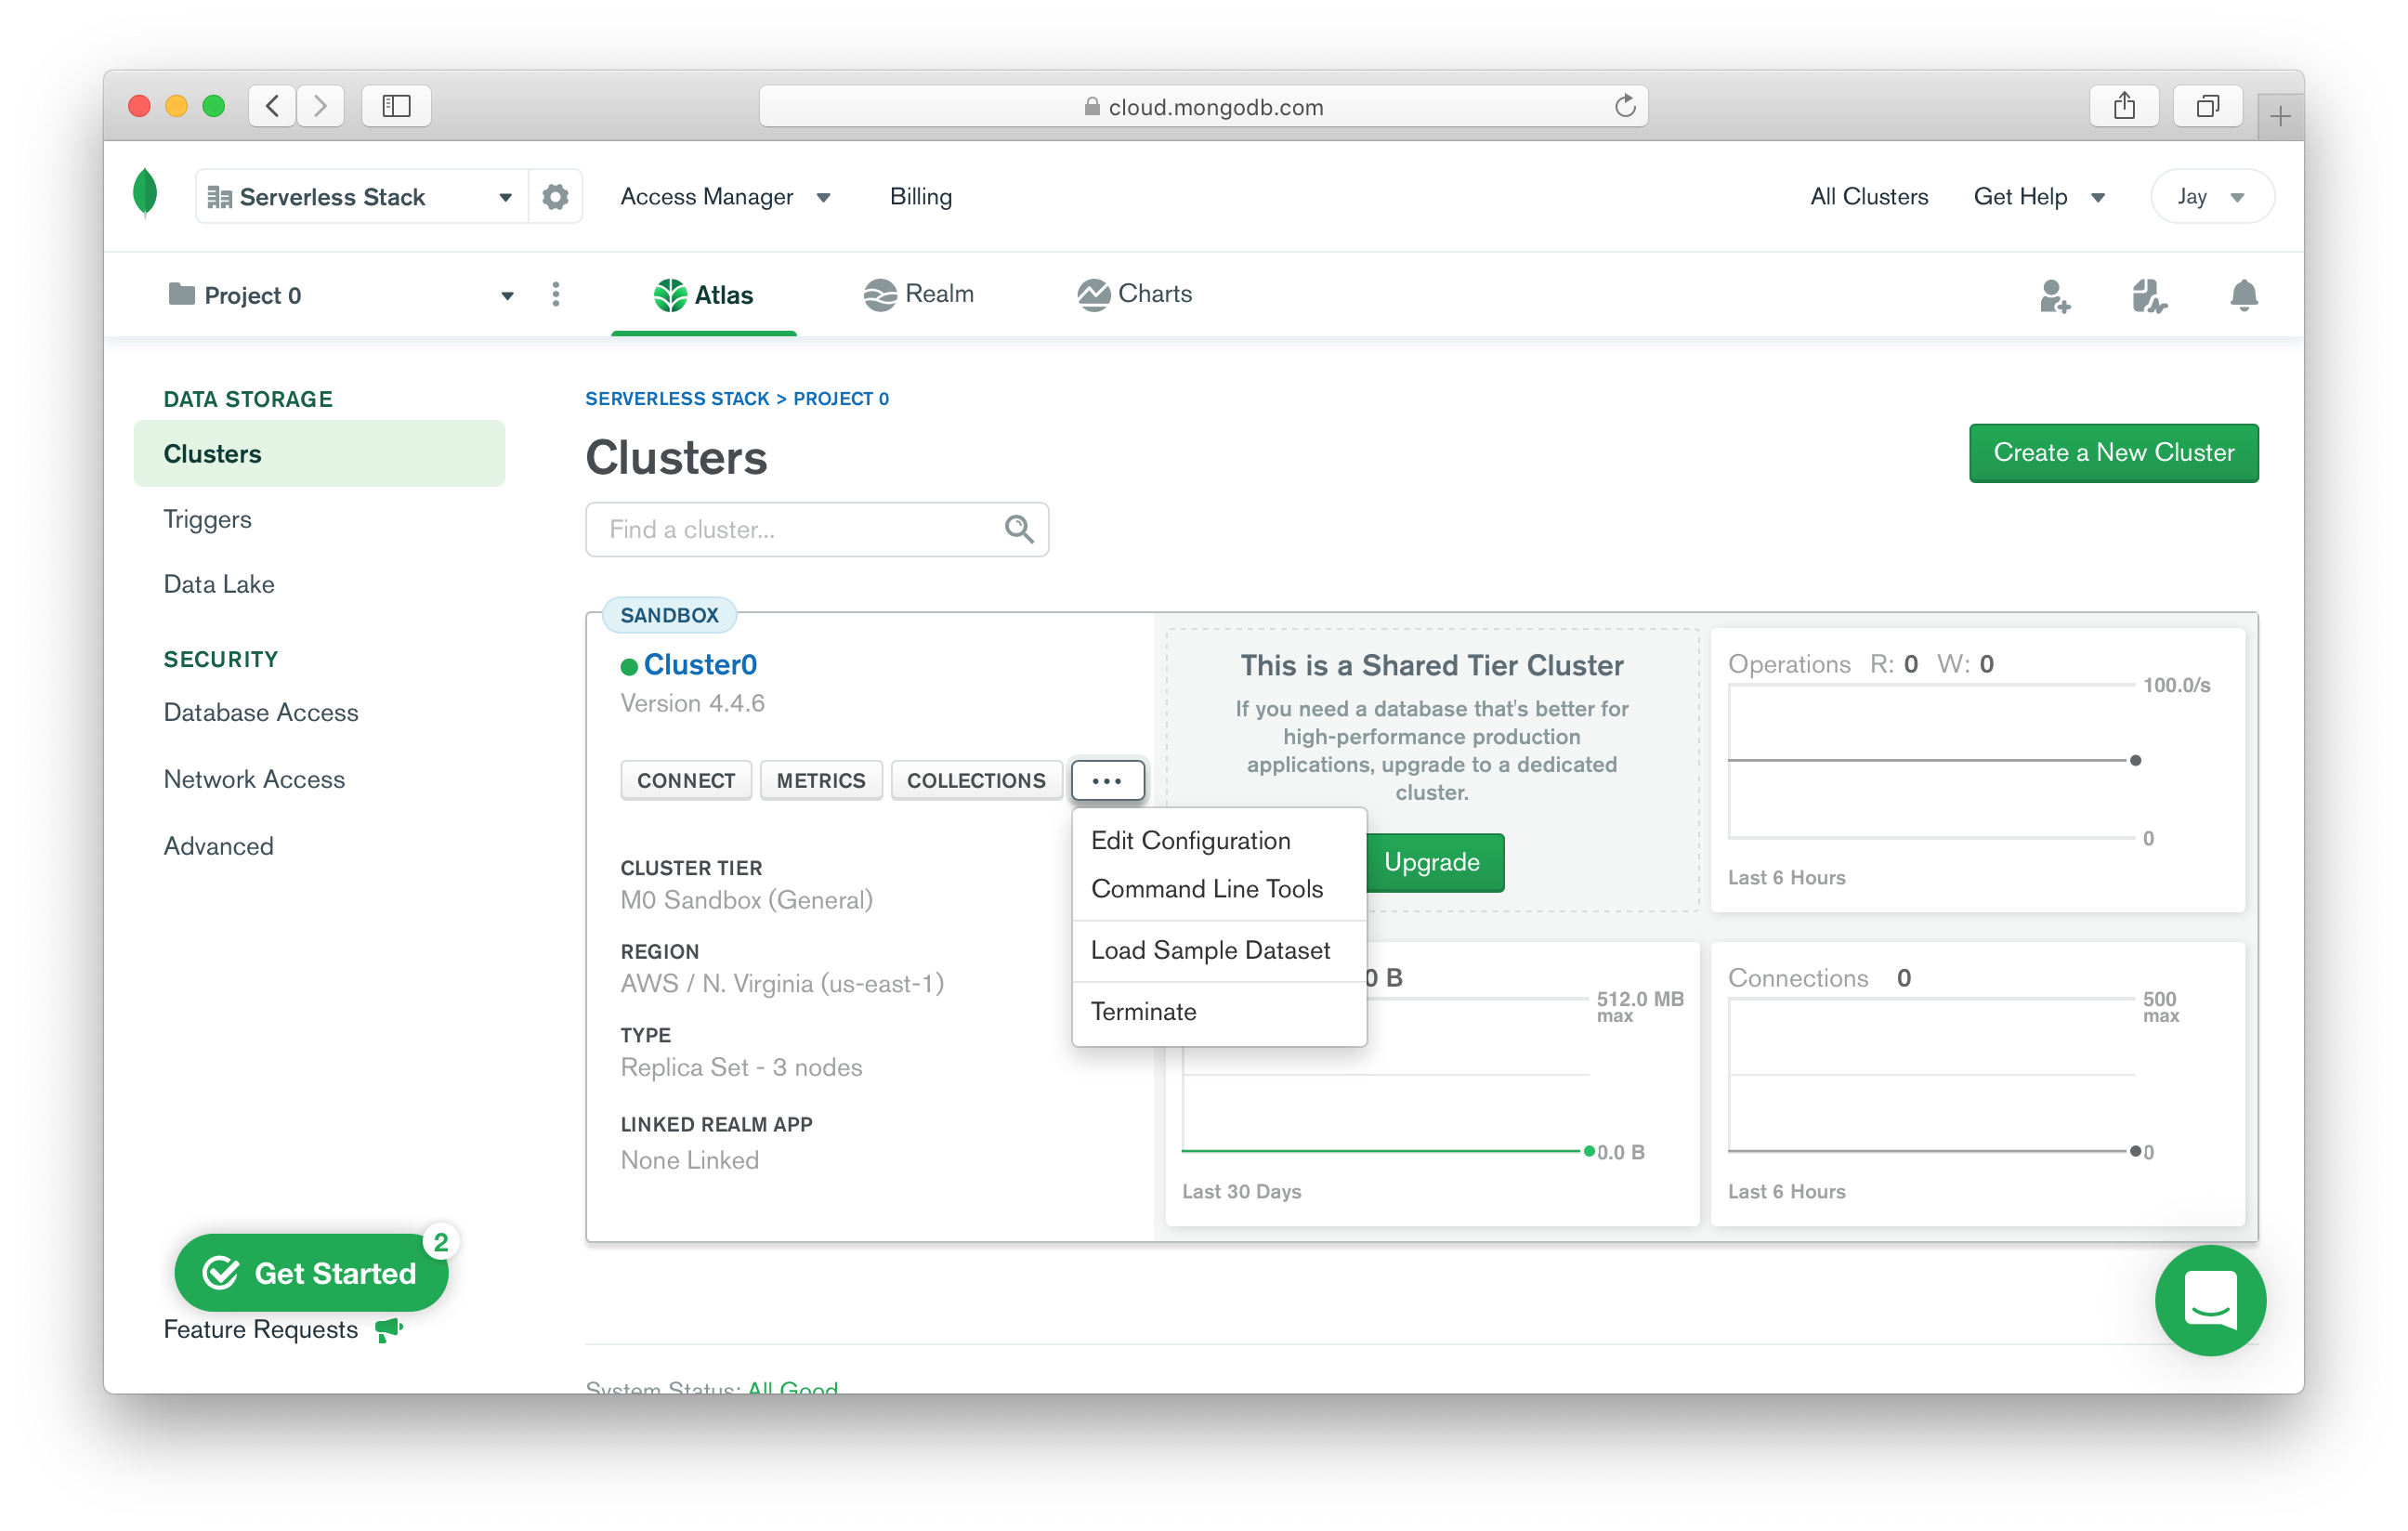
Once those changes have been deployed, click the Load Sample Dataset to load a database of movies that we can test with.
Finally, let’s get the connection string to connect to our new MongoDB database.
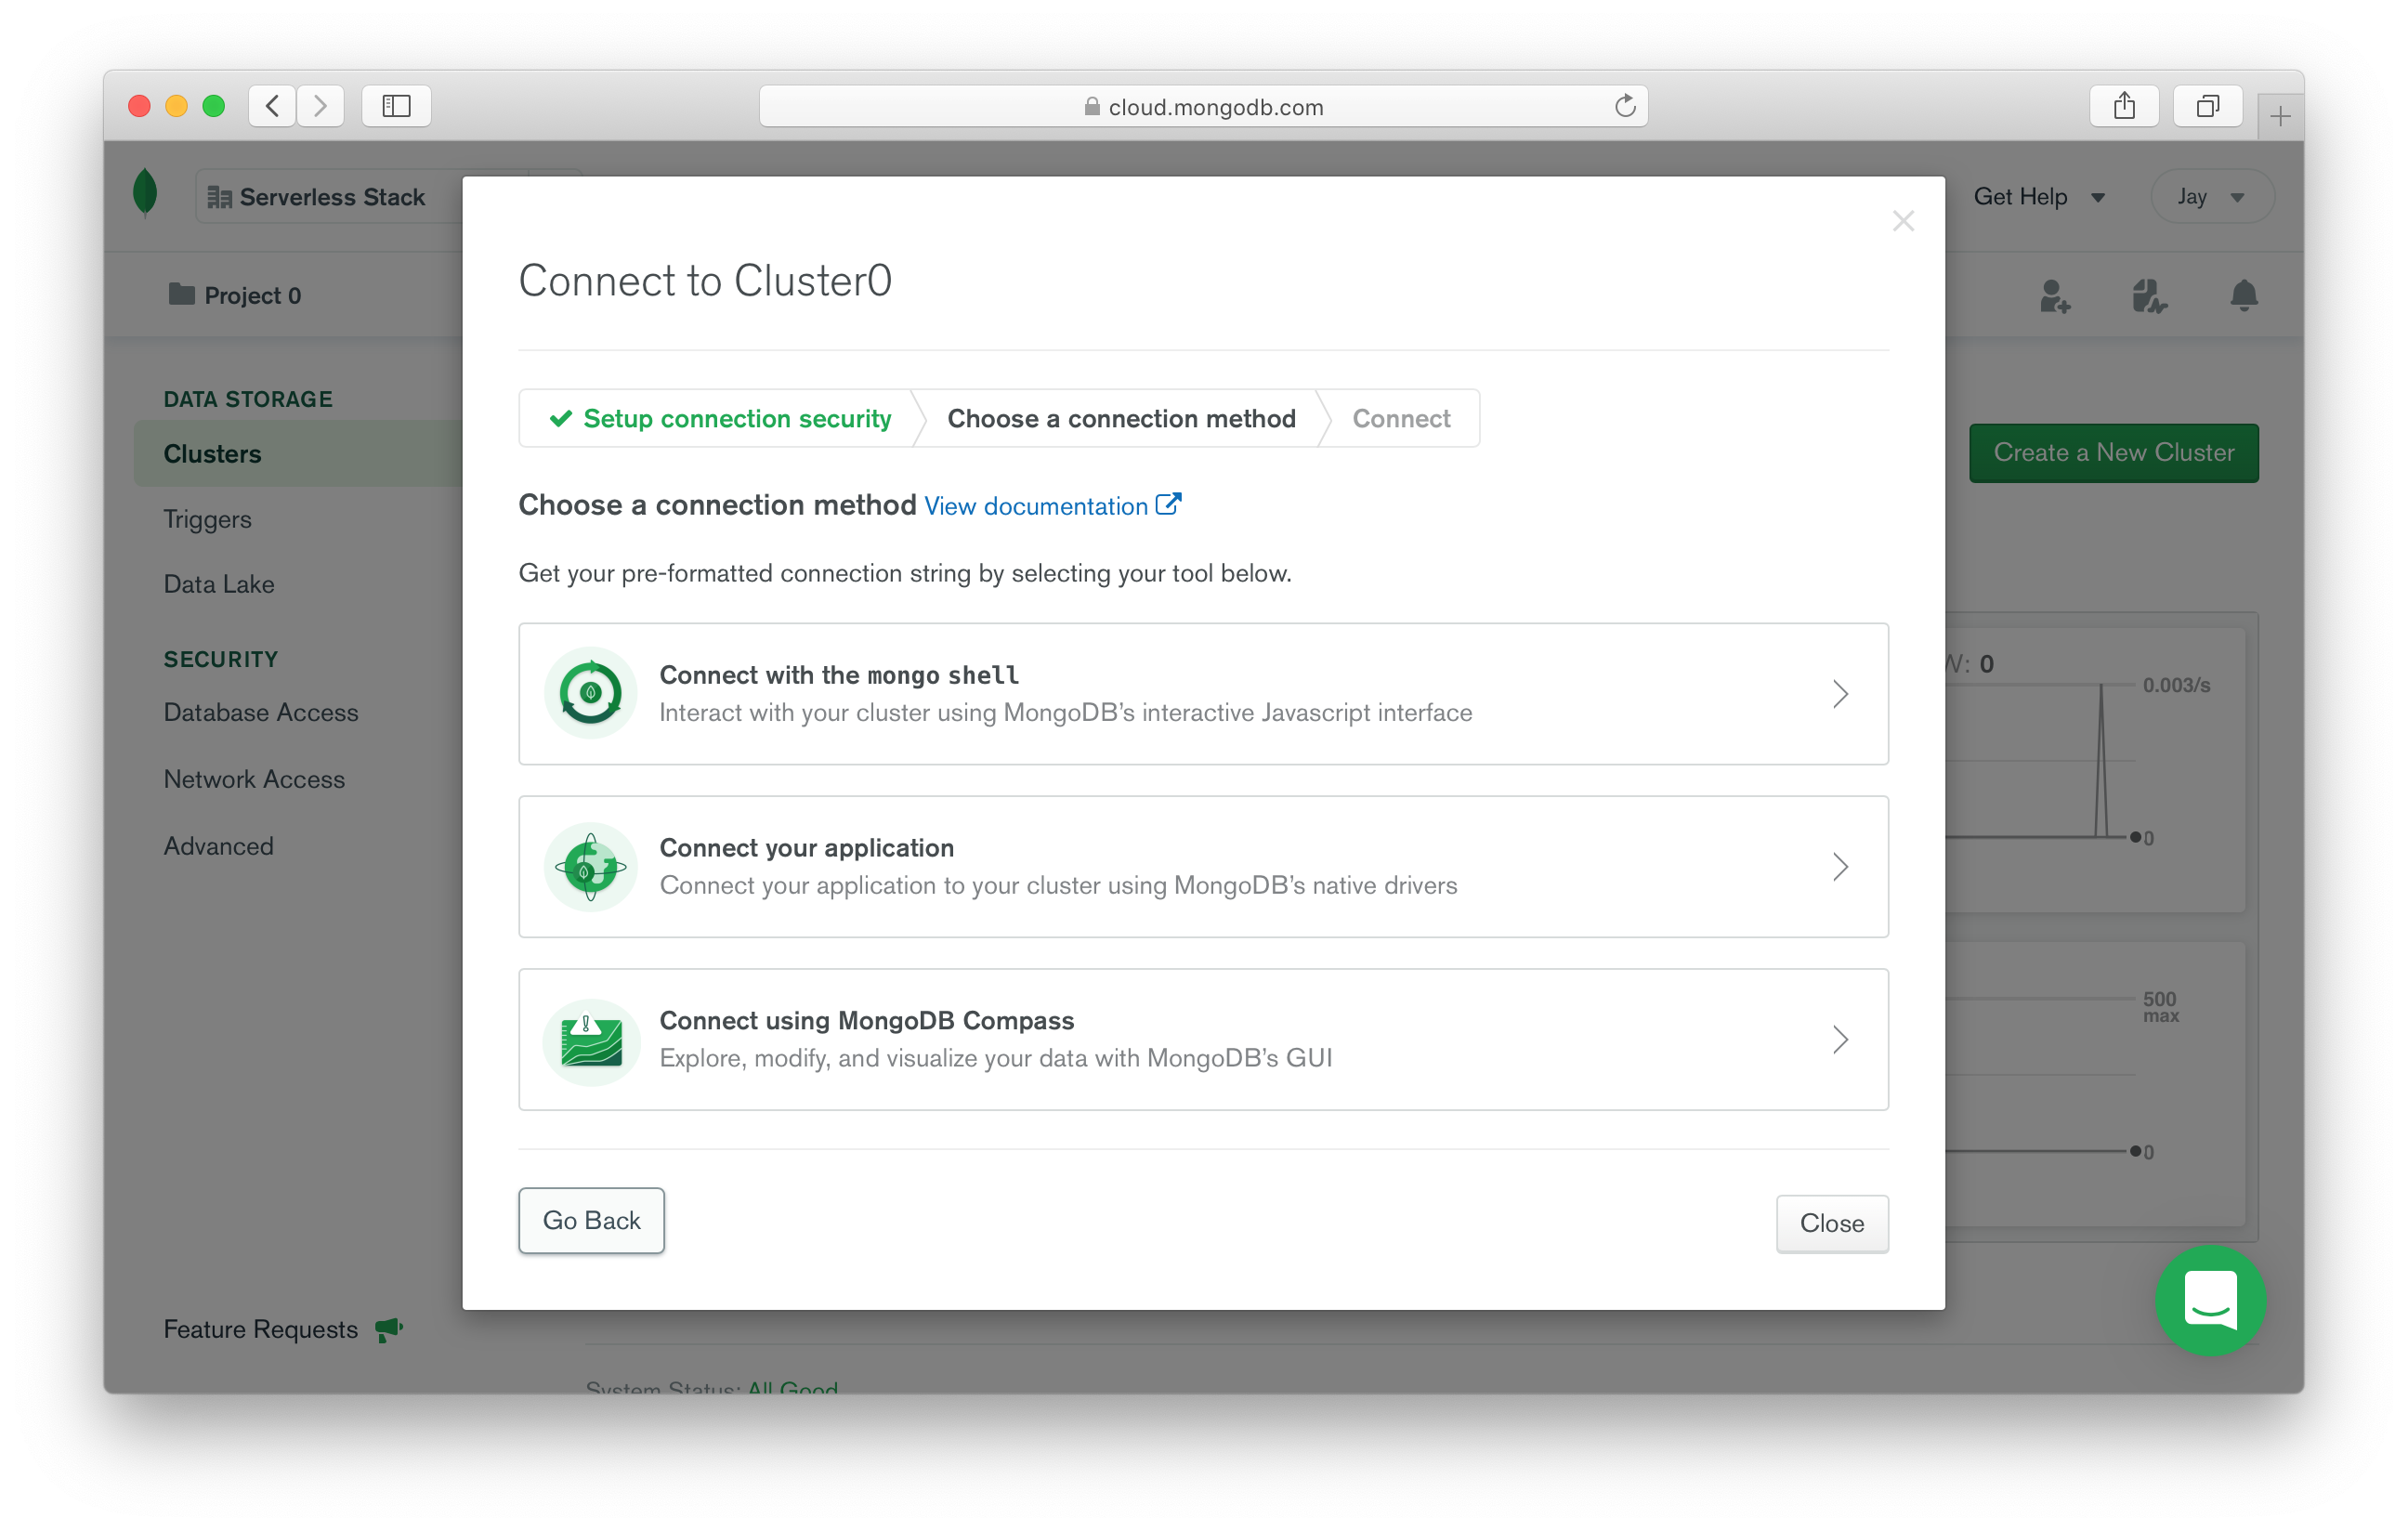
Click Connect and use the Connect your application option.
Now copy the connection string.
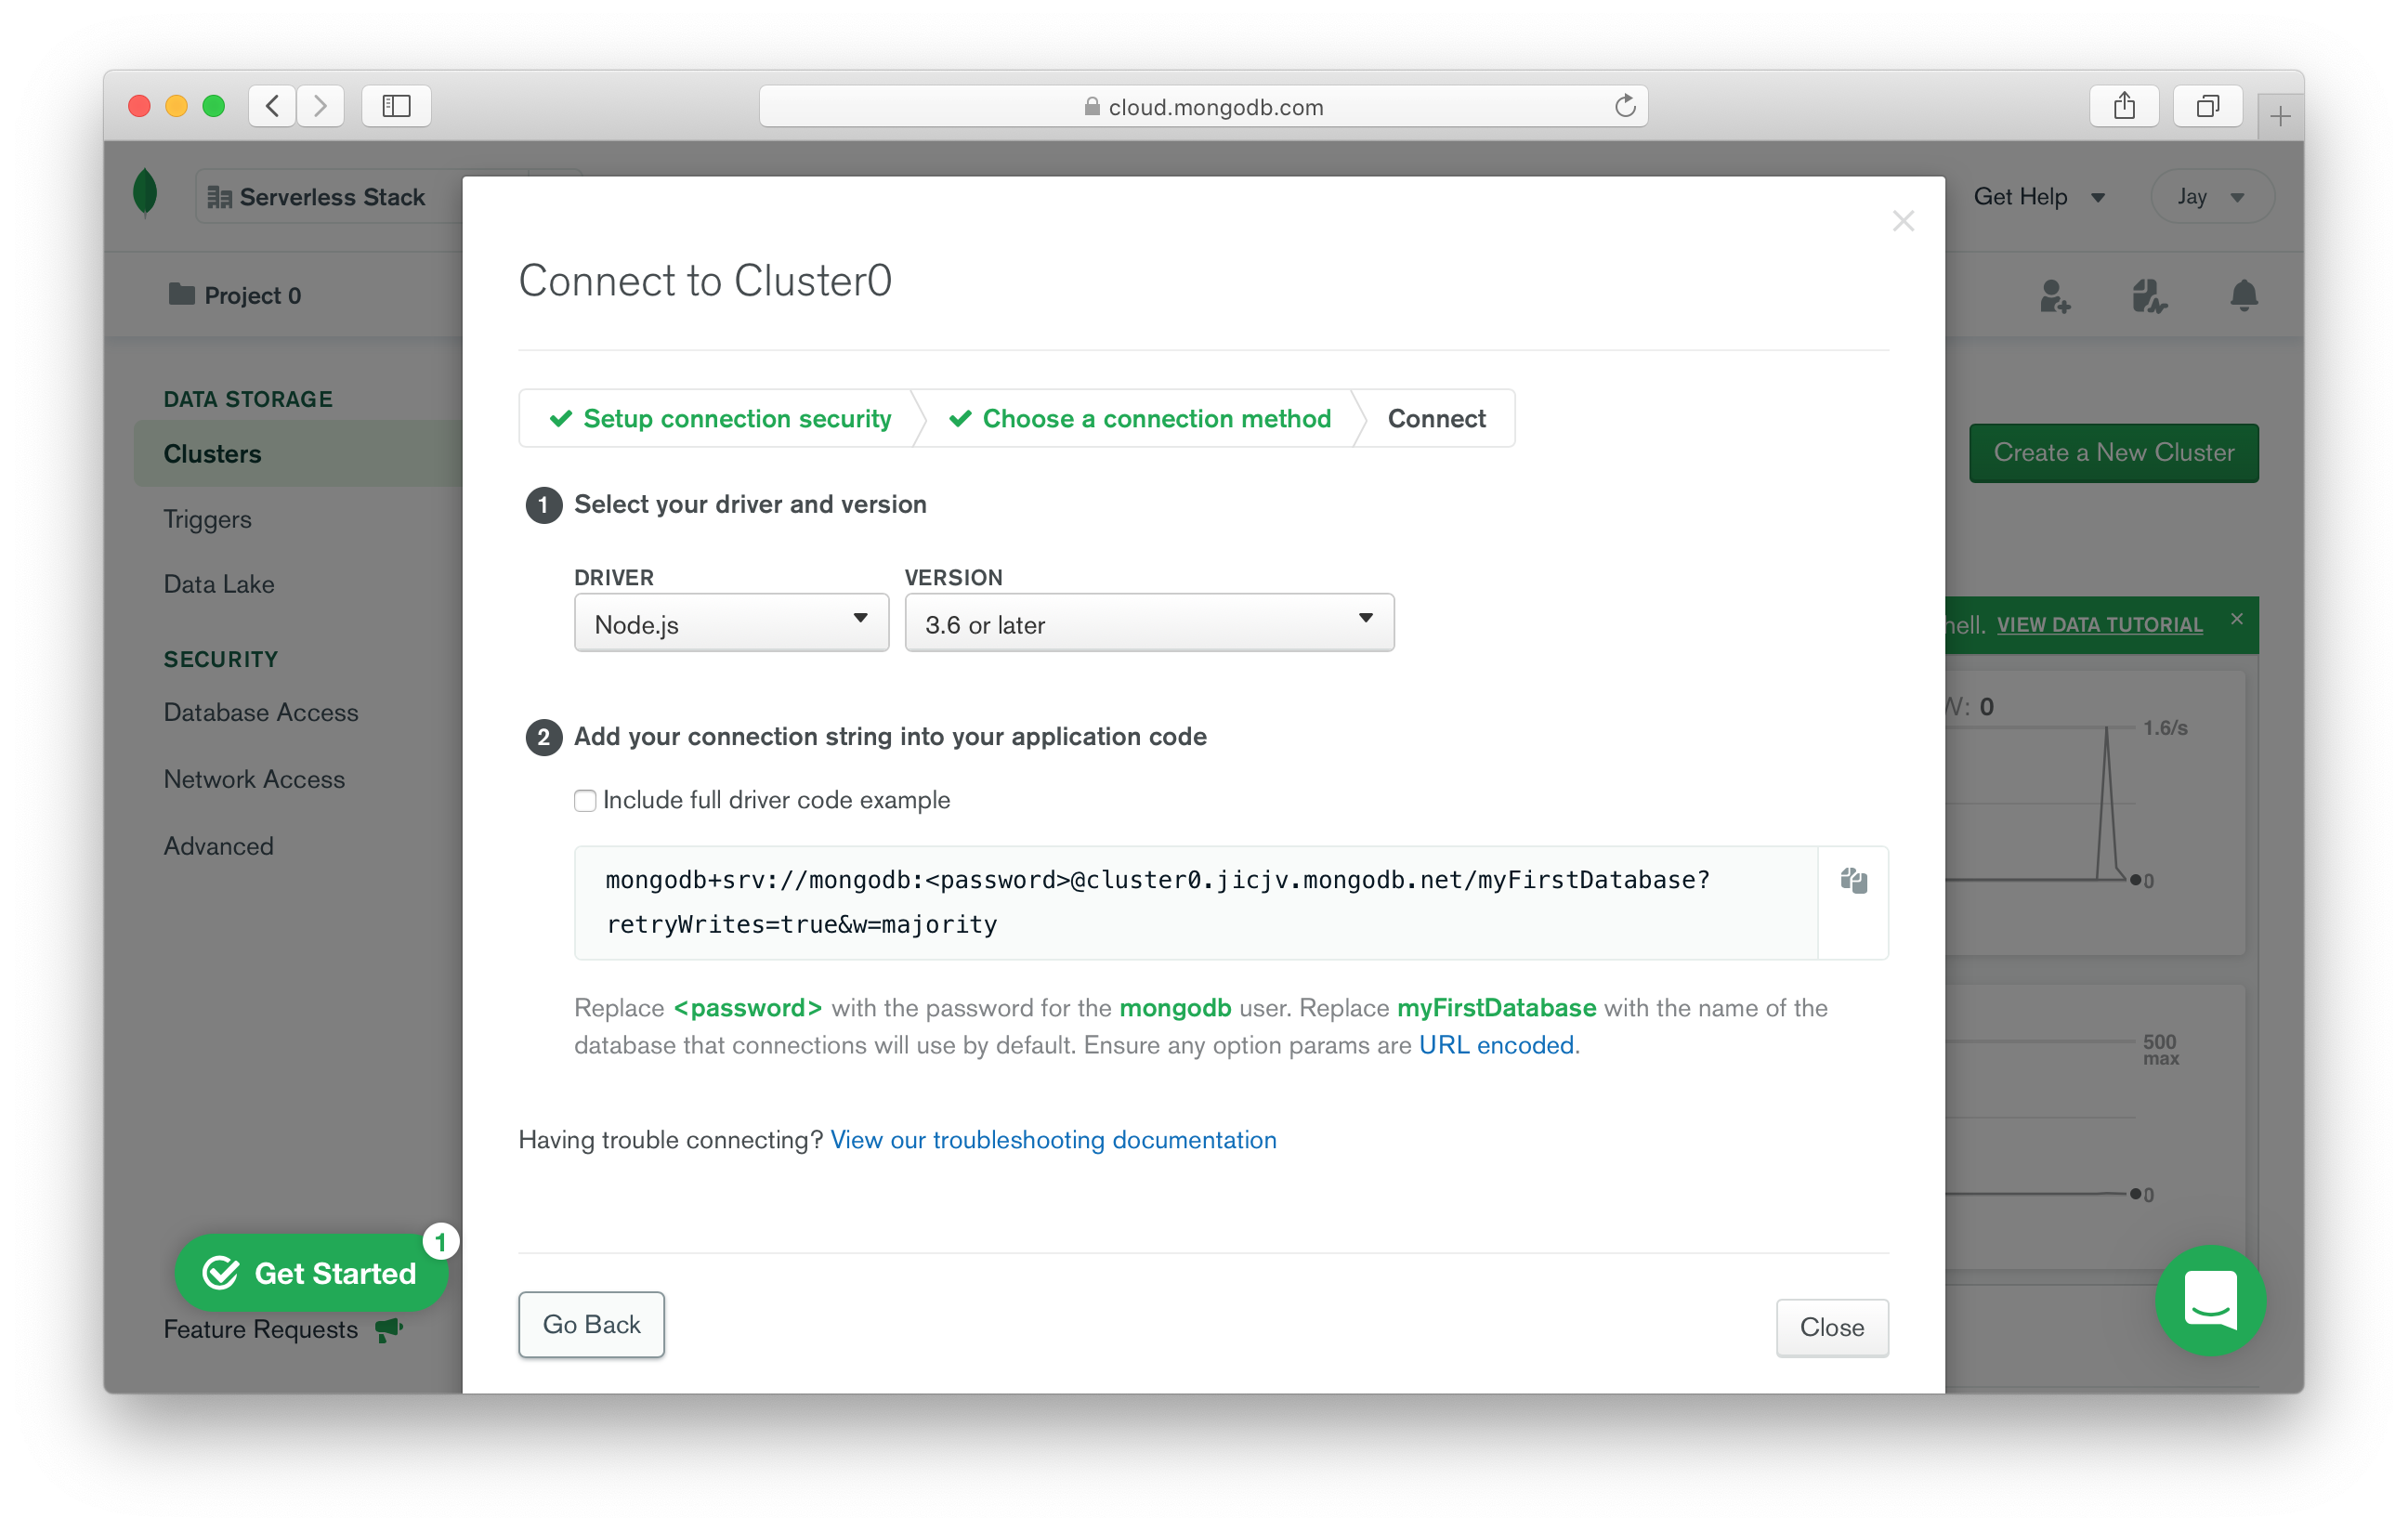
Create a new .env.local file in your project root and add your connection string.
MONGODB_URI=mongodb+srv://mongodb:<password>@cluster0.jicjv.mongodb.net/myFirstDatabase?retryWrites=true&w=majority
Make sure to replace <password> with the password that we had copied while adding a database user above.
We also want to make sure that this file is not committed to Git.
So add it to the .gitignore in your project root.
.env.lcal
Query our MongoDB database
We are now ready to add the function code to query our newly created MongoDB database.
Replace src/lambda.js with the following.
import * as mongodb from "mongodb";

const MongoClient = mongodb.MongoClient;

// Once we connect to the database once, we'll store that connection
// and reuse it so that we don't have to connect to the database on every request.
let cachedDb = null;

async function connectToDatabase() {
  if (cachedDb) {
    return cachedDb;
  }

  // Connect to our MongoDB database hosted on MongoDB Atlas
  const client = await MongoClient.connect(process.env.MONGODB_URI);

  // Specify which database we want to use
  cachedDb = await client.db("sample_mflix");

  return cachedDb;
}

export async function handler(event, context) {
  // By default, the callback waits until the runtime event loop is empty
  // before freezing the process and returning the results to the caller.
  // Setting this property to false requests that AWS Lambda freeze the
  // process soon after the callback is invoked, even if there are events
  // in the event loop.
  context.callbackWaitsForEmptyEventLoop = false;

  // Get an instance of our database
  const db = await connectToDatabase();

  // Make a MongoDB MQL Query
  const movies = await db.collection("movies").find({}).limit(20).toArray();

  return {
    statusCode: 200,
    body: JSON.stringify(movies, null, 2),
  };
}
The first thing to note here is the connectToDatabase method. We use the connection string from the environment and connect to our sample database. But we save a reference to it. This allows us to reuse the connection as long as this Lambda function container is being used.
The handler function should be pretty straightforward here. We connect to our database and query the movies collection in our database. And return 20 items. We then JSON stringify it and pretty print it.
The line of note is:
context.callbackWaitsForEmptyEventLoop = false;
As the comment explains, we are telling AWS to not wait for the Node.js event loop to empty before freezing the Lambda function container. We need this because the connection to our MongoDB database is still around after our function returns.
Let’s install our MongoDB client. As mentioned at the beginning of this example, it is not compatible with esbuild, so we are going to install it separately.
Add the following to src/package.json.
{
  "name": "rest-api-mongodb-src",
  "version": "0.1.0",
  "private": true,
  "dependencies": {
    "mongodb": "^3.6.9"
  }
}
Note, this isn’t the same package.json in your project root.
And run the following inside the src/ directory.
$ npm install
We are now ready to test our API!
Starting your dev environment
SST features a Live Lambda Development environment that allows you to work on your serverless apps live.
$ npx sst start
The first time you run this command it’ll take a couple of minutes to deploy your app and a debug stack to power the Live Lambda Development environment.
===============
Deploying app
===============
Preparing your SST app
Transpiling source
Linting source
Deploying stacks
dev-rest-api-mongodb-my-stack: deploying...
✅ dev-rest-api-mongodb-my-stack
Stack dev-rest-api-mongodb-my-stack
Status: deployed
Outputs:
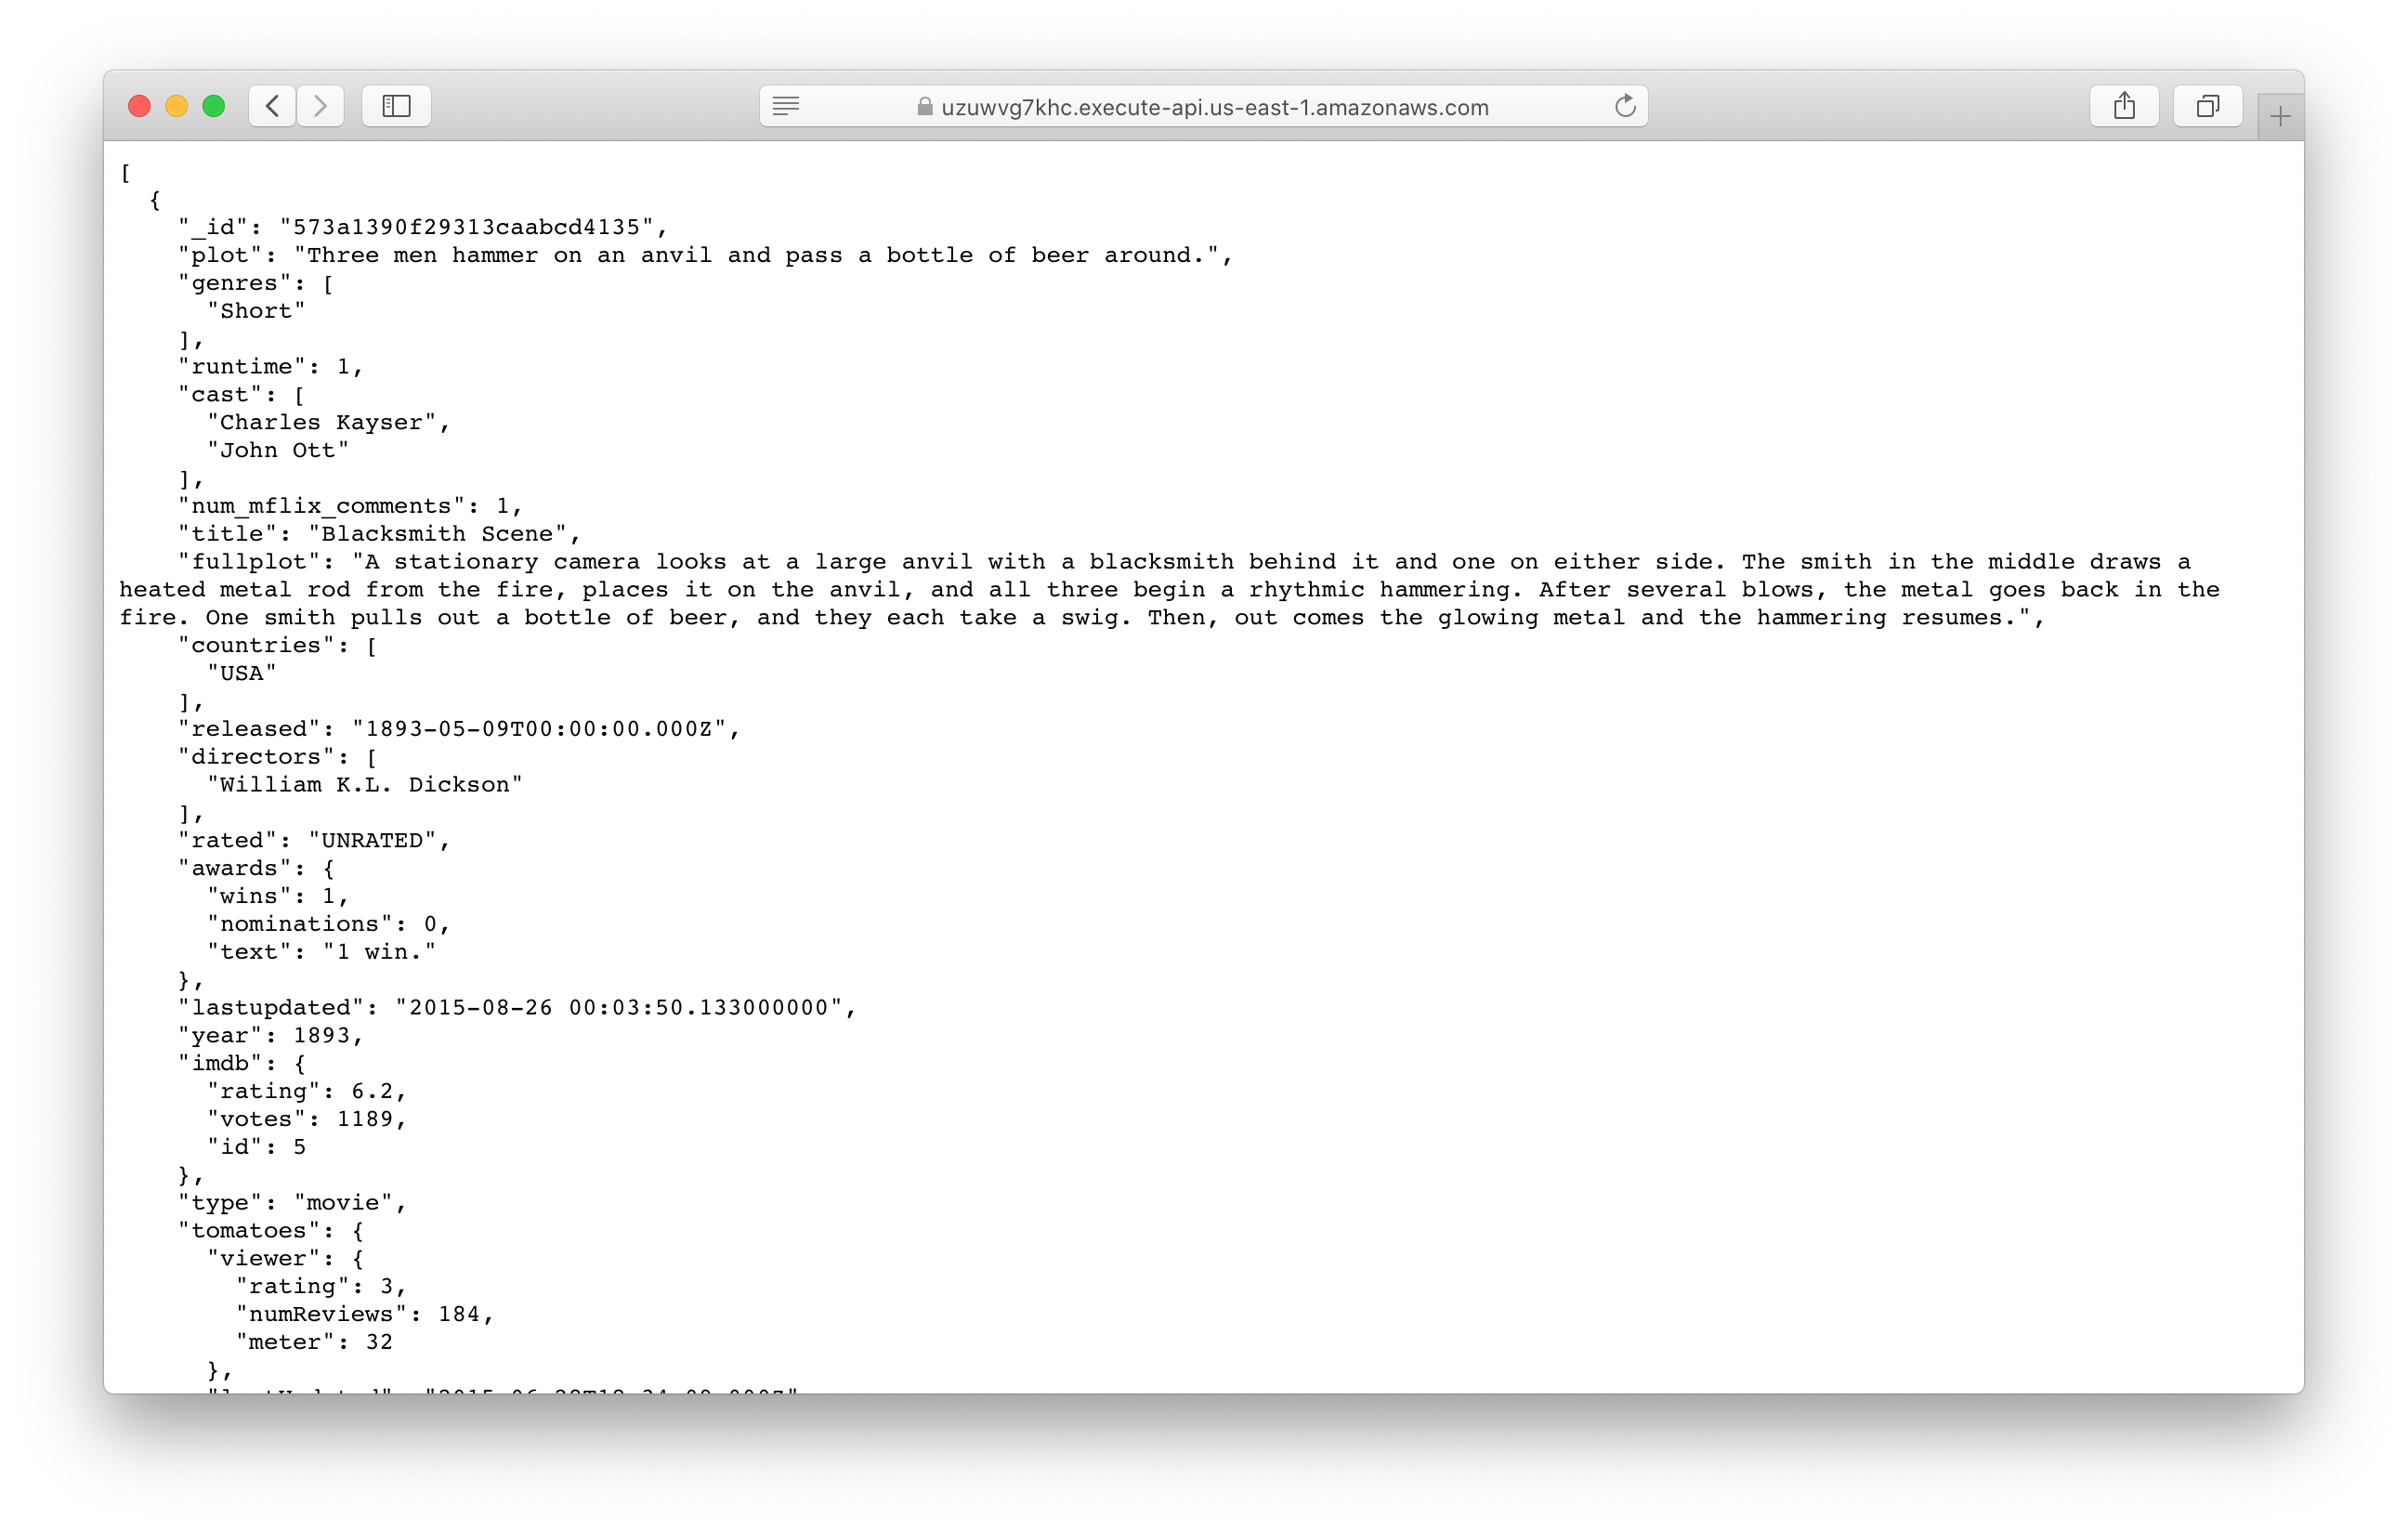
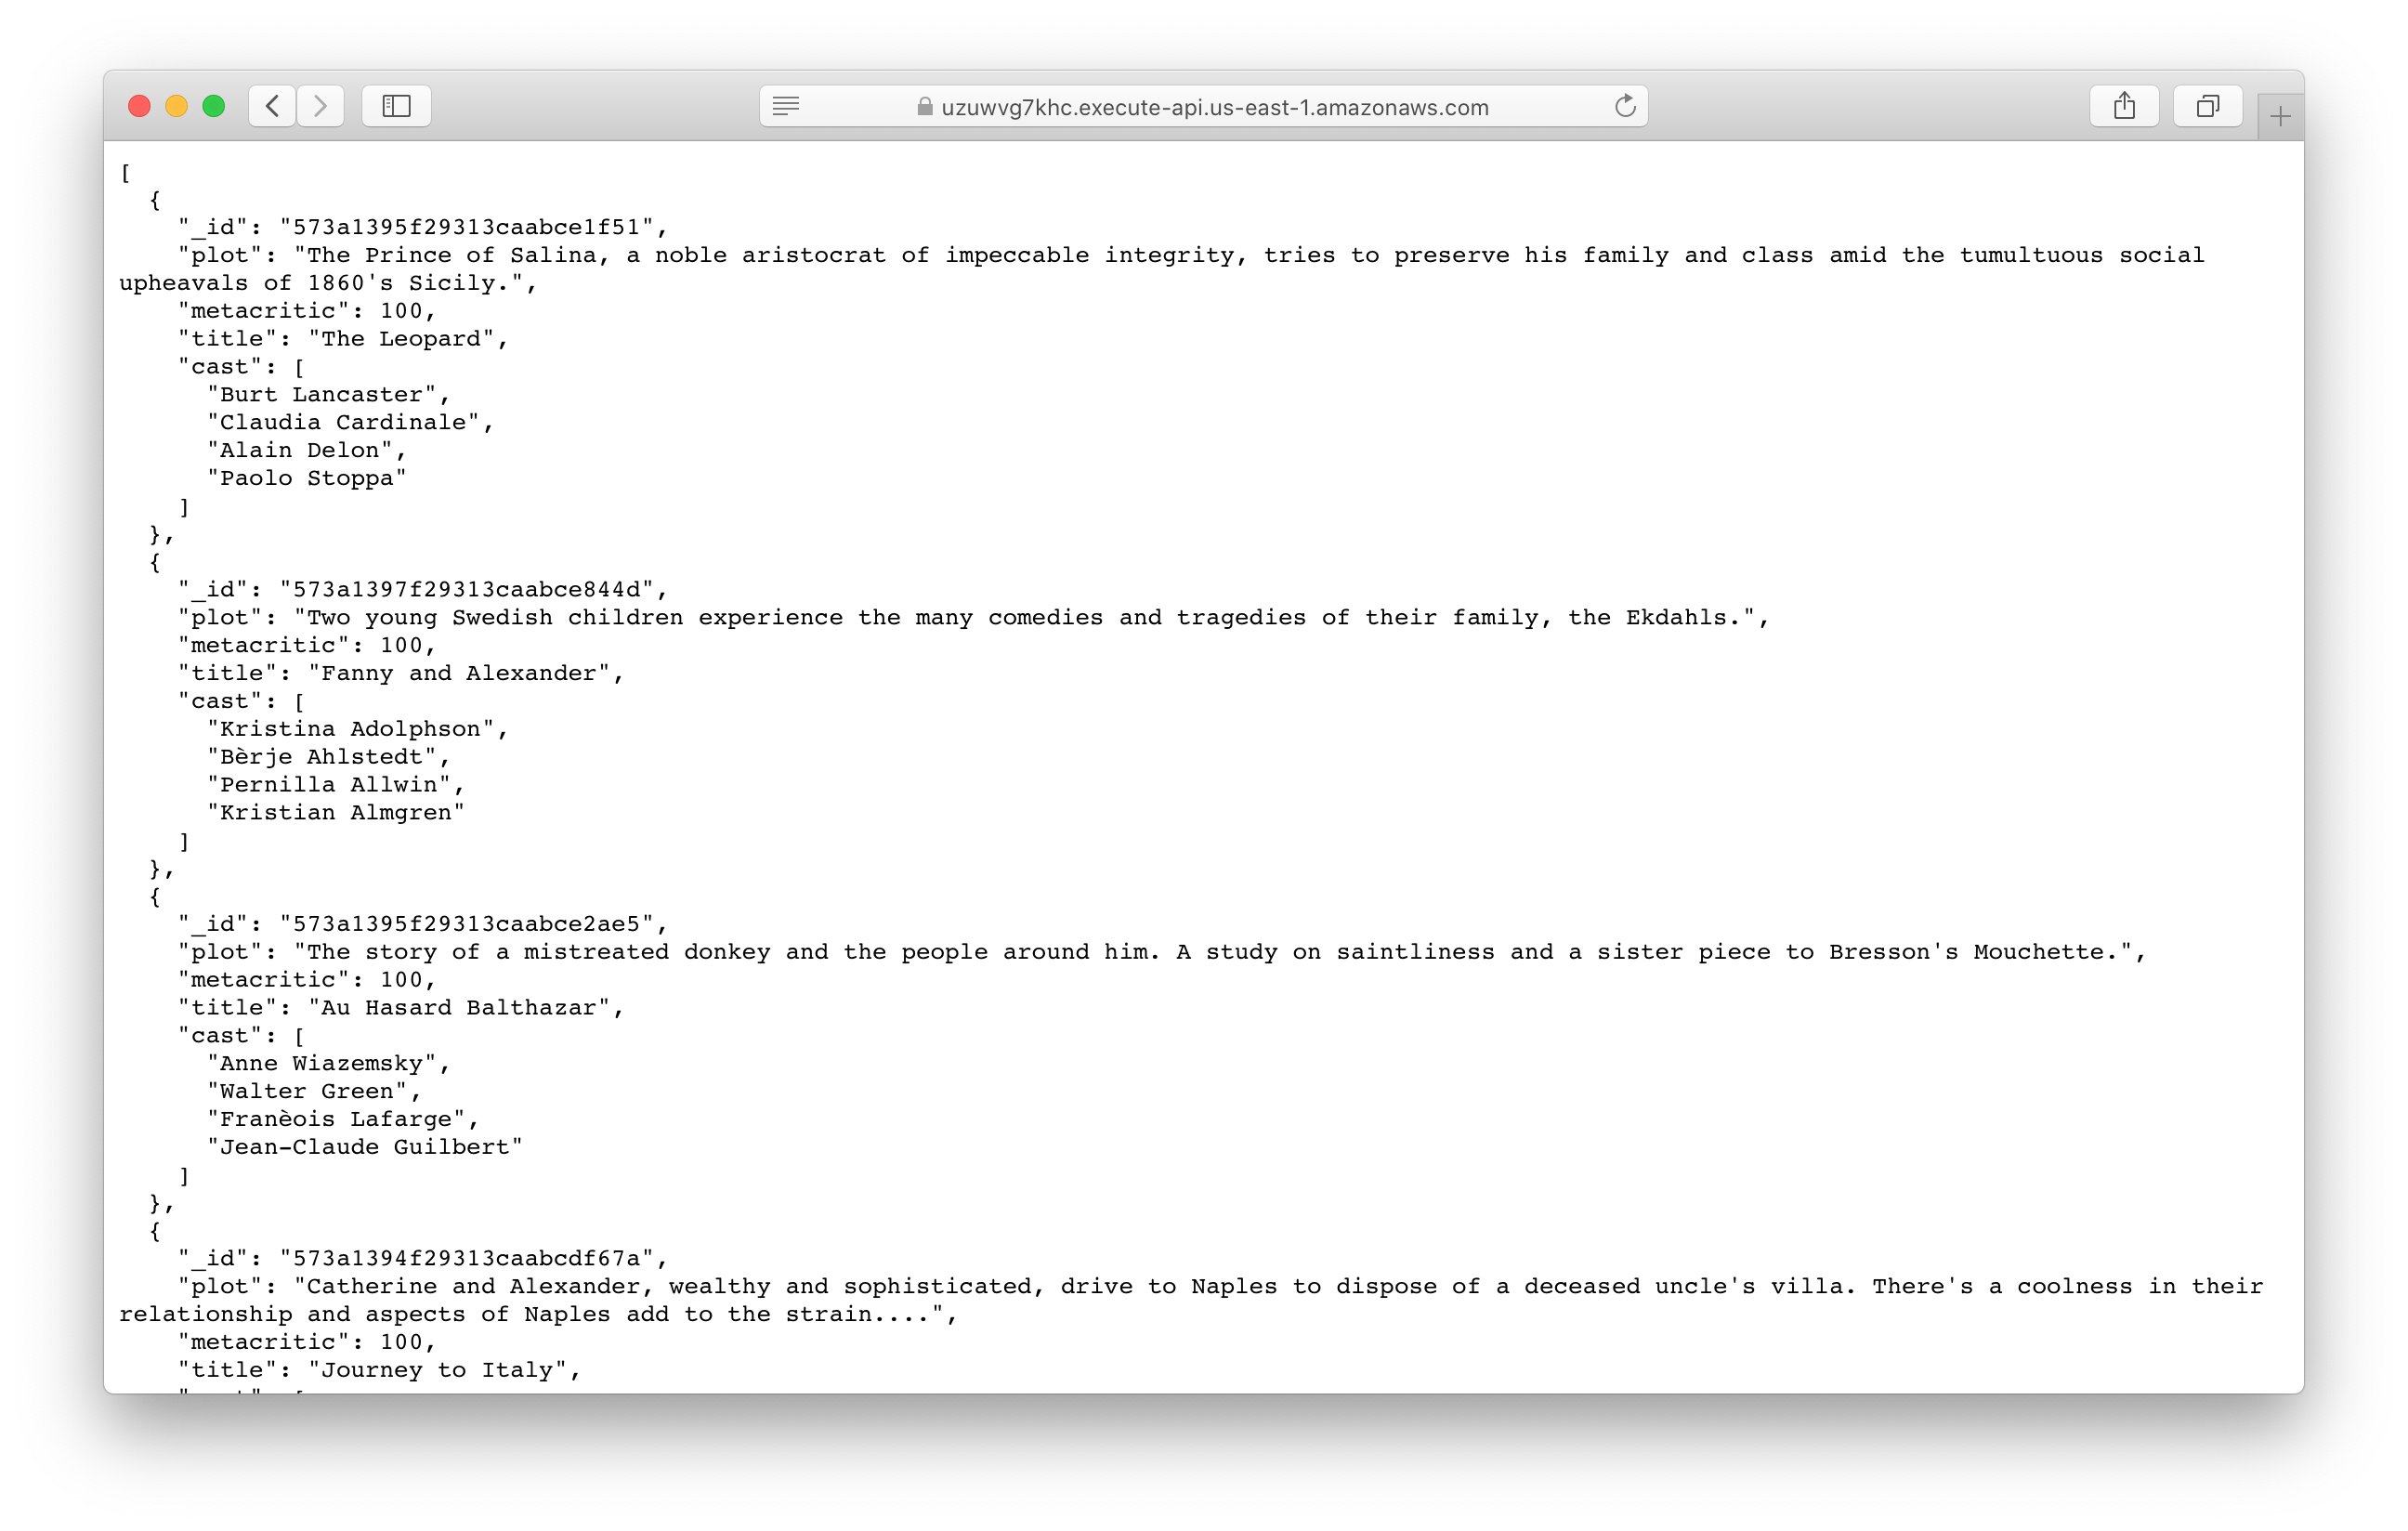
ApiEndpoint: https://uzuwvg7khc.execute-api.us-east-1.amazonaws.com
The ApiEndpoint is the API we just created. Let’s test our endpoint. If you open the endpoint URL in your browser, you should see a list of movies being printed out.
Making changes
Now let’s make a quick change to our database query.
Replace the following line in src/lambda.js.
const movies = await db.collection("movies").find({}).limit(20).toArray();
With:
  const movies = await db
    .collection("movies")
    .find({}, { projection: { title: 1, plot: 1, metacritic: 1, cast: 1 } })
    .sort({ metacritic: -1 })
    .limit(20)
    .toArray();
This will sort our movies list by the ones that have the highest Metacritic score. So if you refresh your browser, you should see a different set of movies at the top.
Deploying to prod
To wrap things up we’ll deploy our app to prod.
$ npx sst deploy --stage prod
This allows us to separate our environments, so when we are working in dev, it doesn’t break the API for our users.
Cleaning up
Finally, you can remove the resources created in this example using the following commands.
$ npx sst remove
$ npx sst remove --stage prod
Conclusion
And that’s it! We’ve got a serverless API connected to a MongoDB database. We also have a local development environment, to test and make changes. And it’s deployed to production as well, so you can share it with your users. Check out the repo below for the code we used in this example. And leave a comment if you have any questions!
Example repo for reference
github.com/serverless-stack/serverless-stack/tree/master/examples/rest-api-mongodbFor help and discussion
Comments on this exampleMore Examples
APIs
GraphQL
Databases
- How to use DynamoDB in your serverless app
- How to use MongoDB in your serverless app
- How to use PostgreSQL in your serverless app
- How to create a CRUD API with serverless using DynamoDB