
How to create an Apollo GraphQL API with serverless
In this example we’ll look at how to create an Apollo GraphQL API on AWS using Serverless Stack (SST).
Requirements
- Node.js >= 10.15.1
- We’ll be using TypeScript
- An AWS account with the AWS CLI configured locally
Create an SST app
 Let’s start by creating an SST app.
$ npx create-serverless-stack@latest --language typescript graphql-apollo
$ cd graphql-apollo
By default our app will be deployed to an environment (or stage) called dev and the us-east-1 AWS region. This can be changed in the sst.json in your project root.
{
  "name": "graphql-apollo",
  "stage": "dev",
  "region": "us-east-1"
}
Project layout
An SST app is made up of two parts.
-
lib/— App InfrastructureThe code that describes the infrastructure of your serverless app is placed in the
lib/directory of your project. SST uses AWS CDK, to create the infrastructure. -
src/— App CodeThe code that’s run when your API is invoked is placed in the
src/directory of your project.
Setting up our infrastructure
Let’s start by setting up our Apollo API.
Replace the lib/MyStack.ts with the following.
import * as sst from "@serverless-stack/resources";

export default class MyStack extends sst.Stack {
  constructor(scope: sst.App, id: string, props?: sst.StackProps) {
    super(scope, id, props);

    // Create the Apollo GraphQL API
    const api = new sst.ApolloApi(this, "ApolloApi", {
      server: "src/lambda.handler",
    });

    // Show the API endpoint in output
    this.addOutputs({
      ApiEndpoint: api.url,
    });
  }
}
We are creating an Apollo GraphQL API here using the sst.ApolloApi construct. Our Apollo Server is powered by the Lambda function in src/lambda.ts.
Adding function code
For this example, we are not using a database. We’ll look at that in detail in another example. So we’ll just be printing out a simple string.
Let’s add a file that contains our notes in src/lambda.ts.
import { gql, ApolloServer } from "apollo-server-lambda";

const IS_LOCAL = !!process.env.IS_LOCAL;

const typeDefs = gql`
  type Query {
    hello: String
  }
`;

const resolvers = {
  Query: {
    hello: () => "Hello, World!",
  },
};

const server = new ApolloServer({
  typeDefs,
  resolvers,
  playground: IS_LOCAL,
  introspection: IS_LOCAL,
});

export const handler = server.createHandler();
Here we are creating an Apollo Server. We are also enabling the GraphQL Playground and enabling introspection if we are running our Lambda function locally. SST sets the process.env.IS_LOCAL when run locally.
Let’s install apollo-server-lambda.
$ npm install apollo-server-lambda
We also need to quickly update our tsconfig.json to work with the Apollo Server package.
Add the following to the compilerOptions block in the tsconfig.json.
"esModuleInterop": true
Now let’s test our new Apollo GraphQL API.
Starting your dev environment
SST features a Live Lambda Development environment that allows you to work on your serverless apps live.
$ npx sst start
The first time you run this command it’ll take a couple of minutes to deploy your app and a debug stack to power the Live Lambda Development environment.
===============
 Deploying app
===============

Preparing your SST app
Transpiling source
Linting source
Deploying stacks
dev-graphql-apollo-my-stack: deploying...

 ✅  dev-graphql-apollo-my-stack


Stack dev-graphql-apollo-my-stack
  Status: deployed
  Outputs:
    ApiEndpoint: https://keocx594ue.execute-api.us-east-1.amazonaws.com
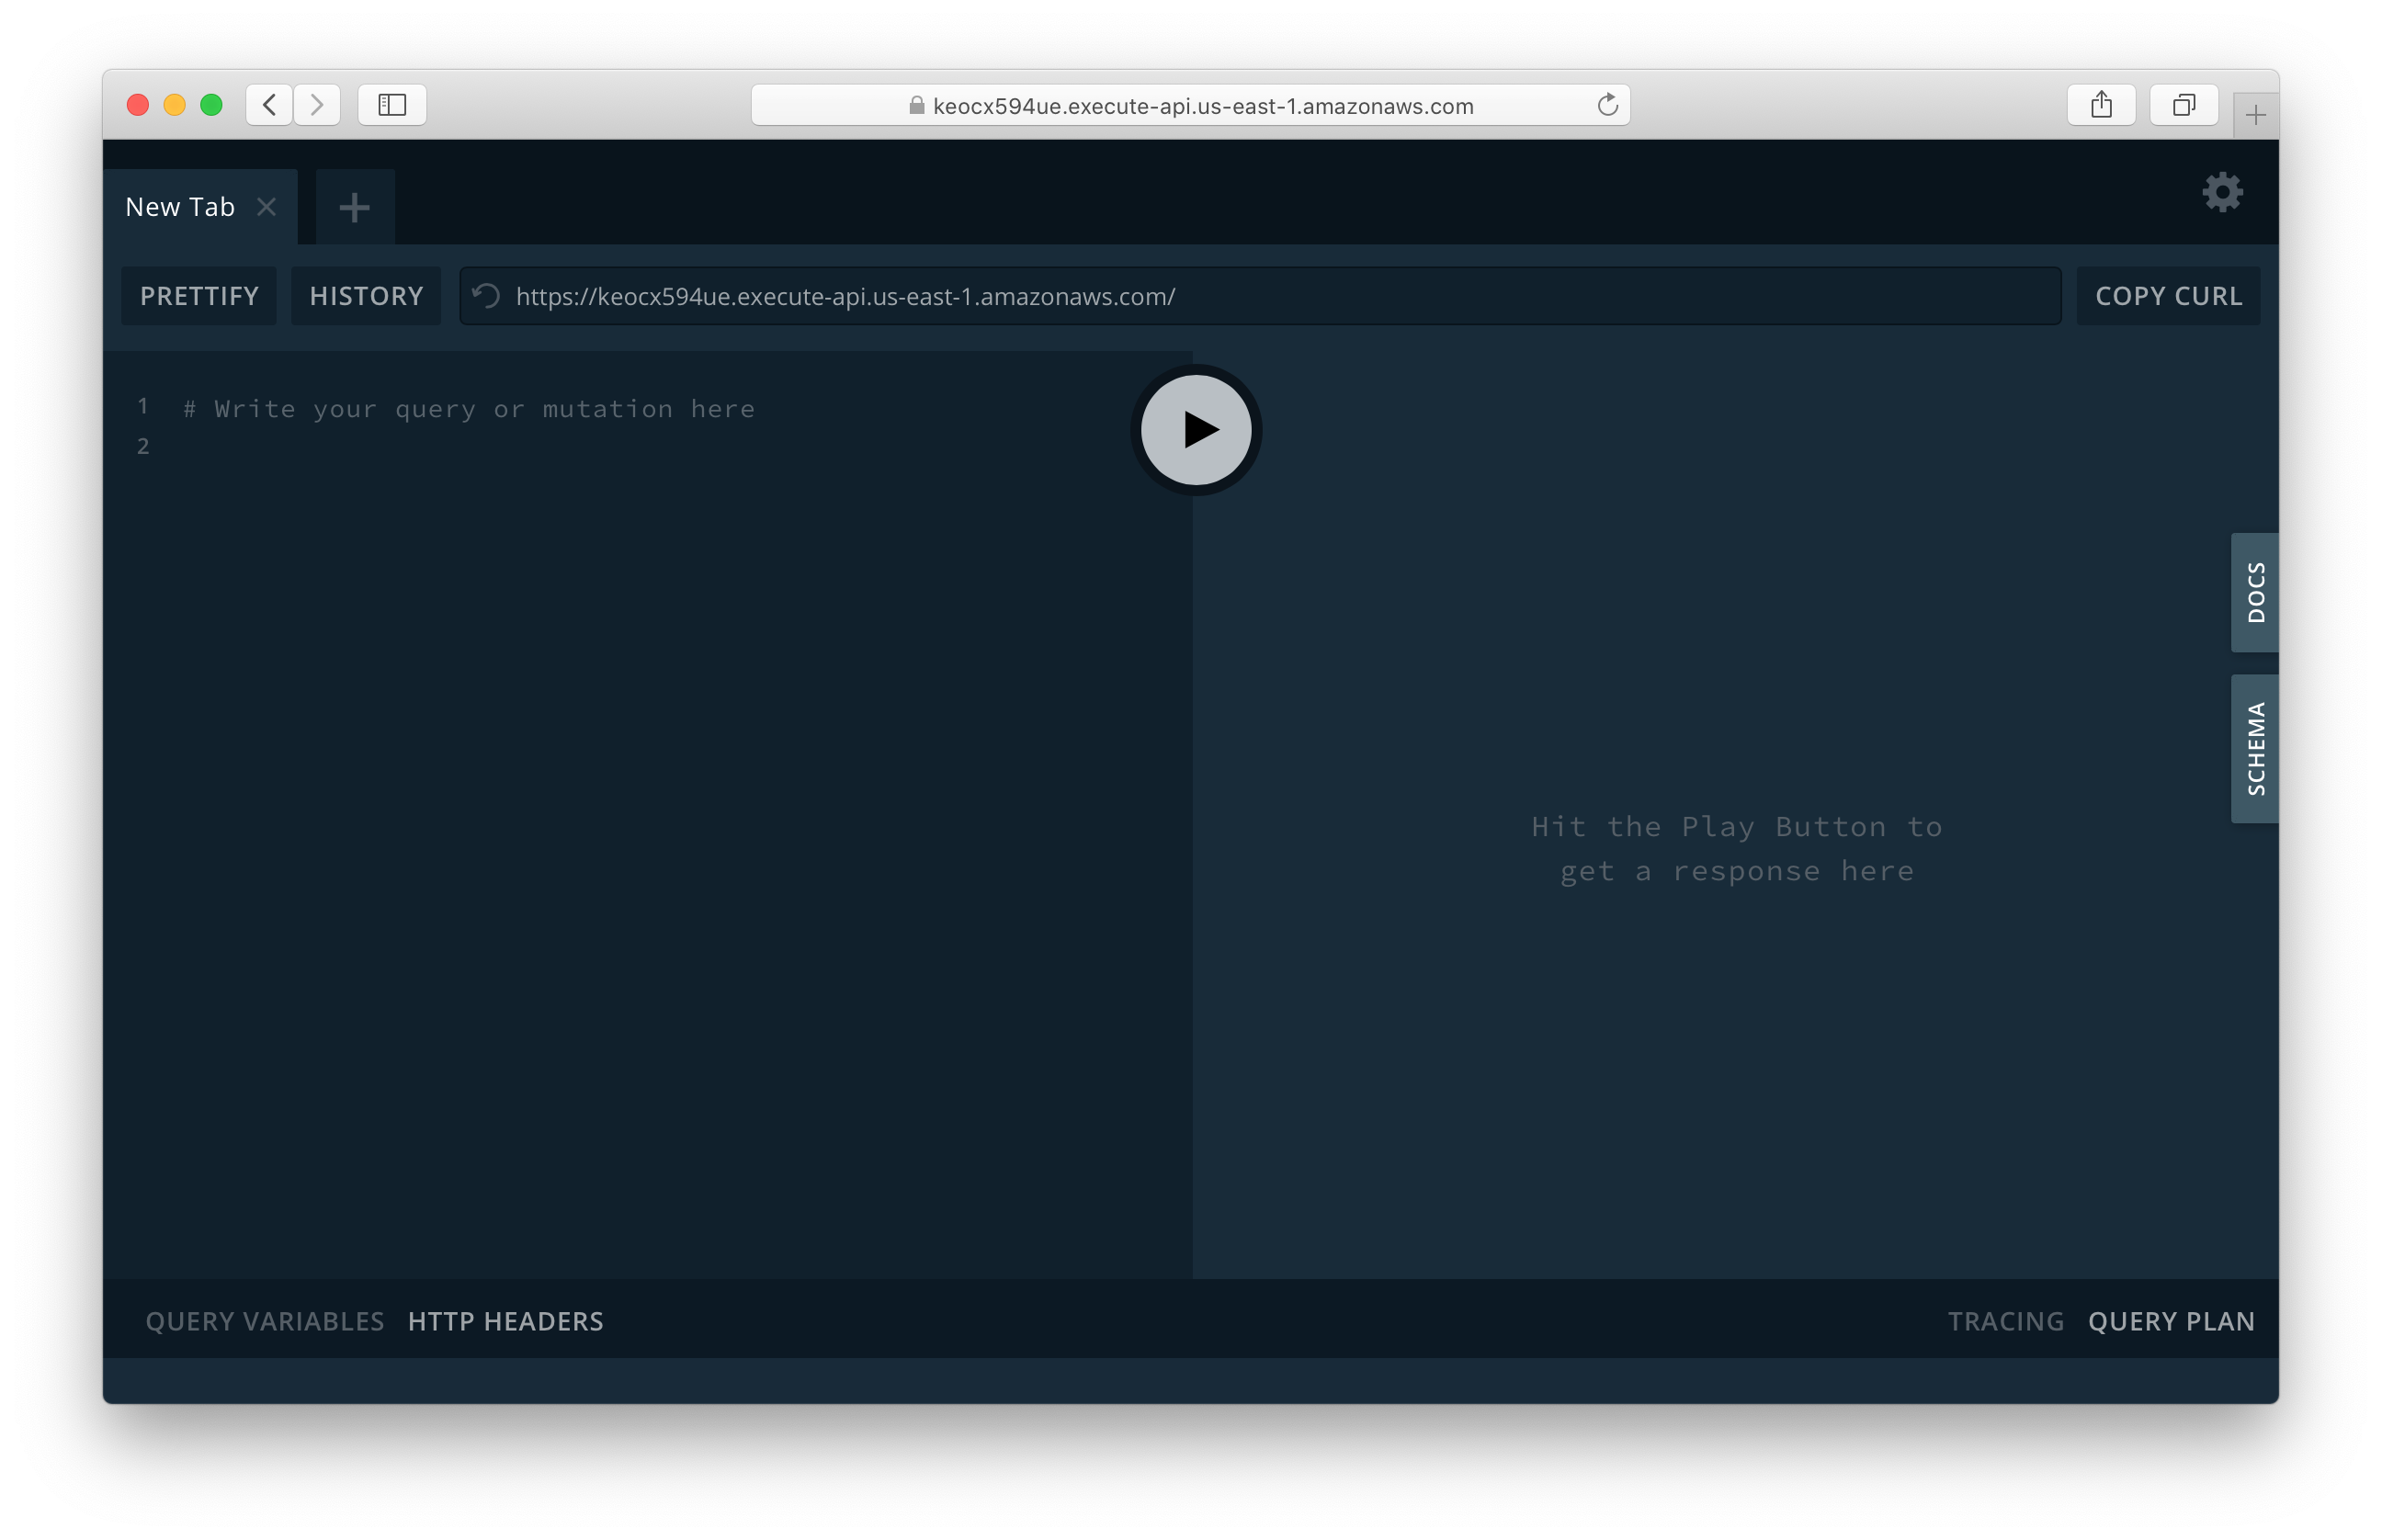
The ApiEndpoint is the Apollo GraphQL API we just created. Head over to the following in your browser. Make sure to replace the URL with your API.
https://keocx594ue.execute-api.us-east-1.amazonaws.com
You should see the GraphQL Playground in action.
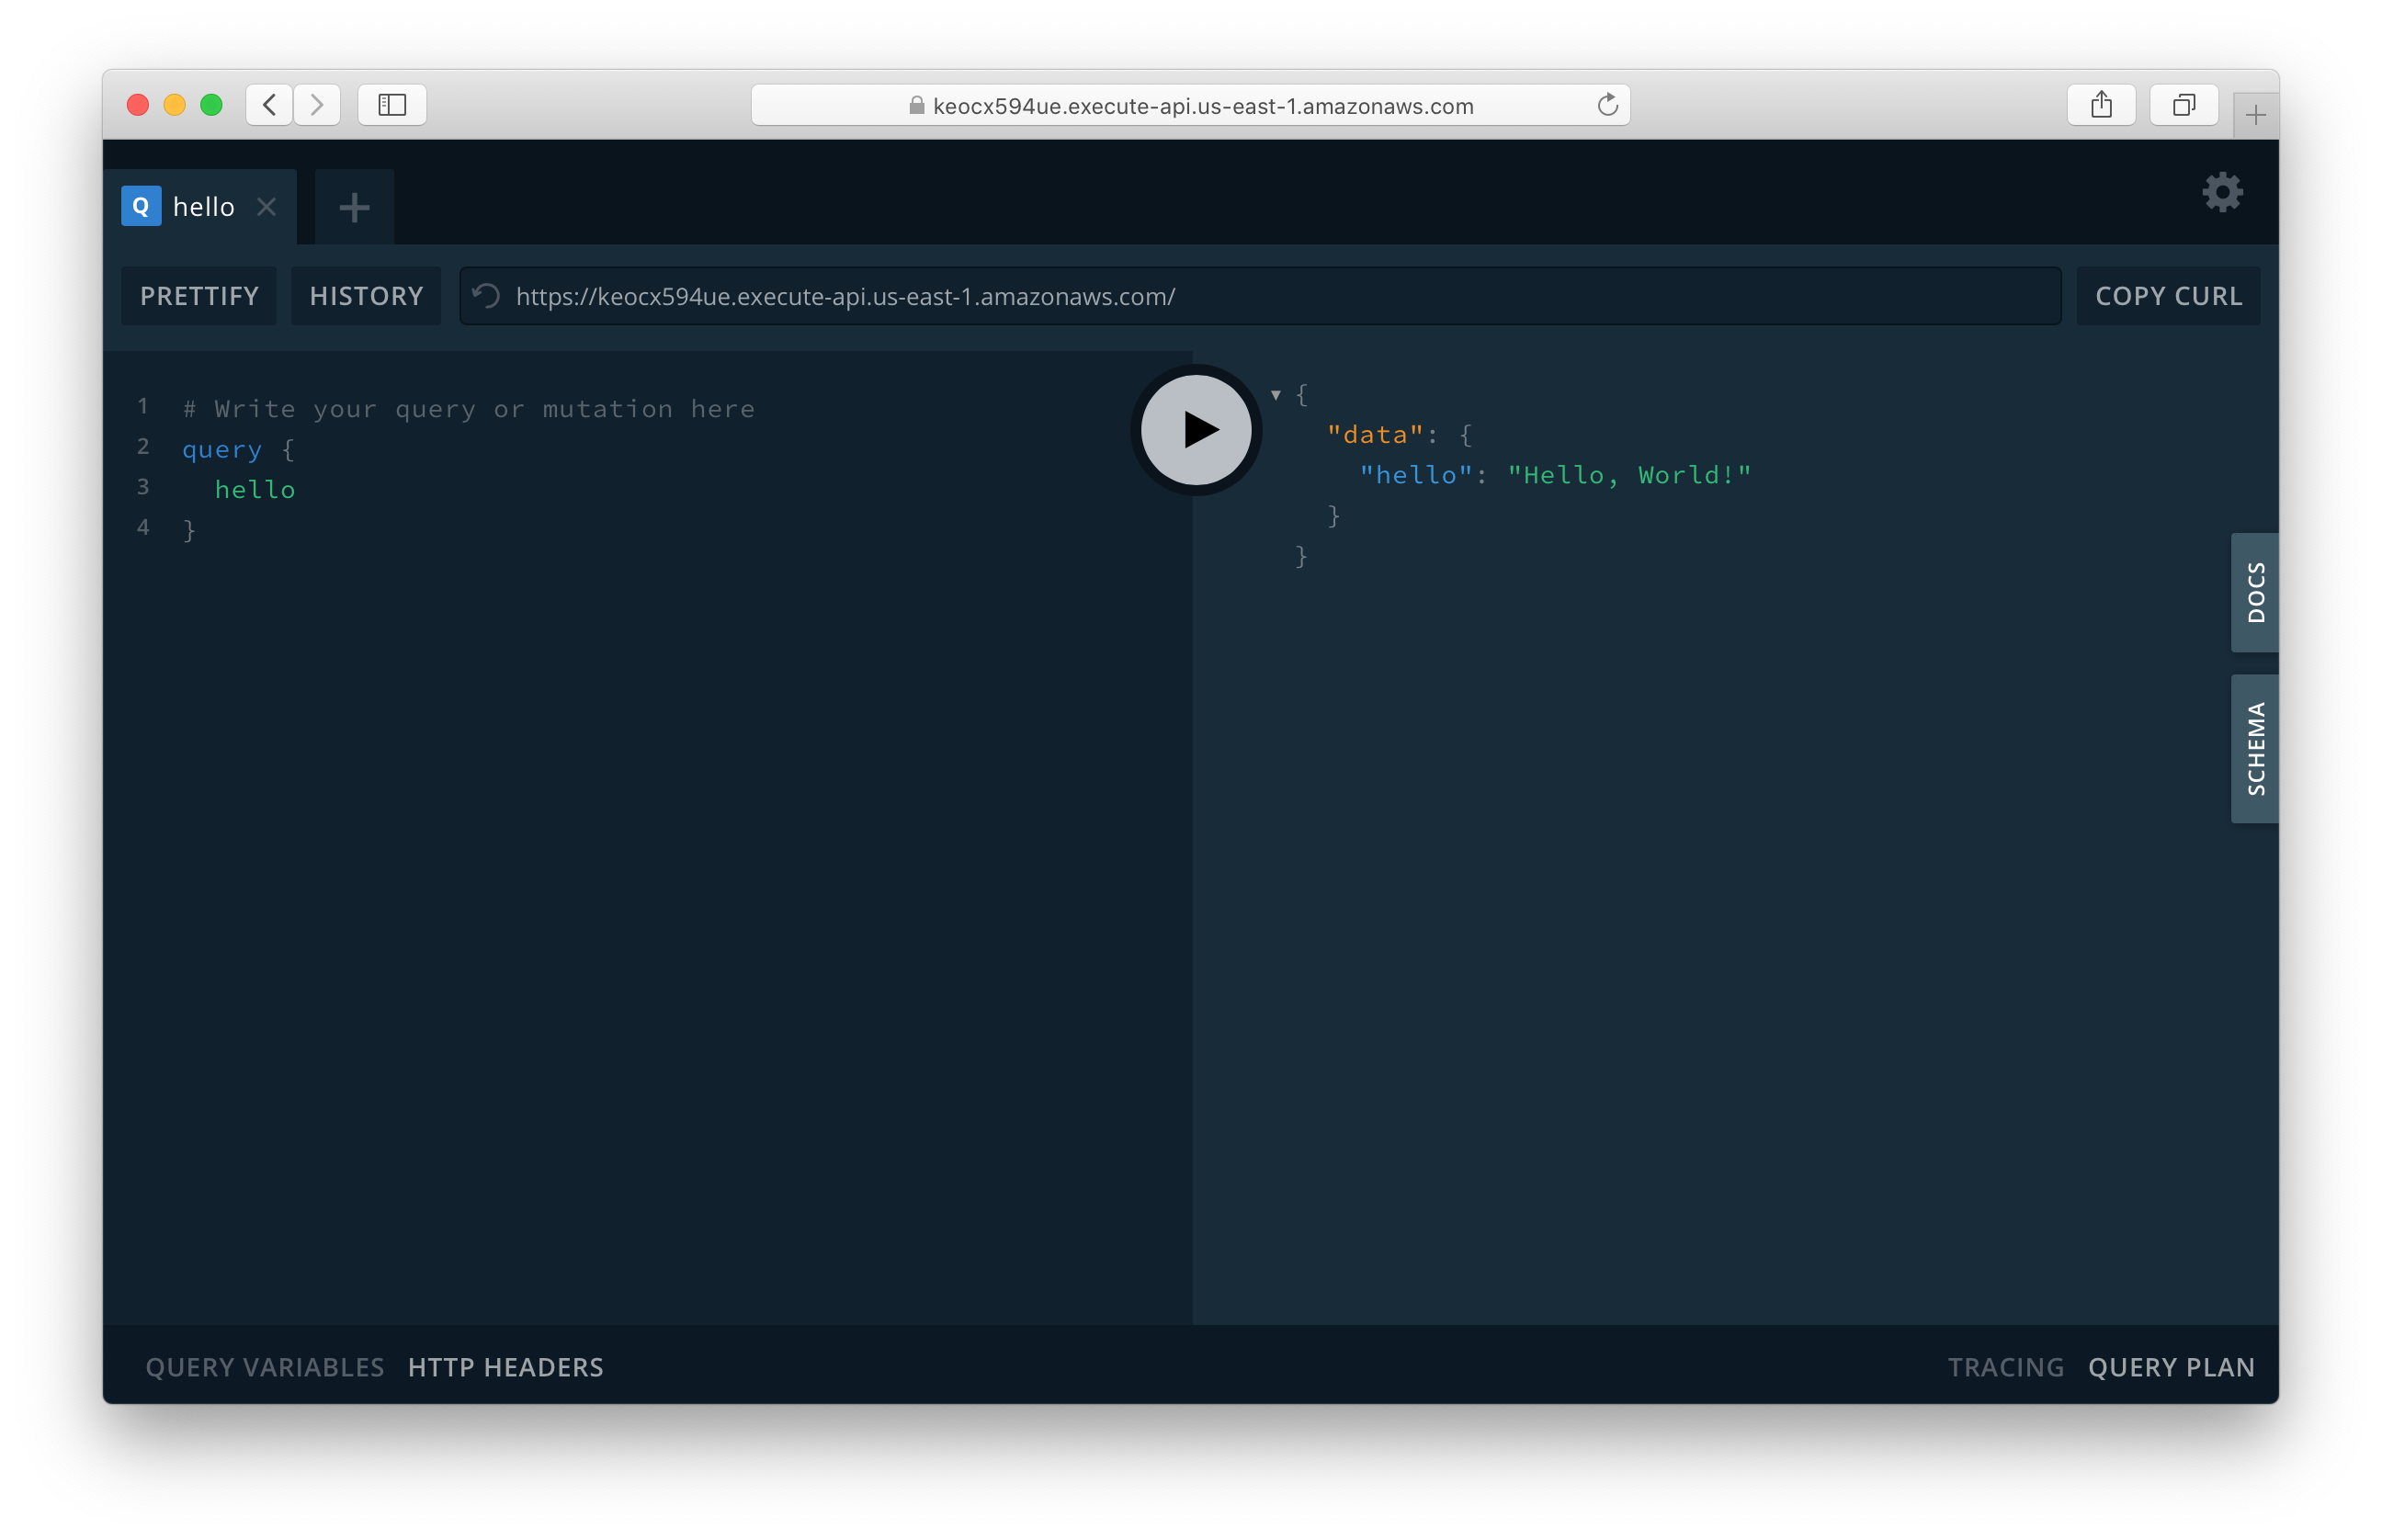
Now let’s run our query. Paste the following on the left.
query {
  hello
}
And if you run it, you should see Hello, World!.
Making changes
Let’s make a quick change to our API.
In src/lambda.ts replace Hello, World! with Hello, New World!.
const resolvers = {
  Query: {
    hello: () => "Hello, New World!",
  },
};
If you head back to the playground and run the query again, you should see the change!
Deploying your API
Now that our API is tested, let’s deploy it to production. You’ll recall that we were using a dev environment, the one specified in our sst.json. However, we are going to deploy it to a different environment. This ensures that the next time we are developing locally, it doesn’t break the API for our users.
Run the following in your terminal.
$ npx sst deploy --stage prod
Cleaning up
Finally, you can remove the resources created in this example using the following commands.
$ npx sst remove
$ npx sst remove --stage prod
Conclusion
And that’s it! You’ve got a brand new serverless Apollo GraphQL API. A local development environment, to test and make changes. And it’s deployed to production as well, so you can share it with your users. Check out the repo below for the code we used in this example. And leave a comment if you have any questions!
Example repo for reference
github.com/serverless-stack/serverless-stack/tree/master/examples/graphql-apolloFor help and discussion
Comments on this exampleMore Examples
APIs
GraphQL
- How to create an Apollo GraphQL API with serverless
- How to create a serverless GraphQL API with AWS AppSync